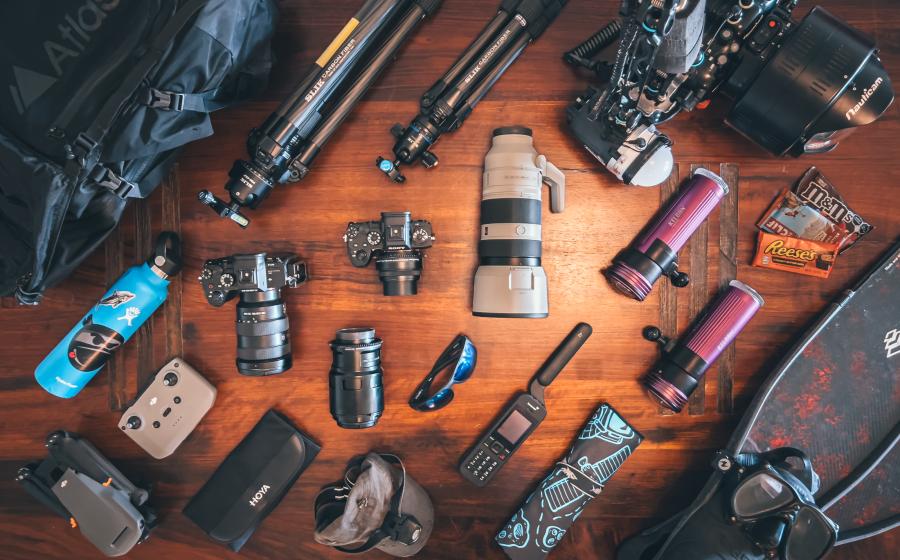
5 Tips for Prepping Your New Drysuit | Scuba Gear Tutorial

So you just bought a brand-new drysuit and you're ready to go diving — right? Wrong. Drysuits require some preparation before you can break them in, so we've compiled a to-do list to make sure you get it right.
1. Read the owner's manual. Like most of life's challenges, drysuits are not as complicated as they look. A thorough review of the owner's manual will alert you to all your suit's nuances, and get you headed in the right direction.
2. Add a hose. Hook up the low-pressure hose to your first stage. Most divers route it under their left arm, but since most drysuit valves swivel, either side will work fine.
3. Trim seals. Cut latex or silicone seals with large scissors. The key is patience. Most seals have ridge lines to cut against. Cut a line, try it on, cut another, try it on again, and so forth, until you get it comfortably snug but not uncomfortably tight.
4. Readjust ballast. Drysuit divers tend to need more ballast weight than wetsuit divers. Again, be patient, and take the time to determine the correct ballast requirements for the type of suit you're using, the thickness of the undergarments and your general comfort level. It's going to take at least a few dives to dial it all in.
5. Take a class. Drysuit classes aren't required, but they're highly recommended. By your first fun dive, you'll already have conquered the steepest slope of the learning curve and will be ready for a successful dry dive.
More for drysuit divers:
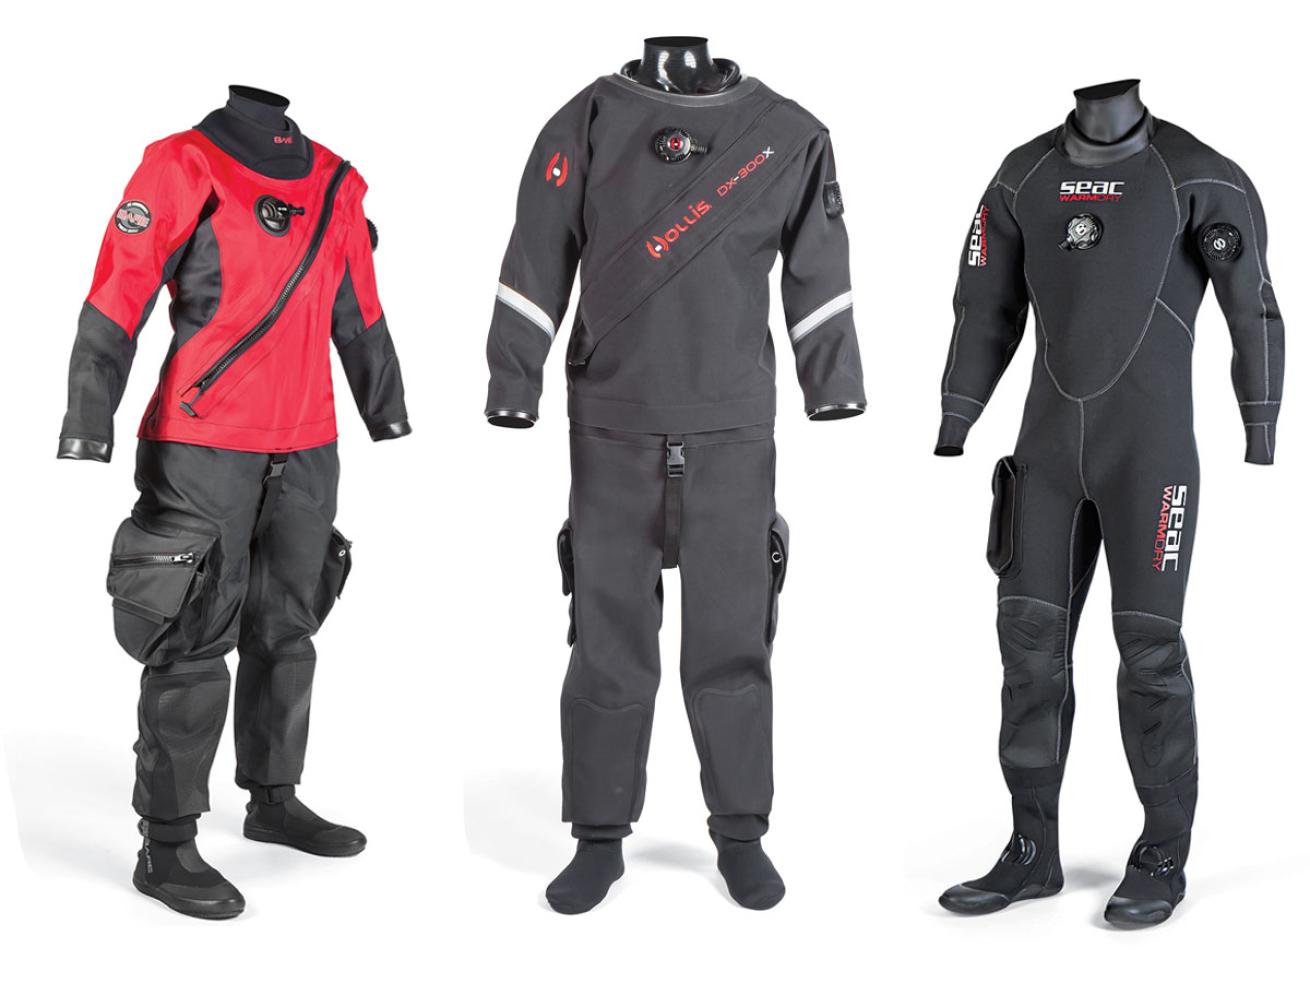
Zach StovallTake a look at the hottest new drysuits from Hollis, Bare, Seac and Camaro.
So you just bought a brand-new drysuit and you're ready to go diving — right? Wrong. Drysuits require some preparation before you can break them in, so we've compiled a to-do list to make sure you get it right.
1. Read the owner's manual. Like most of life's challenges, drysuits are not as complicated as they look. A thorough review of the owner's manual will alert you to all your suit's nuances, and get you headed in the right direction.
2. Add a hose. Hook up the low-pressure hose to your first stage. Most divers route it under their left arm, but since most drysuit valves swivel, either side will work fine.
3. Trim seals. Cut latex or silicone seals with large scissors. The key is patience. Most seals have ridge lines to cut against. Cut a line, try it on, cut another, try it on again, and so forth, until you get it comfortably snug but not uncomfortably tight.
4. Readjust ballast. Drysuit divers tend to need more ballast weight than wetsuit divers. Again, be patient, and take the time to determine the correct ballast requirements for the type of suit you're using, the thickness of the undergarments and your general comfort level. It's going to take at least a few dives to dial it all in.
5. Take a class. Drysuit classes aren't required, but they're highly recommended. By your first fun dive, you'll already have conquered the steepest slope of the learning curve and will be ready for a successful dry dive.
More for drysuit divers: