Packing Tips for Photographers

It used to be so easy to get to distant dive locations with virtually any amount of camera gear needed to do the job. Load up a dive bag, a clothing bag, maybe a big roller case for topside cameras to go on the airplane with you--then stuff the rest in a giant hard case. Some shooters had different strategies, maybe an Igloo cooler with the lid duct-taped down to make it look like a cargo of dead fish rather than live cameras, hoping to avoid theft. But the common feeling was that overweight was an after-thought, and if we got charged at all, it would be maybe $50. But as Mr. Dylan once sang, "the times they are a-changin'," and as fuel costs force airlines' bottom lines deeper into the red, they pass some of those costs along to their passengers in the form of baggage fees. Underwater photographers get hit especially hard, so for shooters feeling the pinch, here are five tips for packing, planning and navigating baggage restrictions on your next dive trip.
1) Check the Airline's Specific Baggage Limitations
To emphasize how significantly times have changed, I just came home from an otherwise terrific trip to the Red Sea. To get there, I went via London on an international carrier, which wasn't overly restrictive. But I connected with a charter flight to Marsa Alam, Egypt--low-cost charter flights with few amenities are a common choice for divers traveling from Europe--and that carrier was extremely restrictive in its baggage allowance, with astronomical overweight charges. What's the lesson here? Know what you're in for ahead of time. Domestic U.S. flights, which may include flights to the Caribbean and Mexico, international flights and charter flights often have different baggage allowances and fees. For each carrier you're ticketed with, check the web site for updated information about baggage allowances and fees for the type of flight you're on so you can pack and budget according to the most restrictive leg of your trip.
2) Budget for Overweight Charges
The overweight charge on my charter flight to Marsa Alam was about $6.81 per pound. Each passenger was allowed 55 pounds for the combination of dive gear, clothing and camera equipment. Normally I travel with two 60-pound cases, one hard case for housings and strobes and one dive bag for gear and clothing. That's 120 pounds, and then I have a wheeled carry-on case for my topside cameras that weighs another 40 pounds. If I traveled as normal, I'd have been 105 pounds overweight, paying $715 in overweight fees, each way. Sometimes, you'll get lucky. Going to Marsa Alam, I didn't get charged any fees, but I took that to be luck-of-the-draw in getting a generous gate agent because other travelers with the same amount of baggage or less got thoroughly hammered. On my return flight, I got one particularly strict baggage inspector who hit me with $600 in overweight charges. Pack and weigh your bags well ahead of time, and do the math to figure out the maximum cost in fees you may incur. Then budget this amount into the cost of your trip to avoid spending more than you planned. A handy little travel tool is Balanzza--balanzza.com--a lightweight digital scale that will tell you exactly what your bags weigh, in pounds or kilos.
3) Pack Selectively
Not every shoot requires the same gear, and it's rare that one destination requires every piece of equipment I have. For the Red Sea I shot predominantly wide-angle because the area's signature scenes are massive schools of fish and lavish soft coral formations punctuated by brilliantly colored tropical reef fish. All these features were so compelling there was no way I was shooting macro. So I left my flat port and macro lenses at home. If overweight charges will be a problem, plan your shoot according to the best photo opportunities at the destination, and leave the rest behind.
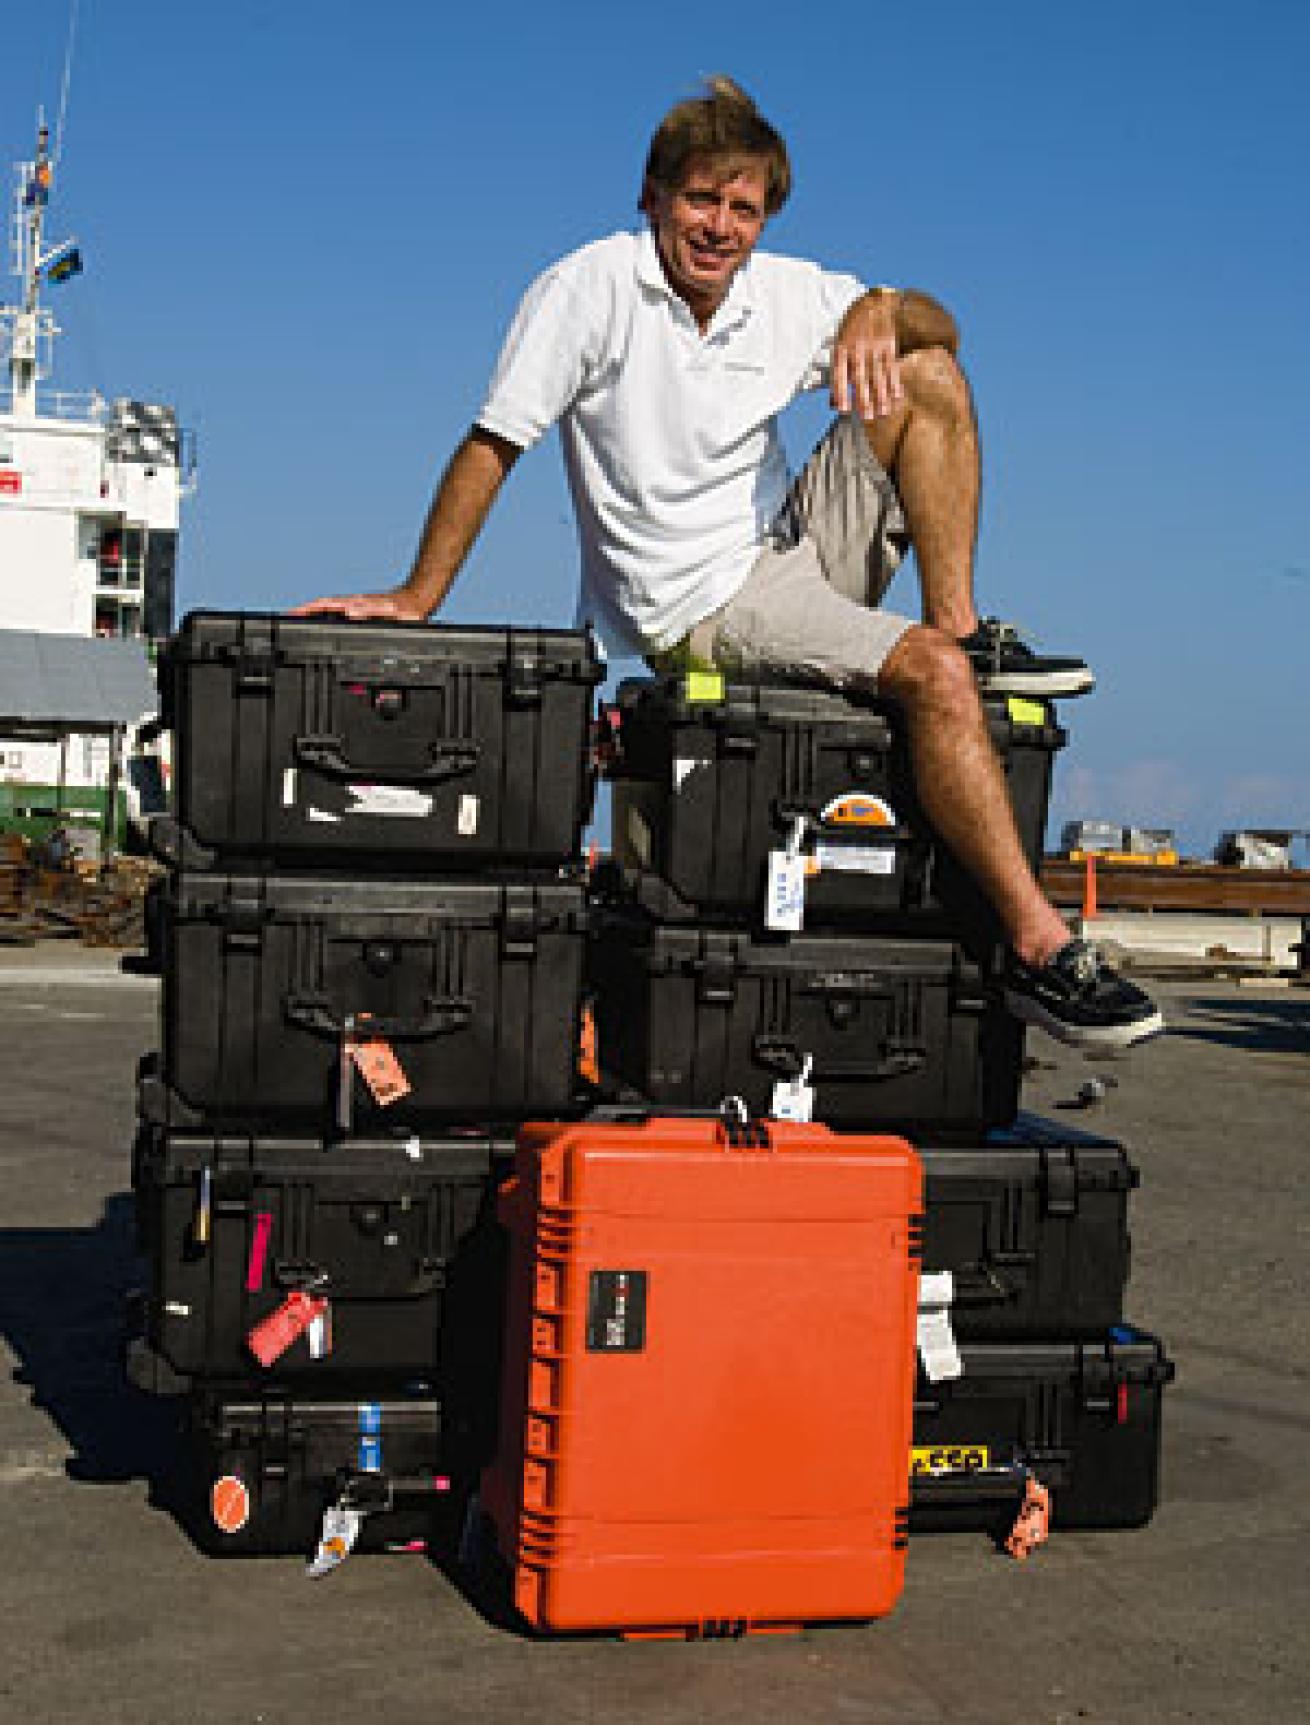
4) What to Pack and Where
Underwater photographers need to accept that airlines are going to make money any way they can, and hitting us for overweight is likely to be the their easiest, quickest revenue-generator. To avoid being lambs-to-the-slaughter, we need to get clever in terms of how we pack. The most fragile and irreplaceable items should come aboard as carry-on. At the very least, carry-on a single digital camera body and a few primary lenses, as well as a laptop computer and portable hard-drive. Ideally, you would carry-on your housing as well--you might be able to rent a strobe on location if your checked baggage is lost or delayed, but you'll need the camera-specific housing. Having said that, I usually check my housing, just because it is big and heavy, but if you use a smaller, lighter housing, get it in your carry-on if possible.
5) Save-a-Camera Kit
When planning your packing strategy for a photo trip, don't forget your contingency plan. A good tool kit for field repairs can help minimize redundant equipment. If you can fix certain parts of your setup, you may be able to avoid the weight and expense of a spare. Here are some basic suggestions for your Save-a-Camera kit:
-
Spare camera body - If the worst happens and your housing floods, you can dry out the housing and go back to work. But the delicate camera electronics will most likely get fried. A second camera body of the same configuration allows for quick replacement of drowned gear, and makes those topside shots easier if your only camera isn't already encased in a housing.
-
Tools should include a small crescent wrench, vise grips and/or pliers, jeweler's screwdrivers, a pocket knife, small flashlight, air bulb, lens cleaning cloth and a device for cleaning dirty sensors. I use a brush from visibledust.com
-
Extra cords for the strobes, and if possible, a third strobe head so you've got a back-up for dual strobe work.
-
Spare O-rings for your housing and strobes, and extra O-ring grease, are must haves. And always make sure you use the type of grease recommended by the O-ring manufacturer. Mixing and matching different brands can cause O-rings to swell and fail.
It used to be so easy to get to distant dive locations with virtually any amount of camera gear needed to do the job. Load up a dive bag, a clothing bag, maybe a big roller case for topside cameras to go on the airplane with you--then stuff the rest in a giant hard case. Some shooters had different strategies, maybe an Igloo cooler with the lid duct-taped down to make it look like a cargo of dead fish rather than live cameras, hoping to avoid theft. But the common feeling was that overweight was an after-thought, and if we got charged at all, it would be maybe $50. But as Mr. Dylan once sang, "the times they are a-changin'," and as fuel costs force airlines' bottom lines deeper into the red, they pass some of those costs along to their passengers in the form of baggage fees. Underwater photographers get hit especially hard, so for shooters feeling the pinch, here are five tips for packing, planning and navigating baggage restrictions on your next dive trip.
1) Check the Airline's Specific Baggage Limitations
To emphasize how significantly times have changed, I just came home from an otherwise terrific trip to the Red Sea. To get there, I went via London on an international carrier, which wasn't overly restrictive. But I connected with a charter flight to Marsa Alam, Egypt--low-cost charter flights with few amenities are a common choice for divers traveling from Europe--and that carrier was extremely restrictive in its baggage allowance, with astronomical overweight charges. What's the lesson here? Know what you're in for ahead of time. Domestic U.S. flights, which may include flights to the Caribbean and Mexico, international flights and charter flights often have different baggage allowances and fees. For each carrier you're ticketed with, check the web site for updated information about baggage allowances and fees for the type of flight you're on so you can pack and budget according to the most restrictive leg of your trip.
2) Budget for Overweight Charges
The overweight charge on my charter flight to Marsa Alam was about $6.81 per pound. Each passenger was allowed 55 pounds for the combination of dive gear, clothing and camera equipment. Normally I travel with two 60-pound cases, one hard case for housings and strobes and one dive bag for gear and clothing. That's 120 pounds, and then I have a wheeled carry-on case for my topside cameras that weighs another 40 pounds. If I traveled as normal, I'd have been 105 pounds overweight, paying $715 in overweight fees, each way. Sometimes, you'll get lucky. Going to Marsa Alam, I didn't get charged any fees, but I took that to be luck-of-the-draw in getting a generous gate agent because other travelers with the same amount of baggage or less got thoroughly hammered. On my return flight, I got one particularly strict baggage inspector who hit me with $600 in overweight charges. Pack and weigh your bags well ahead of time, and do the math to figure out the maximum cost in fees you may incur. Then budget this amount into the cost of your trip to avoid spending more than you planned. A handy little travel tool is Balanzza--balanzza.com--a lightweight digital scale that will tell you exactly what your bags weigh, in pounds or kilos.
3) Pack Selectively
Not every shoot requires the same gear, and it's rare that one destination requires every piece of equipment I have. For the Red Sea I shot predominantly wide-angle because the area's signature scenes are massive schools of fish and lavish soft coral formations punctuated by brilliantly colored tropical reef fish. All these features were so compelling there was no way I was shooting macro. So I left my flat port and macro lenses at home. If overweight charges will be a problem, plan your shoot according to the best photo opportunities at the destination, and leave the rest behind.
4) What to Pack and Where
Underwater photographers need to accept that airlines are going to make money any way they can, and hitting us for overweight is likely to be the their easiest, quickest revenue-generator. To avoid being lambs-to-the-slaughter, we need to get clever in terms of how we pack. The most fragile and irreplaceable items should come aboard as carry-on. At the very least, carry-on a single digital camera body and a few primary lenses, as well as a laptop computer and portable hard-drive. Ideally, you would carry-on your housing as well--you might be able to rent a strobe on location if your checked baggage is lost or delayed, but you'll need the camera-specific housing. Having said that, I usually check my housing, just because it is big and heavy, but if you use a smaller, lighter housing, get it in your carry-on if possible.
5) Save-a-Camera Kit
When planning your packing strategy for a photo trip, don't forget your contingency plan. A good tool kit for field repairs can help minimize redundant equipment. If you can fix certain parts of your setup, you may be able to avoid the weight and expense of a spare. Here are some basic suggestions for your Save-a-Camera kit:
Spare camera body - If the worst happens and your housing floods, you can dry out the housing and go back to work. But the delicate camera electronics will most likely get fried. A second camera body of the same configuration allows for quick replacement of drowned gear, and makes those topside shots easier if your only camera isn't already encased in a housing.
Tools should include a small crescent wrench, vise grips and/or pliers, jeweler's screwdrivers, a pocket knife, small flashlight, air bulb, lens cleaning cloth and a device for cleaning dirty sensors. I use a brush from visibledust.com
Extra cords for the strobes, and if possible, a third strobe head so you've got a back-up for dual strobe work.
Spare O-rings for your housing and strobes, and extra O-ring grease, are must haves. And always make sure you use the type of grease recommended by the O-ring manufacturer. Mixing and matching different brands can cause O-rings to swell and fail.