How to Use the Forgotten Power of Black and White Underwater Photography
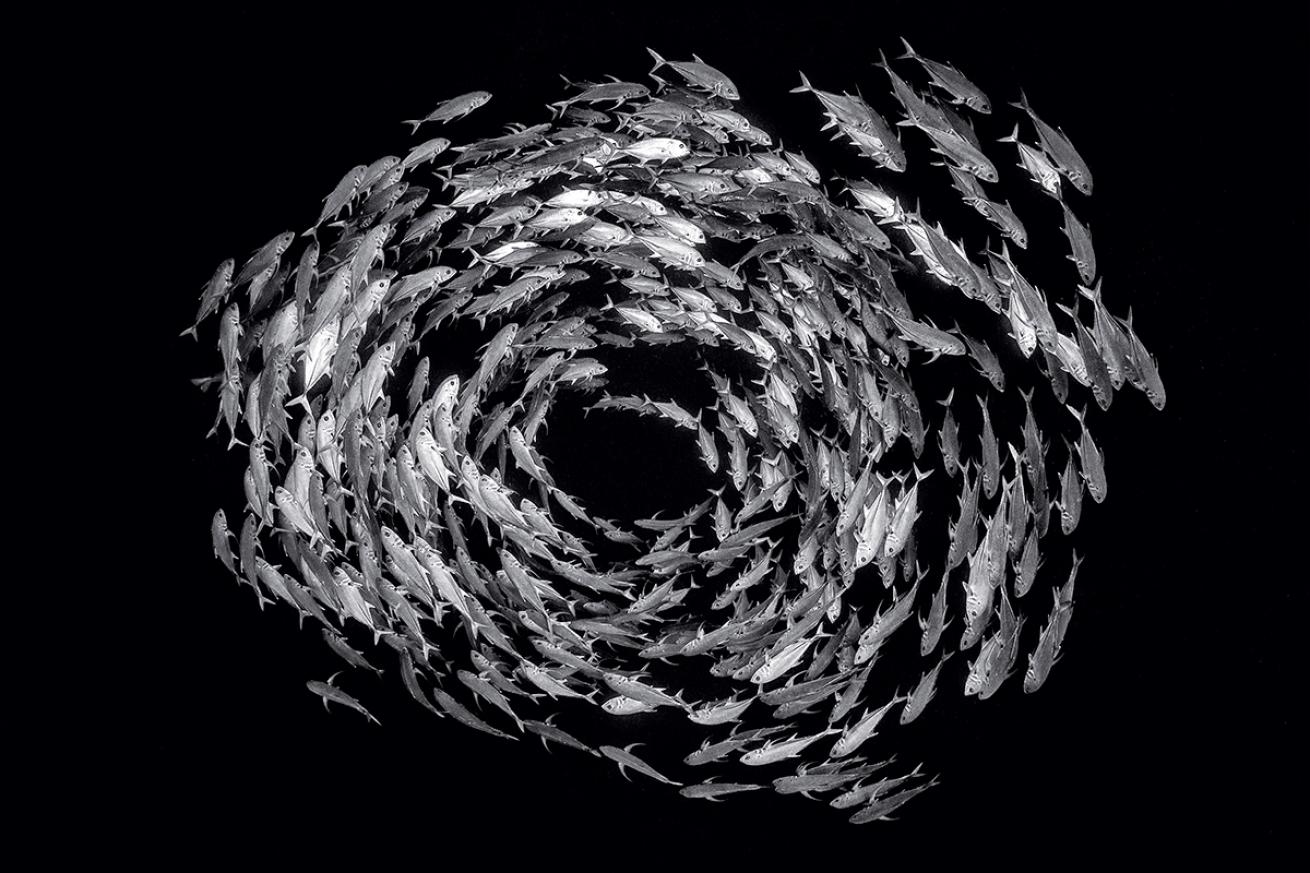
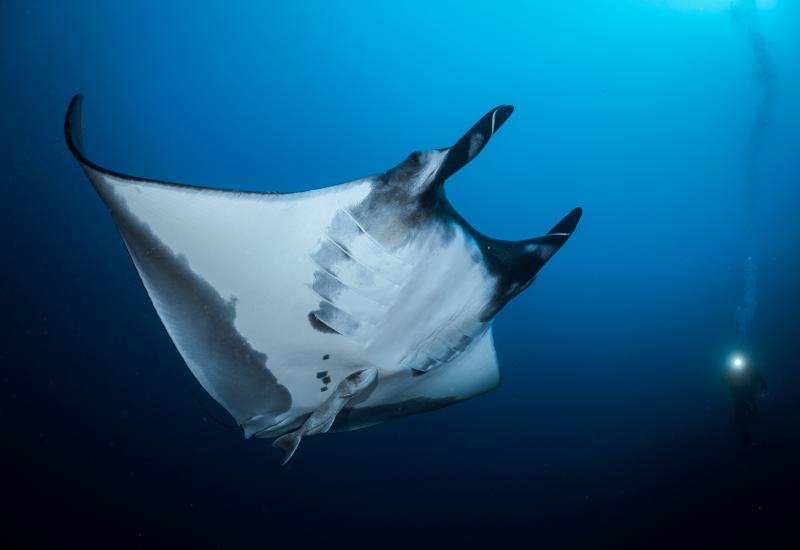
Alex MustardStrong shapes and simple compositions tend to work best for black-and-white conversions.
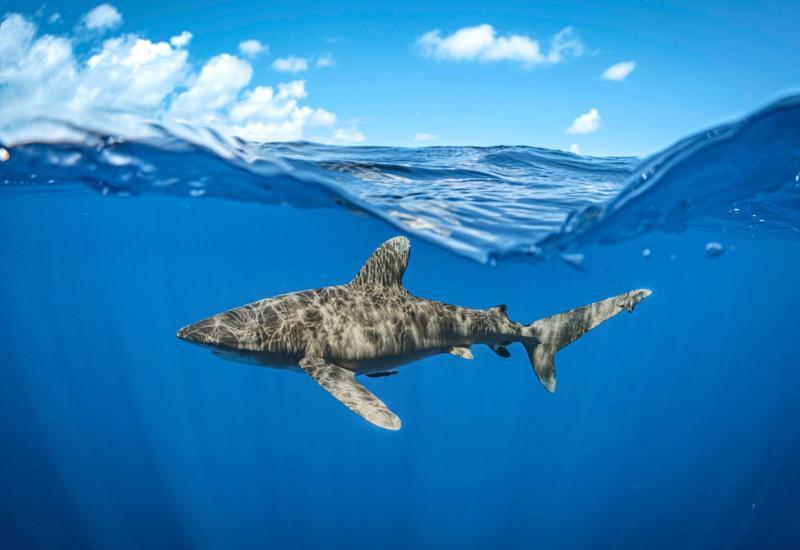
Black-and-white suits many underwater subjects, especially in the realm of wide-angle. Many photographers first dabble in the art as a way to rescue shots that have been taken from too far away. It is a solution that really works to cut through the haze and boost contrast and clarity, making the subject pop out again. But these rescue jobs rarely produce the most memorable monochrome photographs. Those shots require both the right software and the photographic vision.
Achieving standout black-and-white images starts with the decisions you make underwater—particularly regarding subject selection, composition and lighting.
Tip 1: Follow the light
Removing color from your pictures naturally puts more emphasis on the subject’s composition and form. At depth, water absorbs the colors from light, leaving us in a fairly monochromatic world. Oftentimes you can ditch your strobes, forget about backscatter and shoot from a little farther away than normal. Sometimes a kiss of flash from a single strobe can be effective, but avoid blasting the scene. Capturing fine detail and color is less important when shooting in monochrome.
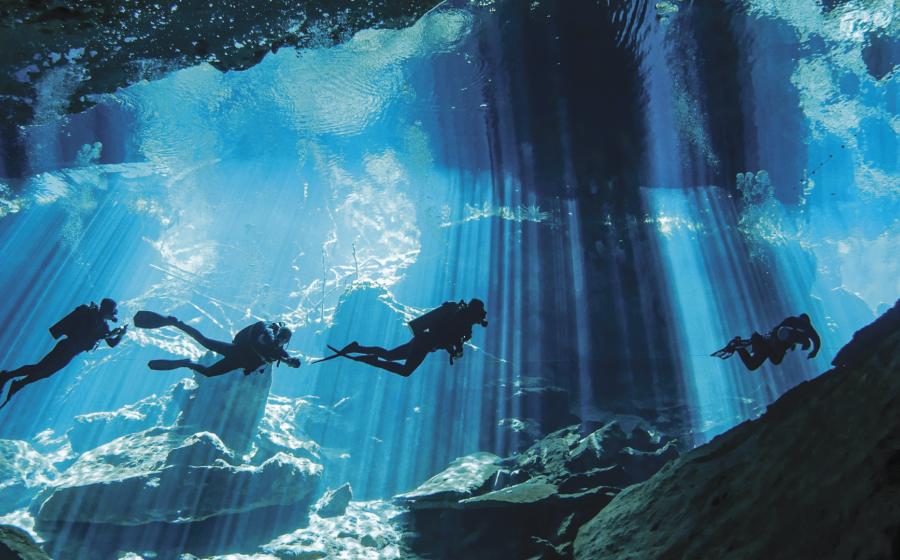
Many successful black-and-white images use only ambient light. We can get incredible shots by understanding and exploiting this natural light. I often try to shoot either against or across the light to create striking areas of silhouette—or a mix of strong shadow and eye-catching highlight detail. A slightly upward camera angle captures ambient light coming down from above. At shallower depths—and in clear water—there is usually a pronounced horizontal direction to the light. Cloudy weather, murky water and depth all diffuse the light and eliminate this horizontal angle.
Tip 2: Weather dependent
Different weather conditions provide the opportunity for different shots. Sunny skies and flat, clear seas create strongly directional light, powerful contrast and sharp shadows. In shallow water, a cloudy sky creates flat light and little contrast. These conditions can eliminate dancing light patterns on the seabed that will scribble across the subject when converted to black and white. A cloudy sky and calm water create the most clearly defined boundary to Snell’s window (the area above water that’s visible from below), which is often a feature of black-and-white images made close to the surface.
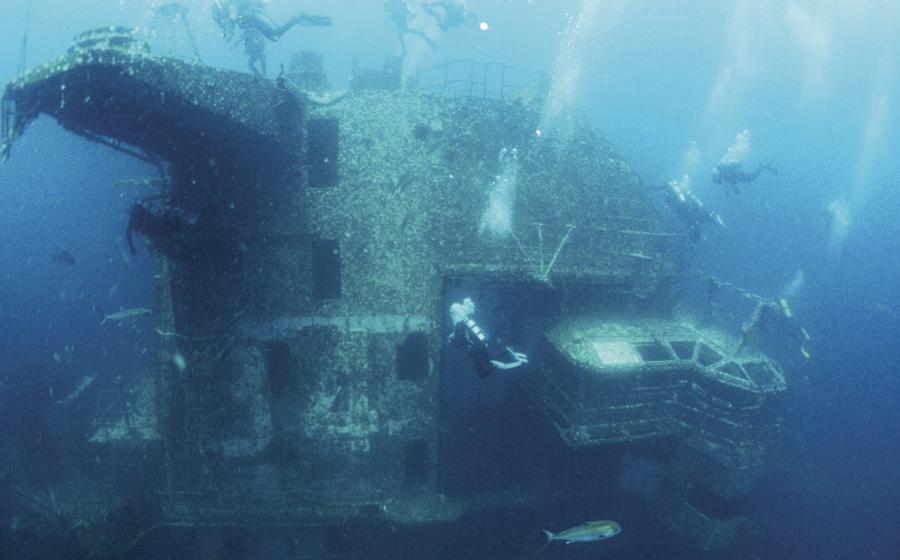
Black-and-white particularly suits wide-angle images of wrecks, big animals, silhouettes and schools because of their shadows and strong shapes. Look for graphic forms produced by the contrast of light and dark when composing images. It takes a bit of training. We see in color, but we need to think in black and white.
Tip 3: Processing like a pro
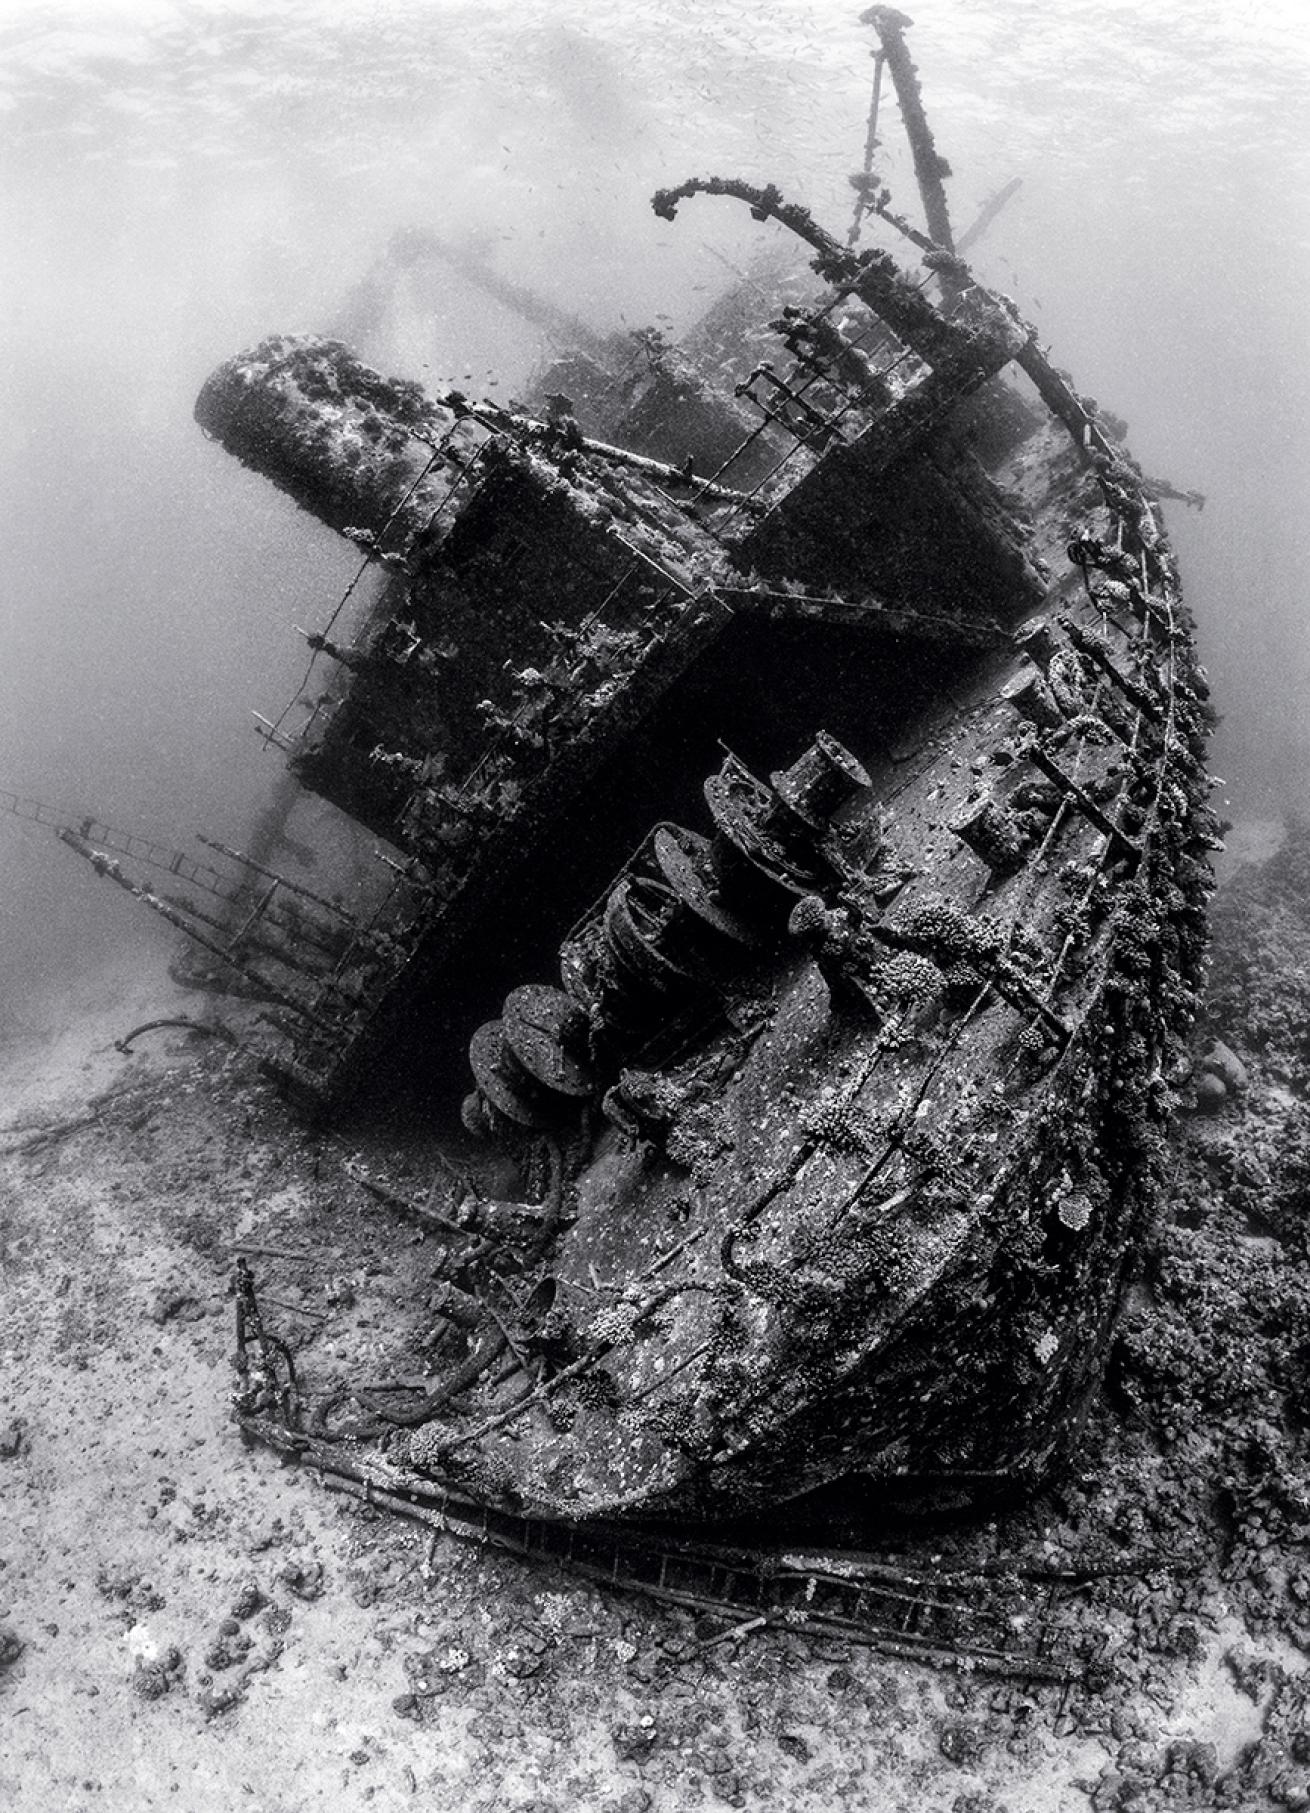
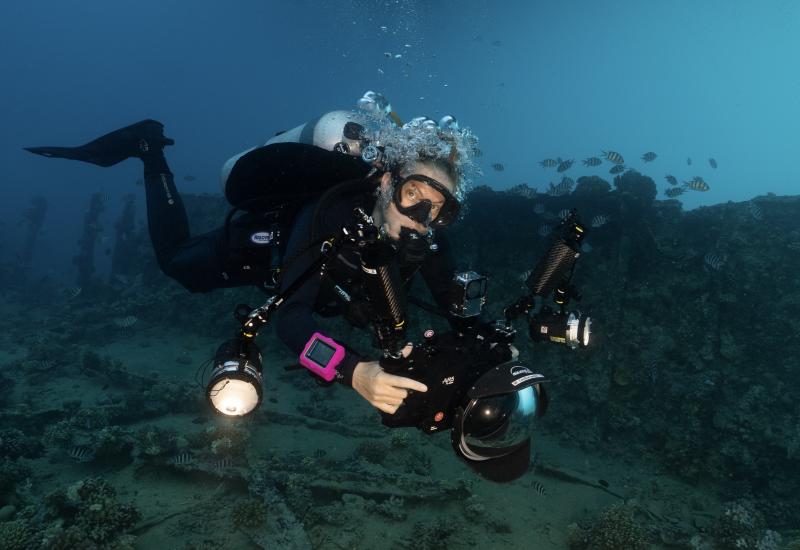
Alex MustardBlack-and-white cuts through the water and allows you to shoot big scenes easily.
On most cameras the picture mode or style can be changed to black-and-white. On an SLR, this setting only affects the review images you see on the LCD screen, but on many compacts and mirrorless cameras you will actually be able to compose in black and white. On most cameras you can tweak this mode by adding contrast so the results look more like your processed files will.
When shooting RAW, files will be color files and will need to be converted again in the computer. This benefit allows you to create a monochrome image with better quality and greater control. Any image-processing software on the market offers the option to convert color pictures to black and white, but I prefer to work directly on the RAW files in Adobe Lightroom.
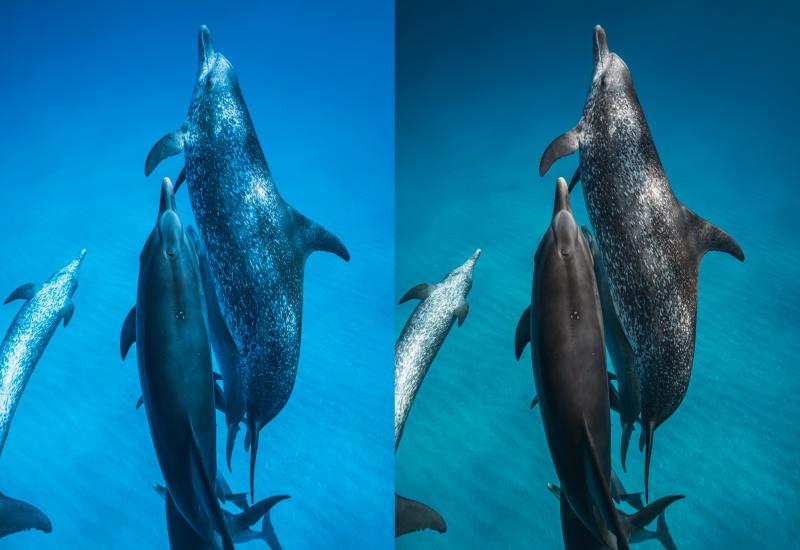
The basics of black-and-white image processing are simple: white-balance the image first, then switch it into black and white and pump up the contrast and clarity. You should usually make subtle adjustments when processing images, but underwater black-and-white images need some strong-arming!
Before you go crazy on the sliders, think ahead. Avoid a sea of gray by tweaking the Blacks, Whites and Contrast sliders in Lightroom. Ensure that the background contrasts with the subject rather than blending with it. I typically aim for either dark water or light water. It helps to white-balance before converting to black and white to get a variety of colors in the original file. Then you can use the Black & White Mix control in Lightroom to adjust the tone or brightness of the gray given by the different colors in the original. This allows you to make subjects stand out from their surroundings. The Blue and Aqua sliders will typically affect the water. Shift them right for a light background and left for a dark background.
With modern cameras and software, it has never been easier to give black-and-white underwater photography a try.