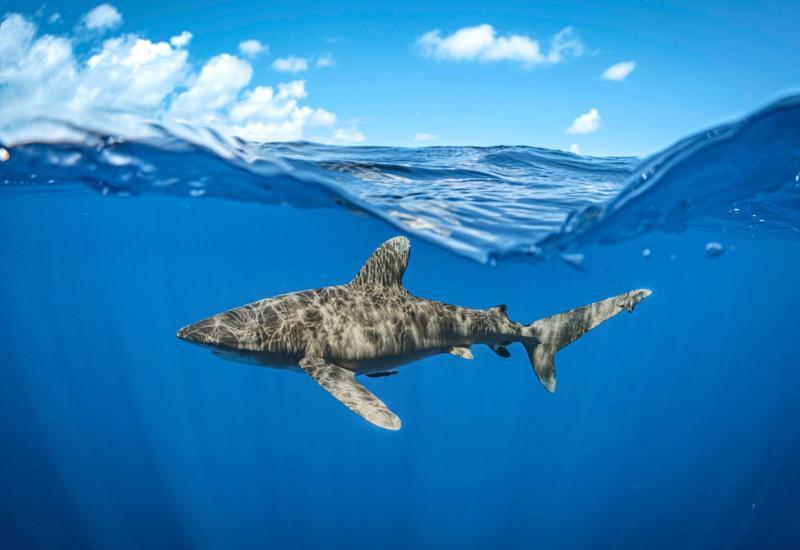
How Streamlining Your Kit Will Improve Your Underwater Photography
Alex MustardSupermacro demands specialist accessories, but we shouldn’t let this swamp the ease of shooting.
Most of us take up underwater photography to capture a record of what we see on our dives, to relive those moments and share them with friends. When we start, our goal is simply a clear image of every cool thing we encounter underwater. Ideally, we want a camera system that can collect pictures of as many different sizes of subjects as possible.
As our portfolio of images grows, our mindset shifts from being a diver with a camera to being a photographer who dives. Now our aim is producing the best photos we can when underwater, which means ignoring much of what we see and thoroughly working the most photogenic opportunities.
Gear Up
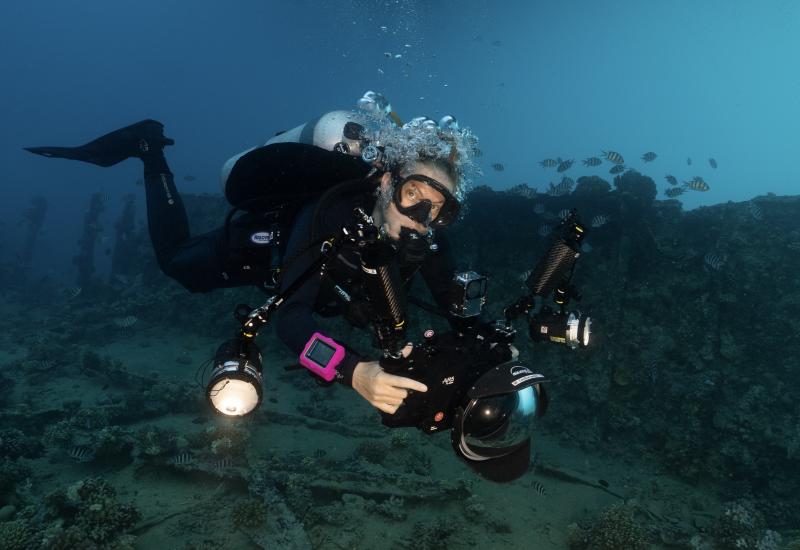
One of the toughest hurdles in this transition is learning what gear to leave on the boat. Underwater photographers find this particularly difficult because our equipment and accessories are never cheap (understandably so, in a niche hobby that requires precisely engineered items produced on a relatively small scale). Having researched, bought and brought a shiny new item to your dive destination, it’s inevitable that you’ll want to get the most value from it. But dressing your camera system up like a Christmas tree and hanging accessories all over your BC is counterproductive for standout imagery. Decked-out gear is harder to shoot, and overly bulky systems cannot be squeezed into the perfect position for killer composition.
If you want to make your images a cut above, think about the shots predive and then optimize each part of your rig. For example, I like to divide my wide-angle photography into the distinct disciplines of “big scenes” and close-focus wide-angle (CFWA), the difference between a subject being out of and within touching distance. Both techniques use the same lens, but how I set up my strobes, arms and port is very different. Sometimes I want to shoot both on a dive, but when I know I will strongly favor one over the other I optimize my gear that way.
If the target subject is small and the visibility limited, I am likely to concentrate on CFWA, switching to a smaller dome port to get the lens closer and make the subject really pop in the frame. A smaller dome also makes it much easier to get good quality of light at the subject when working so close. The downside of a small dome is reduced image quality in the corners of the frame, but when working so close I know I’ll have plenty of strobe light to compensate by closing the aperture a couple of clicks. Because of the short working distance, strobe power is not limiting, so I might switch to more compact strobes, and I definitely fit strong diffusers, such as domed ones, to soften the light as much as possible. When working close, I have my strobes pulled in, so I only need short strobe arms—often just one section on each side of the camera—to keep the rig compact, which helps in finding the angle that unlocks the composition.
When I switch to big scenes, I switch to the biggest dome, for the best image quality, and use powerful strobes and standard diffusers. I position the strobes on long arms so they can light more distant subjects without creating too much backscatter.
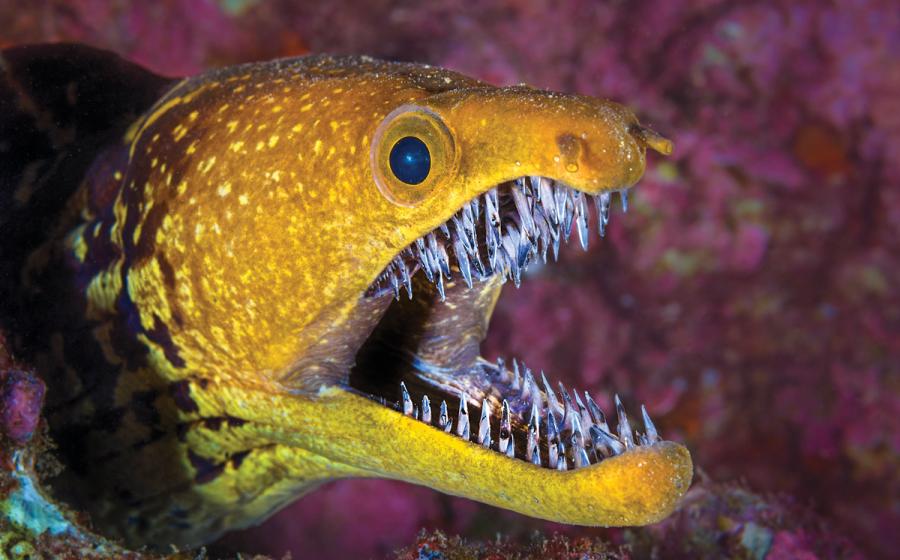
Master of Macro
Macro photography offers more accessories than wide-angle, and therefore there is more potential to optimize your system for specific shots. Lighting style dictates strobe-arm choices: Short arms make for a compact camera rig, while long arms allow for creative lighting styles like backlighting and inward lighting. Many photographers add a focus light to the top of their port whenever they go macro, but I always question whether I really need it—if not, it is just clutter that cuts down my strobe-positioning options.
Alex MustardA mini dome and short strobe arms allowed me to fill my fisheye with this red Irish lord.
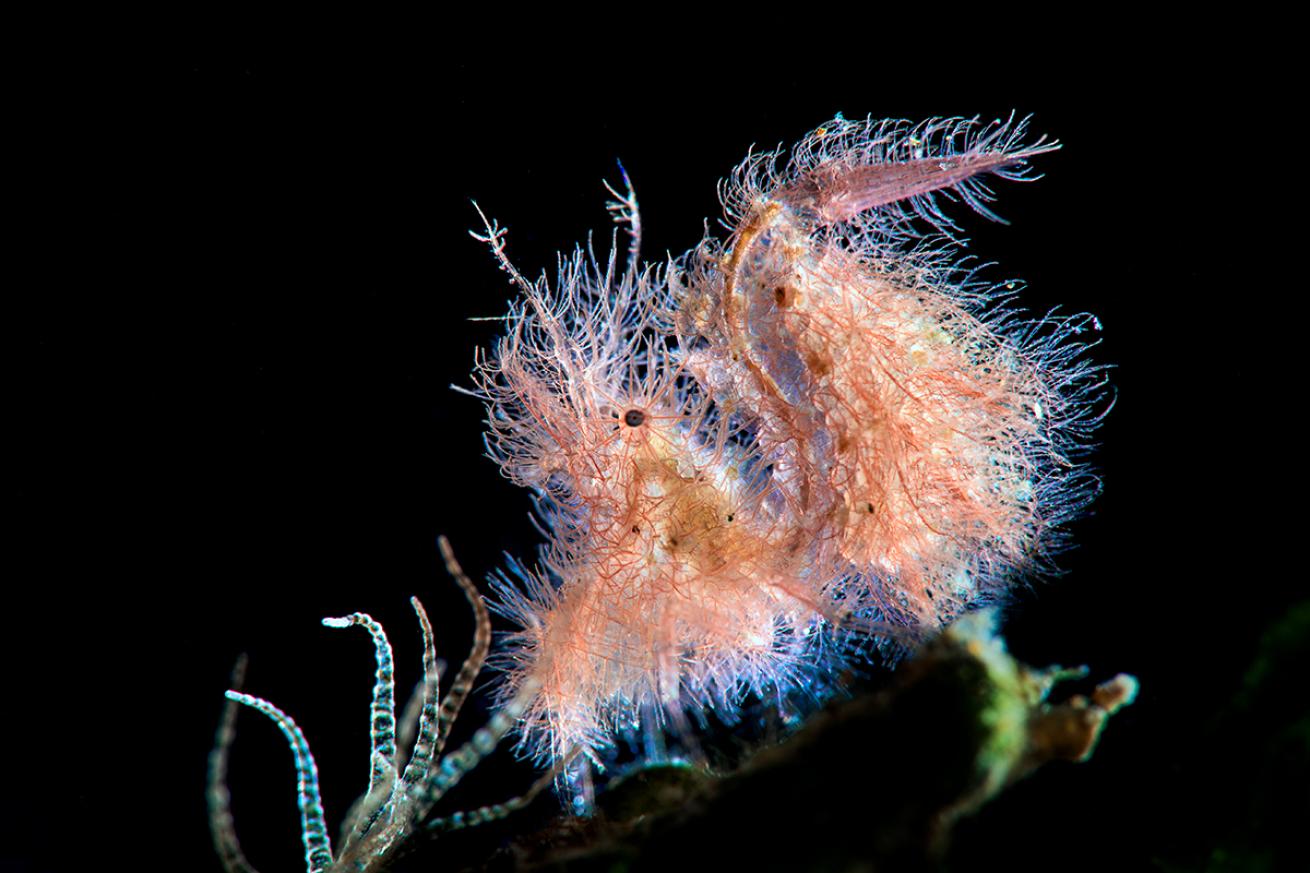
When I am shooting tiny, supermacro subjects I prefer to set my camera up for them, and make this technique the focus of the dive. Supermacro can be challenging, and switching back and forth between standard close-ups is a major reason photographers struggle, because the gear and techniques are quite distinct. For example, I use standard autofocus for normal macro but find fixed focus much easier for supermacro. Although I own lots of close-up diopters for supermacro shooting, I use a simple single flip-filter holder, keeping spare close-up lenses in pockets. (I find spare lenses on multioption flippers too often end up in the way, blocking strobe positions, a focus light or keeping the camera from getting low enough.)
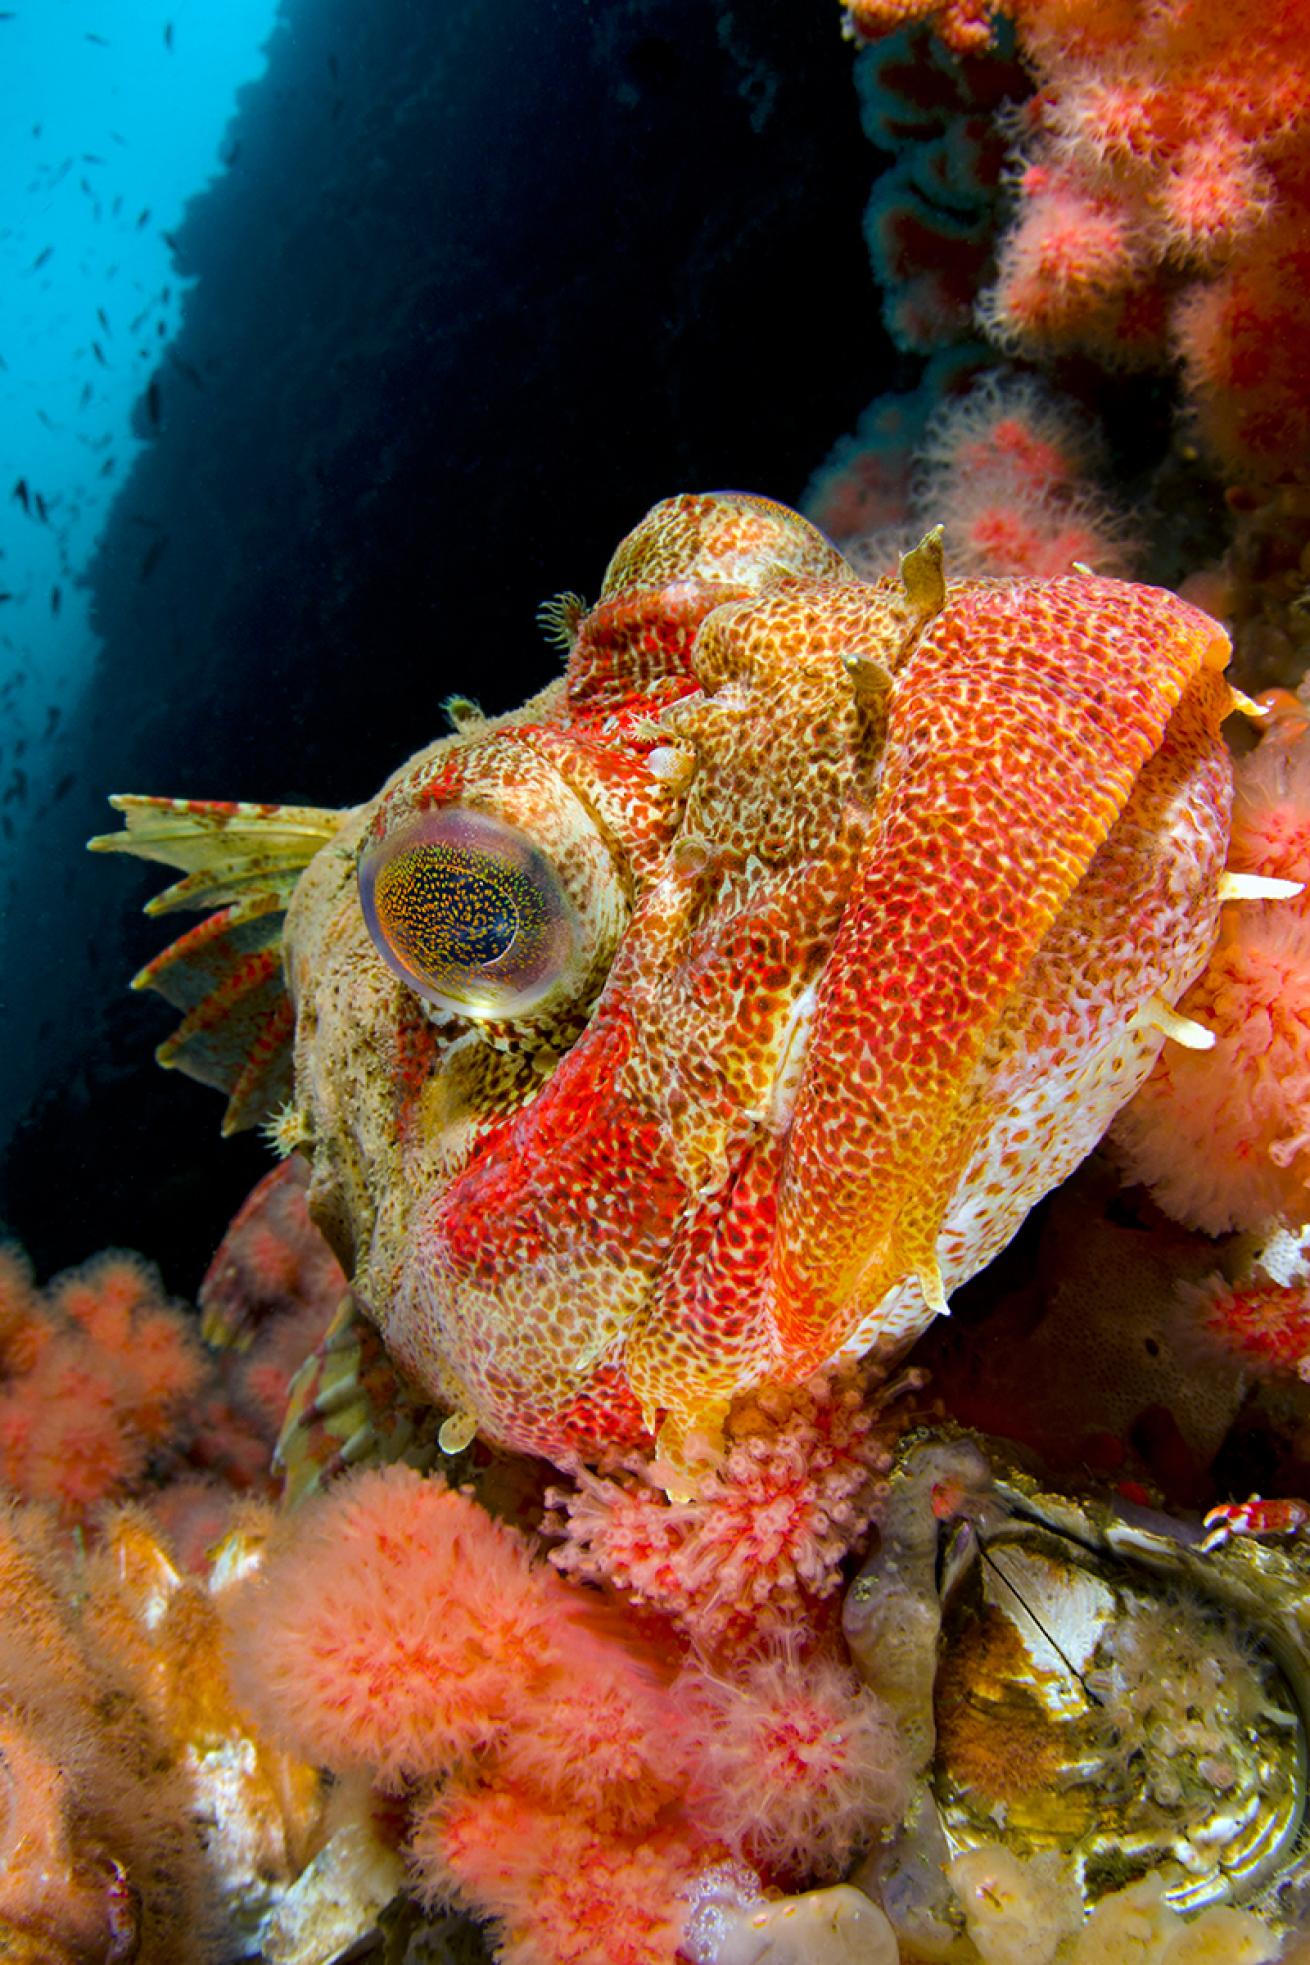
Getting the camera to the eye level of the subject is usually essential to take a macro shot that will connect with the audience. When the subject is tiny, it’s particularly valuable not to bulk up your rig. This is even more of a challenge when shooting vertical compositions because underwater cameras have handles and strobe arms sticking out just where we don’t need them. When I am on muck-diving trips, I do a “vertical day” every few days, taking off the left handle from my housing, so I can get much closer to the ground. By optimizing my gear this way, I can get an angle that others cannot. Best of all, this philosophy of perfecting your gear not only results in images that are a cut above, it does so without requiring any extra skill.