How to Photograph Cenotes

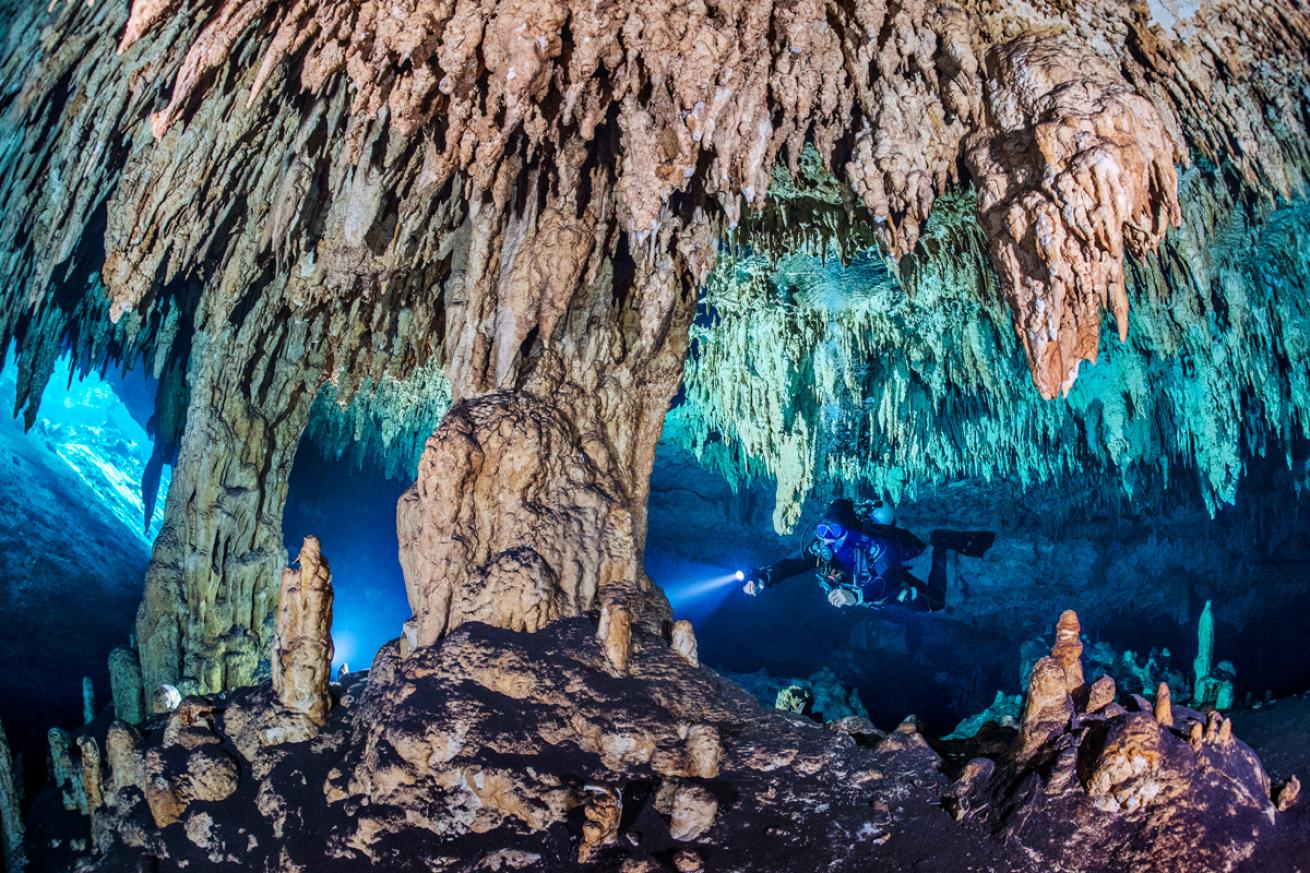
Alex MustardOff-camera lighting creates depth and atmosphere in images of formations.
The cenotes of Mexico’s Yucatan Peninsula are a perennial favorite with divers and photographers, offering otherworldly vistas and tranquil shooting conditions. The limestone landscape running south from Cancun is riddled with pools, caves and caverns, carved and filled by underground rivers. The dives—in crystal-blue fresh water— start in the jungle but are usually not difficult to get to. This easy-to-reach destination is also very family-friendly, with options for all budgets. Since there is no need for dive boats, you can set your own schedule, diving in your own small group.
Photographing in dark holes in the ground really pushes cameras to their limits, but the advances in imaging technology in recent years, such as high ISO performance, image stabilization and underwater optics, mean that most of us can now produce images that would have been impossible a few years ago.
Tip 1 : Guidelines
Cenotes offer two types of diving: Cavern diving takes place always in view of the light from an entrance (although this still means going into some very dark spaces). Cave diving, on the other hand, is a technical discipline that requires special training and equipment but allows divers to explore the fully dark and much less visited parts of the cenotes.
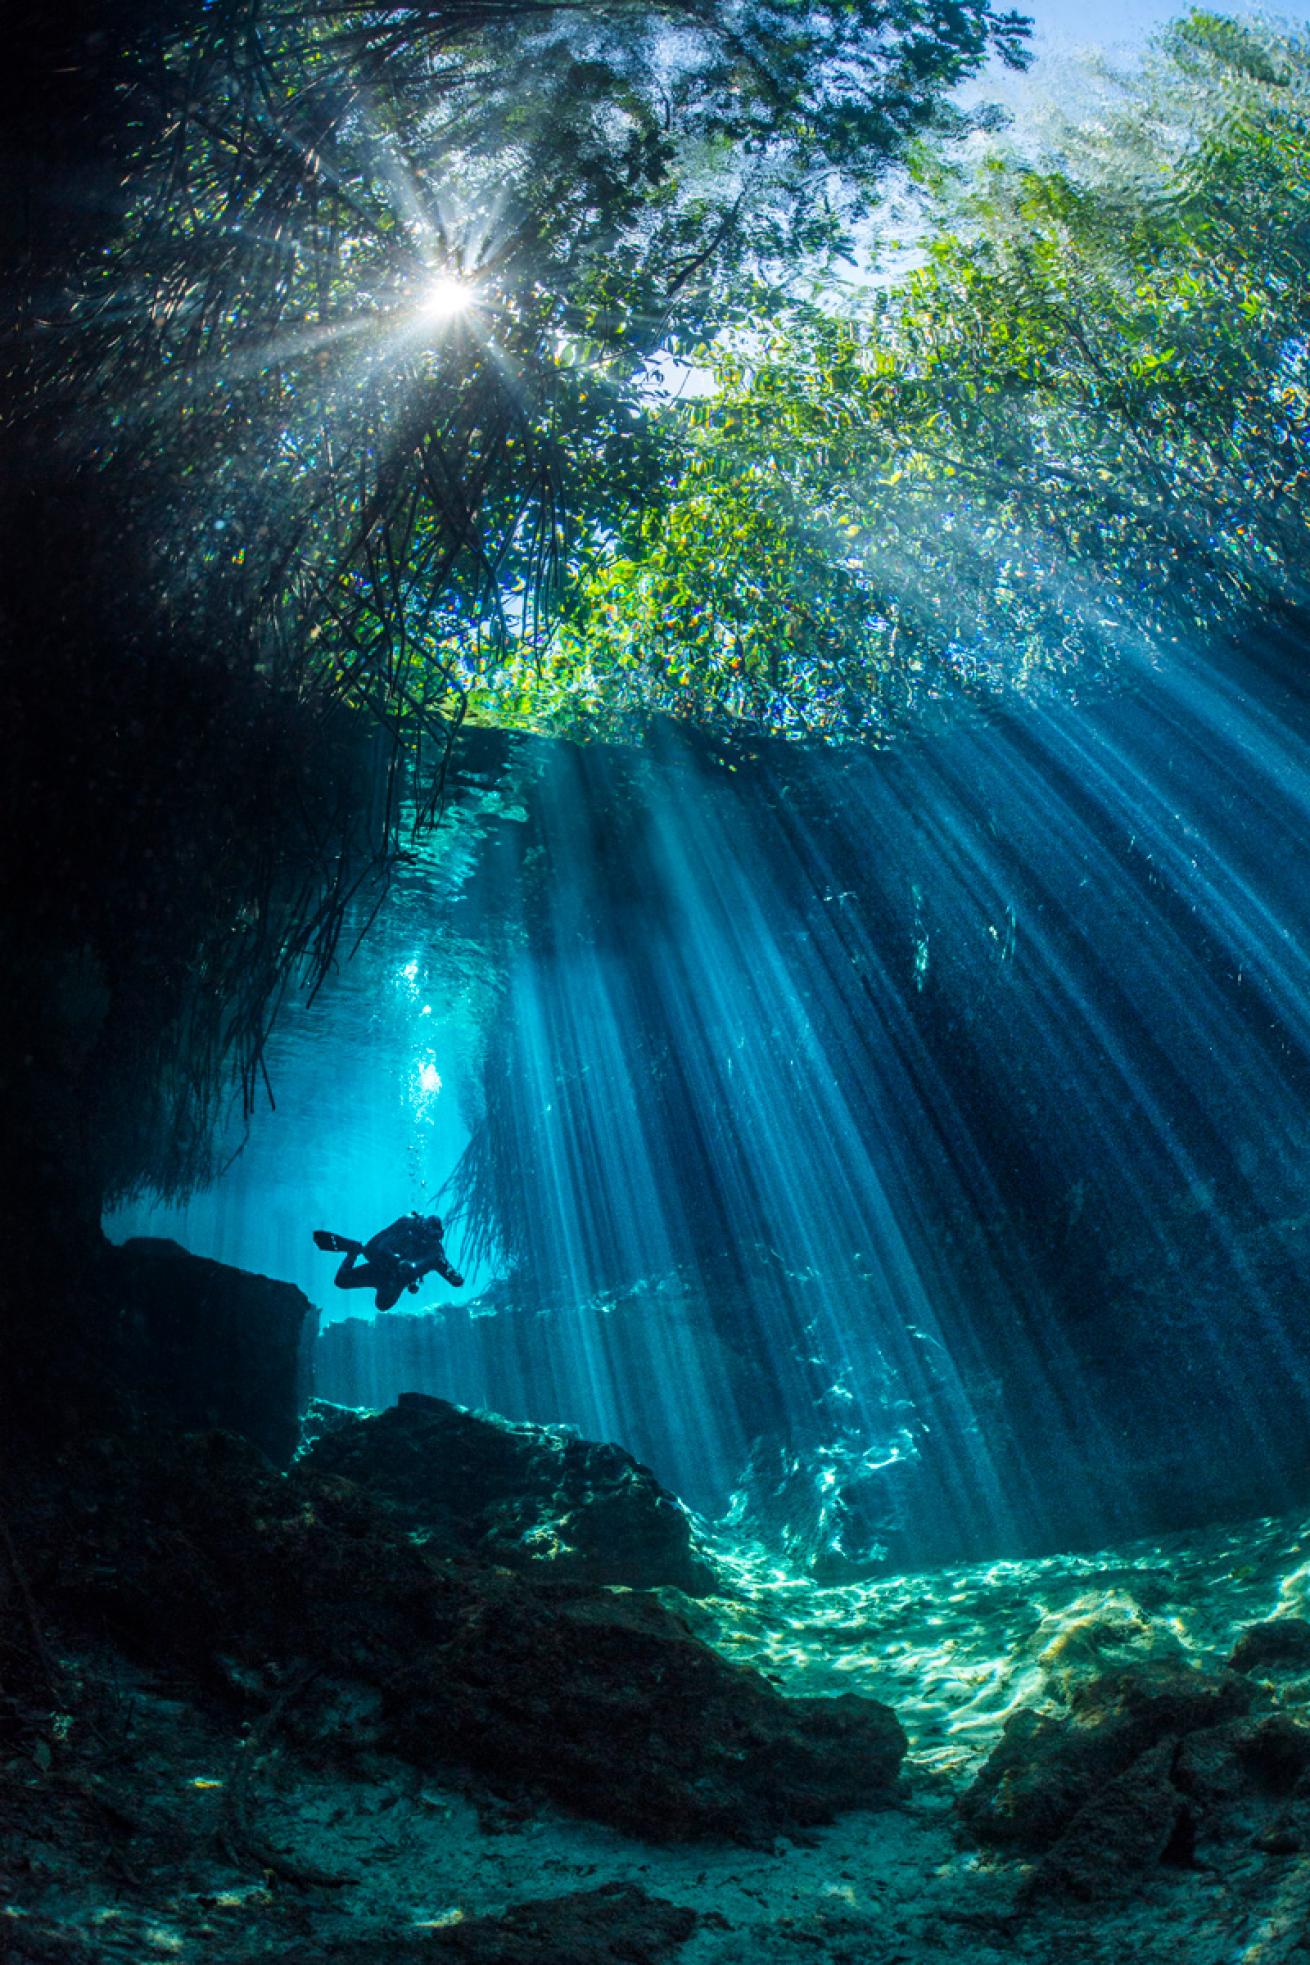
The iconic laserlike sunbeams that immediately come to mind are not taken deep in the caves but at the openings. Also, what aquatic life there is will be packed into the sunlit areas—delicately beautiful lilies, schooling tetras, handsome cichlids guarding their fry and more. My advice is to stick to cavern diving on your first visit and then consider training up for subsequent visits, so you can have the best of both options.
Whichever route you choose, all cenote dives are with a trained guide. I recommend paying for a private guide because they know the best photographic times of day for the different caves and also make for perfect models with their excellent buoyancy and diving skills.
Make sure to time dives to avoid the crowds and get the correct angle of the sun relative to the narrow openings in the cenotes, which is critical to seeing the spectacular shafts of light.
It is easier to see beams than it is to capture them on camera. The first step is to swim out of the beam and into the dark before turning around and aiming the camera back at the beams. Composition is crucial, and you need to position yourself so that the beams are the brightest thing your camera can see. The surface is usually the biggest problem because it is always brighter than the beams themselves. Keep these other elements to a minimum as they will either be bright and distracting or, if you correctly expose for the surface, the beam will be too faint.
The darkness of the caverns and beams means most cenote photography requires camera settings that are very different from normal underwater photography. The best advice is to compromise a little on all three exposure controls—aperture, shutter speed and ISO—rather than trying to compensate a lot with only one. Think about your settings and the strengths of your camera system predive, rather than trying to figure it out while underwater.

Alex MustardThe best light is not deep inside caves, but at the openings of cenotes.
Tip 2 : Focus and Flash
The darkness also makes focusing difficult for the camera, and it can be very frustrating when the settings and composition are perfected and suddenly the camera will not focus. On these dives I switch my camera to back-button focus. This is a mode offered by most cameras that allows you to decouple the autofocus from the shutter release and assign it to a button you press with your right thumb. This means you can focus carefully when there is light at the start of the dive and then leave it locked so the focus does not struggle in darker places.
Although you will, of course, be diving with a torch, it isn’t helpful because, being brighter than the dark conditions, it would show up in your pictures and needs to be off or aimed away when you are actually shooting.
A surprising challenge of shooting in cenotes is getting pictures correctly exposed, because the LCD screen or electronic viewfinder will shine so brightly it makes it very easy to think an under-exposed image is correct. Underexposing a little isn’t normally a problem when diving because you can easily tweak the exposure in Lightroom. However, because you are working at high ISOs, the files are much less forgiving and image quality falls away much more quickly if you have to correct.
I always dive in the cenotes with strobes attached to my housing, but I only turn them on when there is something that must be illuminated. Adding foreground strobe light usually takes away all the atmosphere from cave shots. The exception is off-camera lighting, which usually enhances the image.


