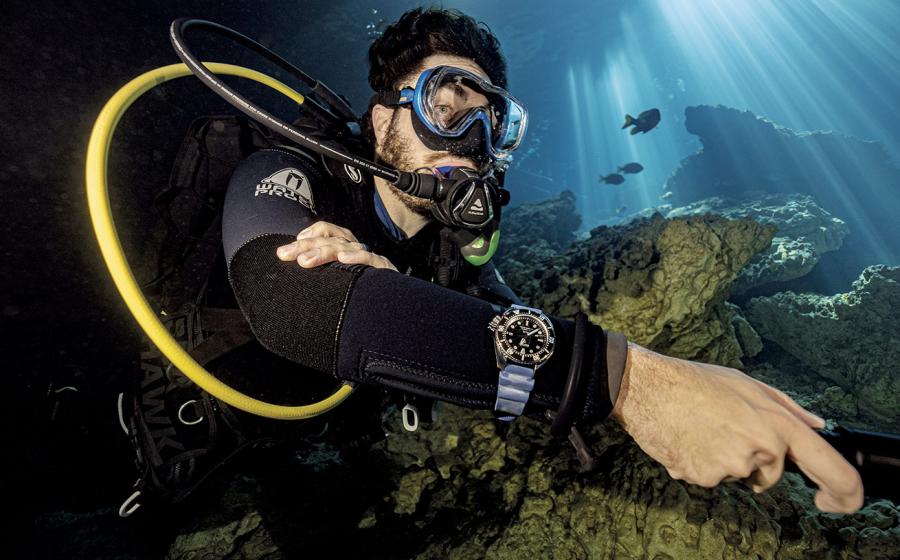
Photo Talk - How to Shoot Your Buddy
In this Photo Talk, I'd like to share with you what I've learned about photographing divers Natural-Light Photos
- Hand signals: Before entering the water, Susan and I worked out hand signals that would get her into a good position. Our signals: thumb up, down, left and right for horizontal and vertical positioning. For distance adjustments, I would point when I wanted her to move away from me, and I would give the hitchhiking sign when I wanted her to move closer.
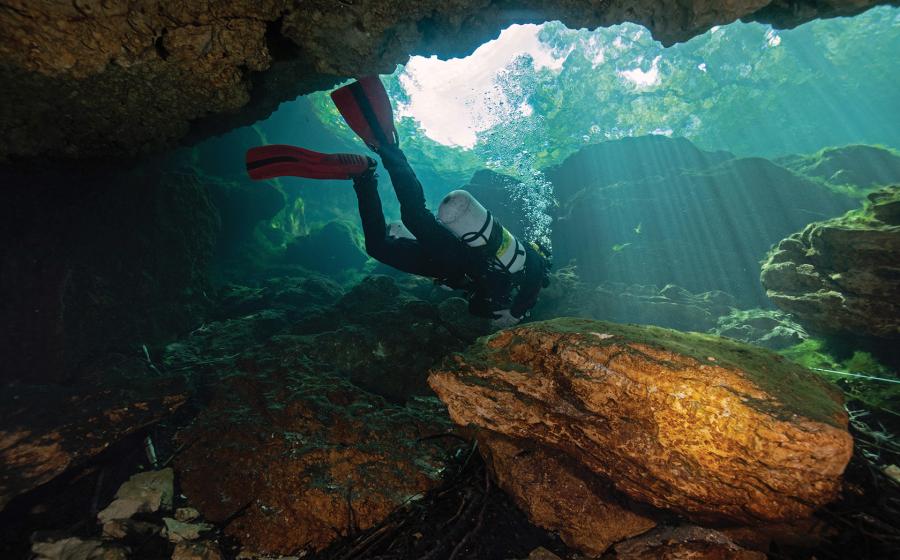
- Lens selection: In choosing a lens, I decided that my 15 would be the best choice because of the lens' extremely wide angle of view and tremendous depth of field.
- Positioning: I selected a position that allowed me to include foreground elements - a standard topside landscape technique that adds a sense of depth and scale to a scene. Notice how the sunken branches lead you, the viewer, into the scene. In selecting my position, I had to be careful not to stir up the silt and sediment on the bottom of the cenote; lots of floating debris could have ruined the photo. Carefully watch your partner's fins. But more importantly, time the release of the bubbles so you get them in the shot. They add movement to the scene.
- Bracketing: When shooting with dark shadows in the foreground and bright highlights on the surface of the water, a false meter reading can result. The solution: Bracket. Including more of the surface area would result in a darker photo in which the details of the darker portion would have been lost. If you use color print film, which has a wider exposure latitude, bracketing would not be necessary. For bracketing, I set my camera on automatic and took exposures at the recommended setting. Then I went one stop over and one stop under that setting, by setting the ISO dial to 64, then 32 and then 125. Here are some other things I think about when shooting my buddy:
- When I click the shutter-release button, I make sure my buddy is not looking at me.
- I always make sure that I don't touch or kneel on coral just for the sake of a picture, and I make sure my buddy follows my lead. How to Shoot Silhouettes Silhouettes are perhaps the easiest underwater photographs to take, if you follow the recipe for silhouette success. The most important ingredient for a silhouette is the subject, whether it's a diver, a school of fish, the mast of a ship or, as in this case, a diver and dramatic coral formation. The second ingredient is strong backlighting. The key to a good silhouette is to shoot up toward the light; that is, get below your subject and shoot toward the sun. The stronger the backlighting, the more dramatic your silhouette will be. For added impact in silhouette shots, underexpose your scene one stop by setting the ISO dial to twice the film speed. That is, when using ISO 200 film, set the ISO dial to ISO 400. (Just don't forget to switch it back after your exposure!) As always, it's important to develop hand signals with your subject. And, as with most diver photos, a wide-angle lens in the 12-mm to 20-mm range is recommended. Finally, follow this tip: The name of the game is to fill the frame, eliminating as much dead space as possible. The more subject area, the more interesting our subject. Mastering the Strobe Want bright colors in your diver photos? To see your buddy's face? Shoot as close as possible/practical to your subject and use a strobe. Otherwise, you'll be shooting silhouettes, and without a strobe there won't be anything you can do about it. You'll also need to think about composition and lighting and, as always, the background. To eliminate backscatter, which is the light from the strobe bouncing off particles into the lens, hold the strobe off to the left of the camera as far as it can go. Make sure that you aim the strobe directly at the diver; get an OK signal from the subject before pulling the trigger. I use a 15 so I can be within a few feet of the subject. Remember: As camera-to-subject distance decreases, picture sharpness increases because you reduce the amount of water (800 times more dense than air) between you and the subject. The 15 also offers great depth of field, so I got everything in focus. To add some contrast to the scene, get slightly below the diver to include some of the surface in the picture. This shooting technique creates a graduated background, going from light to dark as the depth increases. If you shoot her straight on, the background goes to a dark shade of blue. Boring. So, this is one situation when shooting up is a good idea. I take most of my dive pictures with one strobe - less chance of backscatter ruining the picture. Plus, using just one strobe creates shadows, which add a sense of depth to a picture. So you see, there is no real magic to getting great underwater pictures - just a few tricks of the trade. The Ultra-Cool Ultra Light Ultra-Pivot Tray If you're not a serious underwater shooter, skip this section. If you are, here's an accessory worth checking out. Vertical pictures often have a greater sense of movement and show a more dramatic relationship between background and foreground subjects. To help you in your new vertical quest, Ultra Light Control Systems offers its Camera Pivot tray, which, as the name implies, lets you swing the camera between the horizontal and vertical position quite easily. Because the camera pivots 90 degrees on a horizontal base, there is no need to loosen, reposition, aim and tighten your strobe while you are switching camera position. That saves time and perhaps saves the shot. For more information about underwater strobes, camera housings and other photo products, click onto the Sea & Sea home page below.


