How To Get Started In Underwater Photography
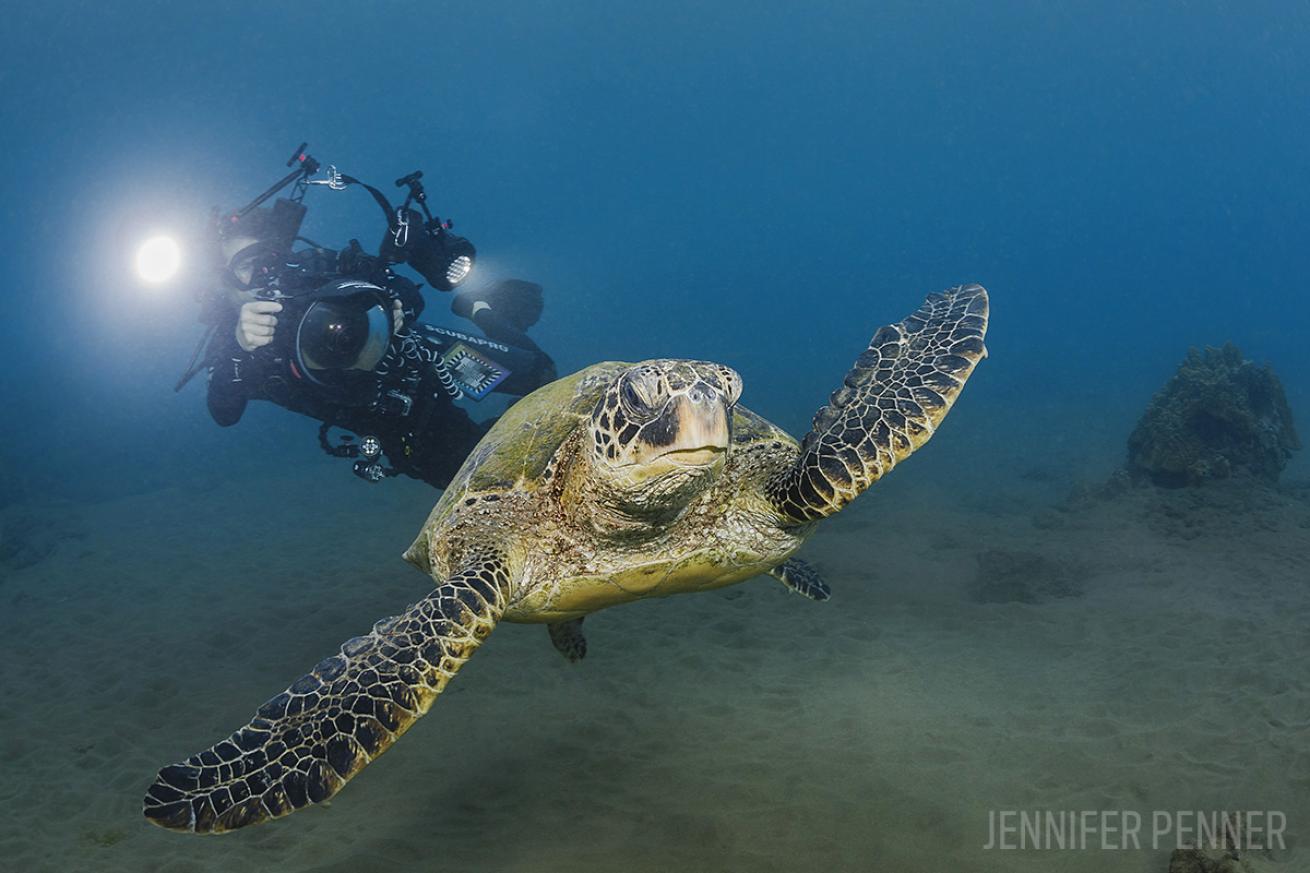
Jennifer PennerTurtles, like this one off Maui, are popular subjects for underwater photographers.
So you’ve been bitten by the shutterbug and are excited to turn every dive into an underwater photo adventure. But your pictures aren’t exactly cut out for the next cover of Sport Diver. How do the pros do it? They shoot thousands of pictures before getting the perfect shot. We’d like to welcome you to the club and share tips on how to get the most from your camera and enjoy your new passion for underwater photography.
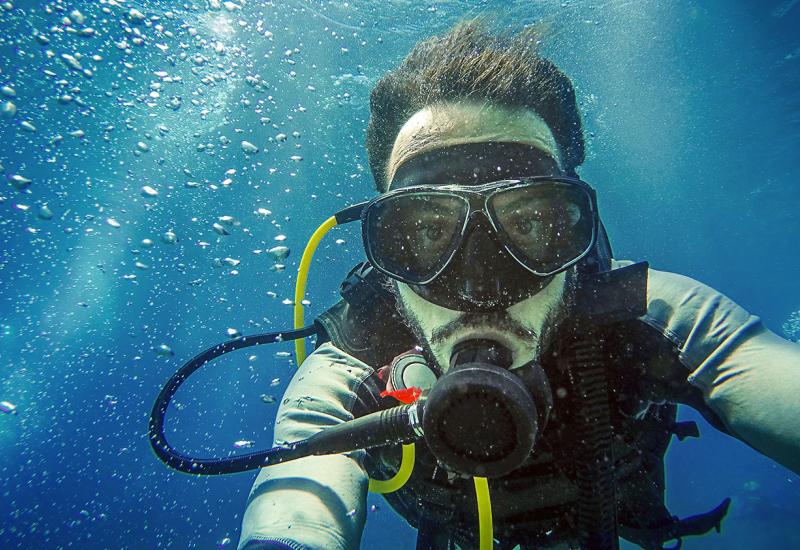
Get your diving dialed in.
The first step to becoming a good underwater photographer is to perfect your buoyancy and dive skills. Underwater photography demands excellent physical coordination to get into tight spots, or to remain in a stationary position without disturbing the reef. Practice diving with your new camera on every dive, even if you don’t plan to shoot.
Get your camera rig neutral.
Struggling against a heavy rig underwater is one of the largest barriers in learning how to shoot. There are buoyancy aids such as arm floats and port floats that can help in getting your rig neutrally buoyant. Macro setups tend to be more negative than wide-angle because of heavier lenses and less air volume, and will need more flotation.
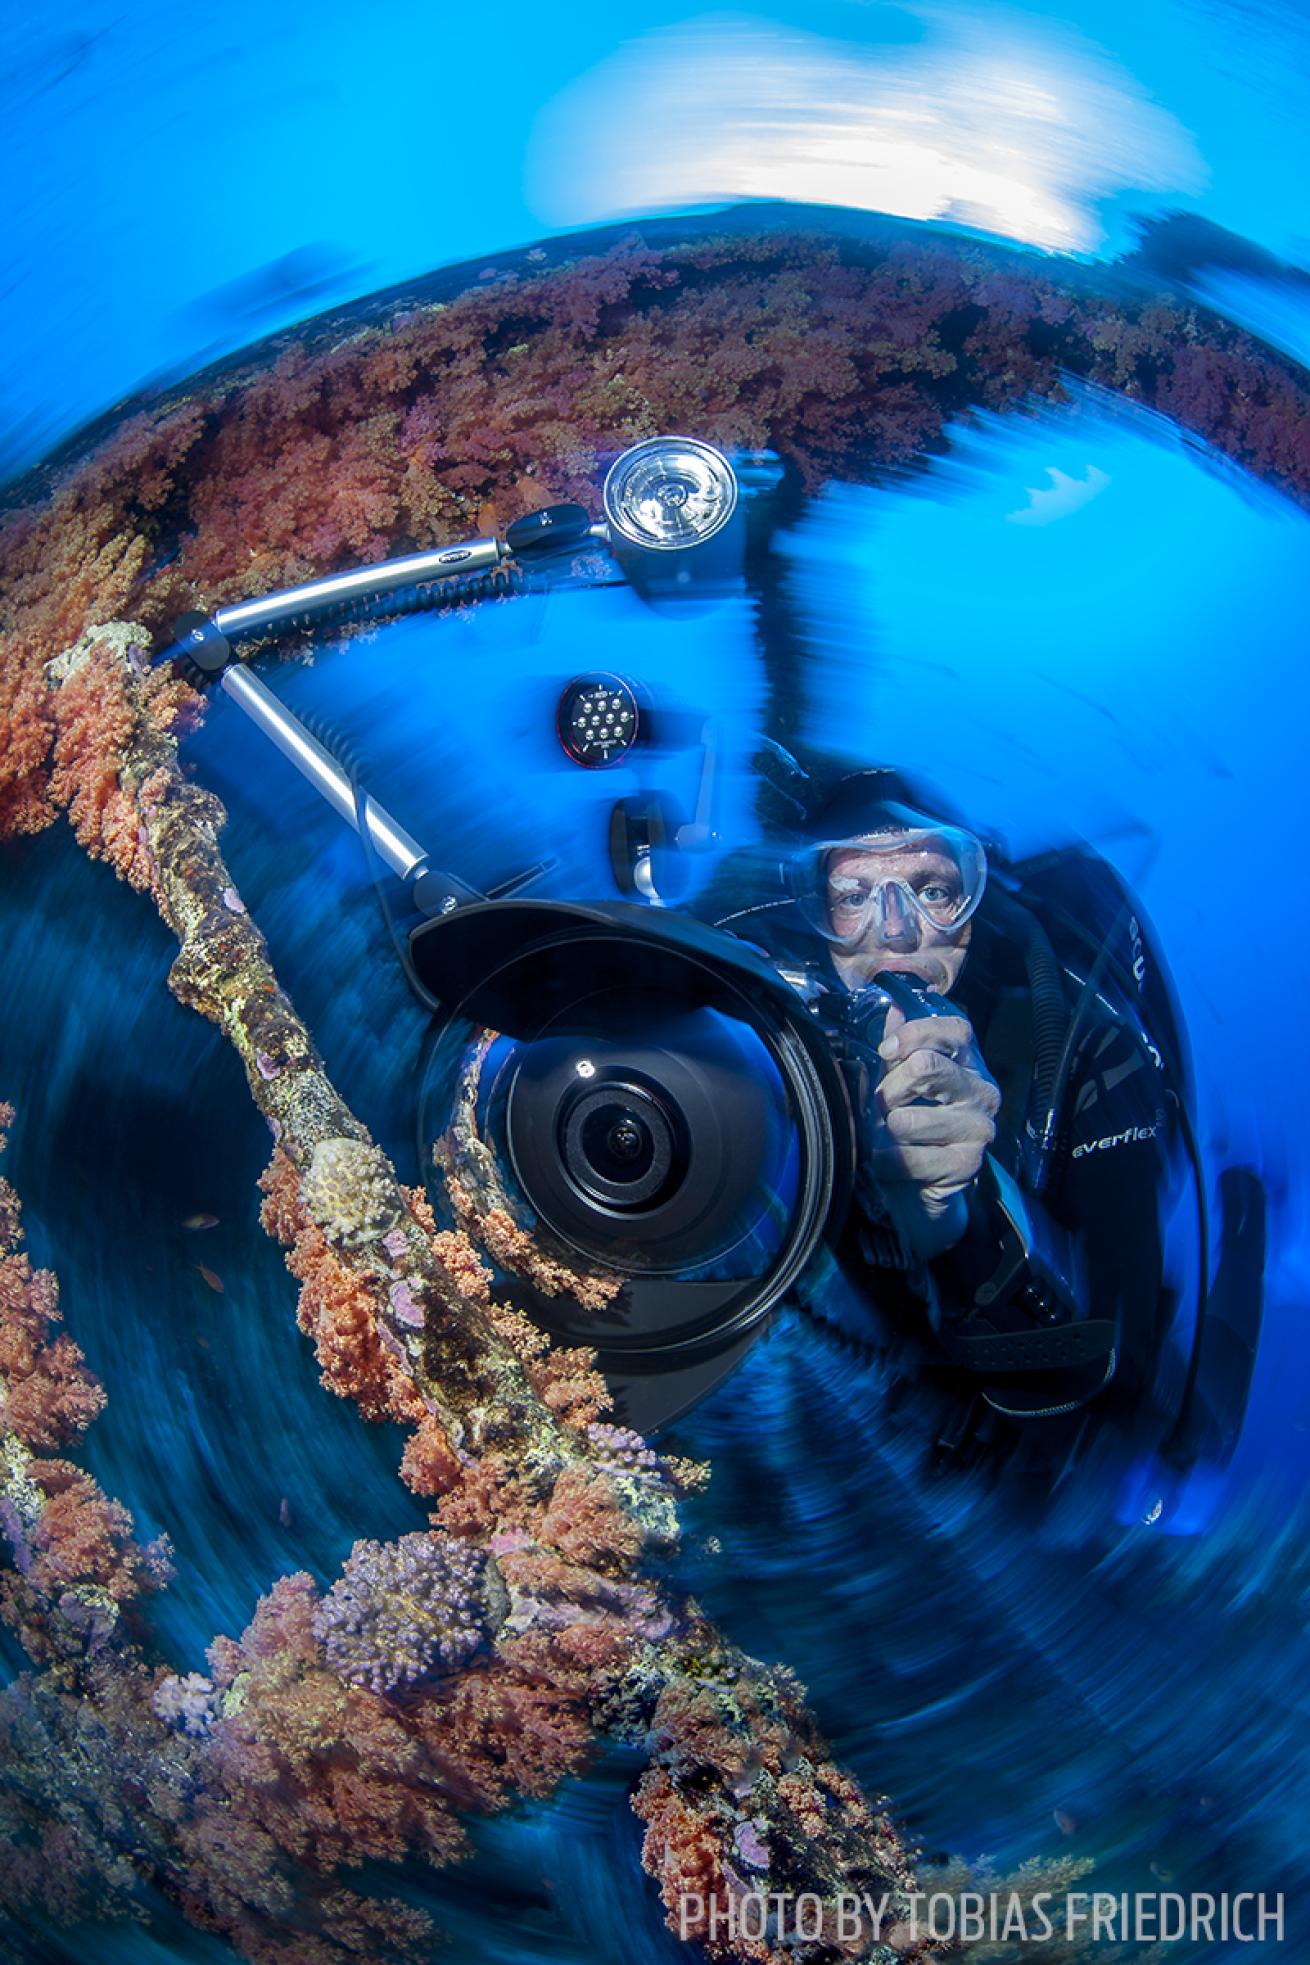
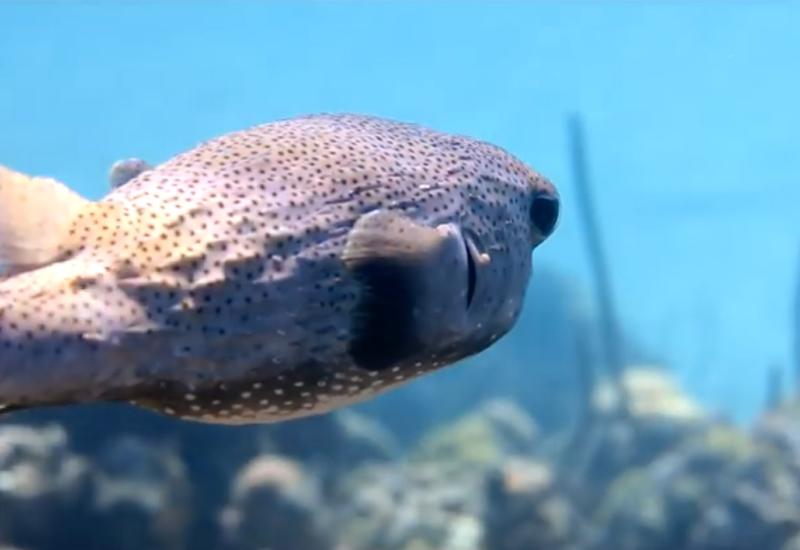
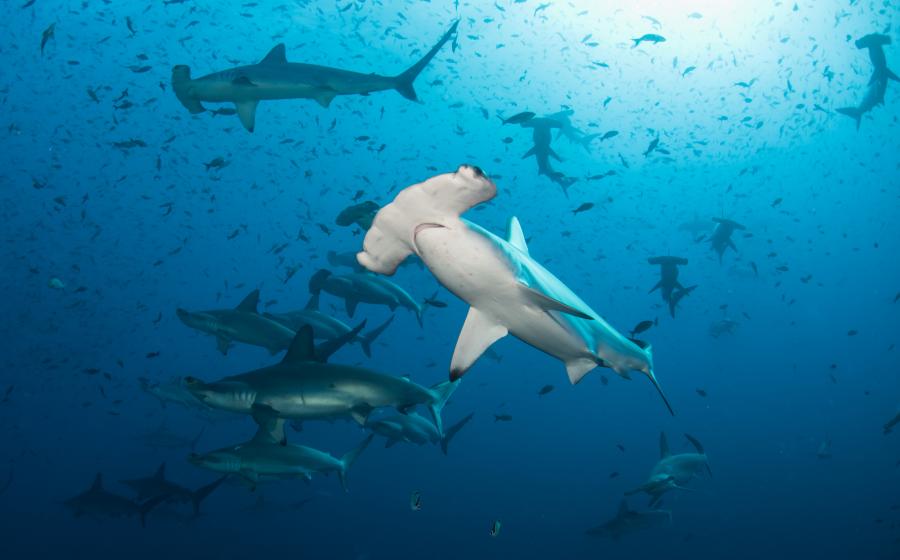
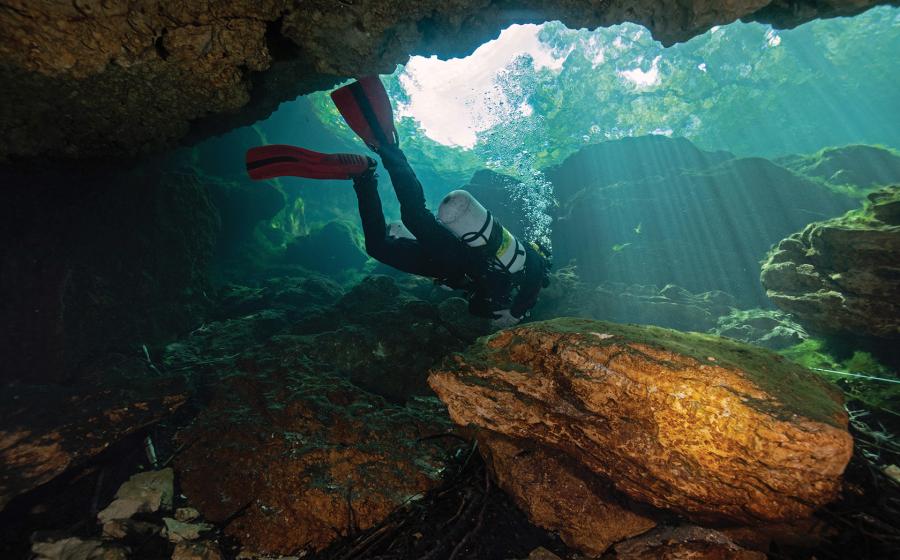
Tobias FriedrichTip No. 1: Get close — and then get closer.
Learn how to approach the reef and marine life.
If you get excited and make a mad dash to get a shot of a turtle you see on the reef, it will take off in the opposite direction. You need to be a stalker. Approach calmly and let the marine life get used to your presence. You’d be surprised how much closer you can get to critters when you spend the time to learn their behavior. Practice slow, steady movements when setting up on a reef shot.
Go on underwater photography group trips.
There’s nothing worse: You’ve just set up on the perfect macro shot, and then the divemaster pokes you in the arm because you’re holding up the group. Travel with a dedicated underwater photography group, where the main purpose is underwater imaging, and you’ll get better results from having the dive operation cater to your needs.
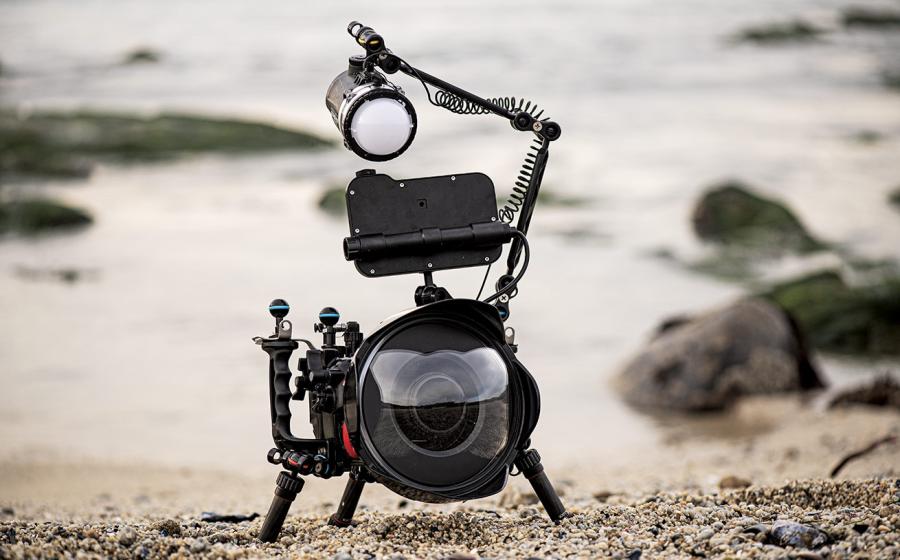
Pack your gear in a proper camera travel bag.
Unfortunately I’ve seen too many people pack their camera gear in regular luggage wrapped in T-shirts and underwear, only to have it arrive to a destination in pieces. It’s better to be safe than sorry; get a professional camera bag. Even if you plan to pack all your gear in your carry-on luggage, you never know when you might be forced to check it because the little island-hopper doesn’t have enough room in the cabin for your bag.
Get a vacuum system and avoid floods.
A vacuum system will pull a negative pressure on the housing, usually in the neighborhood of 2.5 to 5 psi. The system then monitors for any loss of vacuum. If you have loss of vacuum, you have a leak; if not, it’s sealed. This is great to know before you get in the water. When used properly to detect leaks, a vacuum system virtually eliminates all risk of flooding.
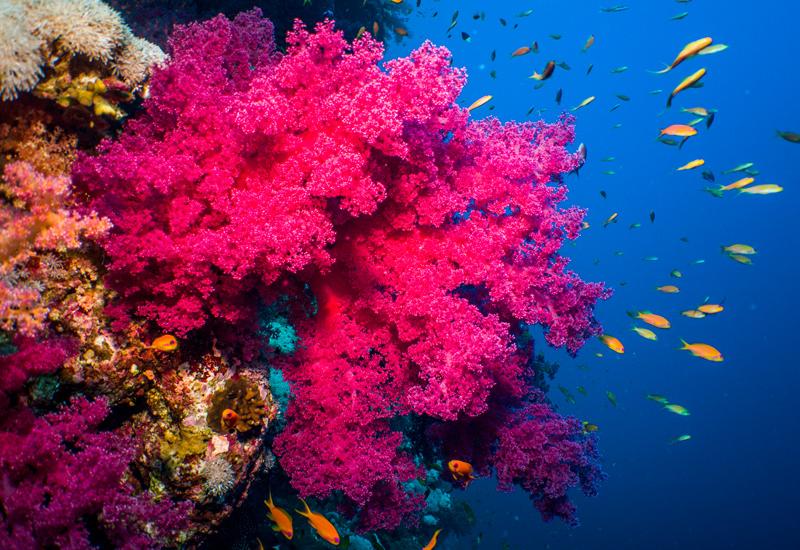
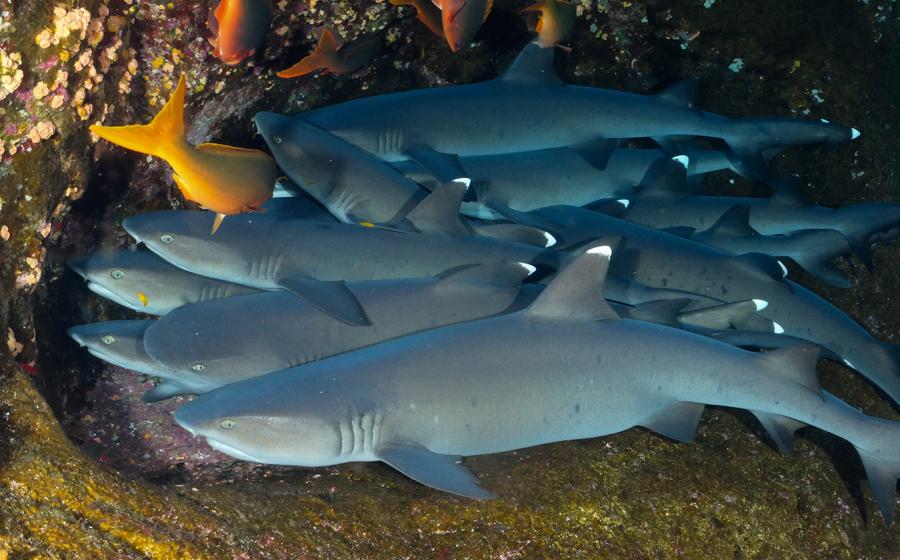
Get close.
We’ve all heard this one, but in general you need to be within a few feet for a wide shot and a foot or less for macro. Otherwise there’s too much light lost between the subject and lens, which usually shows up in the image as lacking contrast.
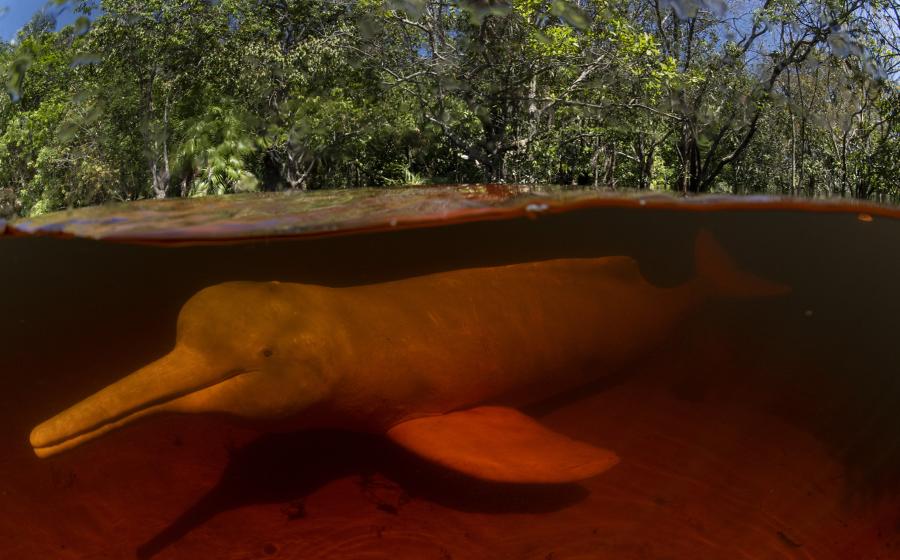
Use appropriate gear for the job.
To get the best results use a dedicated macro or wide-angle lens. While a midrange zoom lens sounds like a great one-lens solution, it’s generally not wide enough to shoot large reef scenes or shipwrecks, and it doesn’t have enough reproduction to capture tight macro shots of blennies or nudibranchs.
Want to strengthen your photo vocabulary? Check out our glossary of terms for beginners.