8 Essential Tips for Regulator Maintenance

Reg Maintainence open
Ryan McClellan
If you've invested significant money in your dive gear, it's essential you perform proper maintenance on your regulator. Regular maintainence will prolong the life of your gear and help keep you safe while diving. User maintenance requires that you visually inspect, clean and properly handle all the pieces of your setup using specific steps for both pre- and post-dive care. So, before your next dive trip, follow the pre-dive steps in this guide to make sure your regulator is safe and ready to dive. And at the end of your trip, follow the post-dive steps to keep it in top-notch condition until next time.
Predive
1. Connect your regulator to a tank when preparing your gear for a dive trip. Take a few breaths from the regulator, a few breaths from the octopus and check the SPG for an accurate reading.

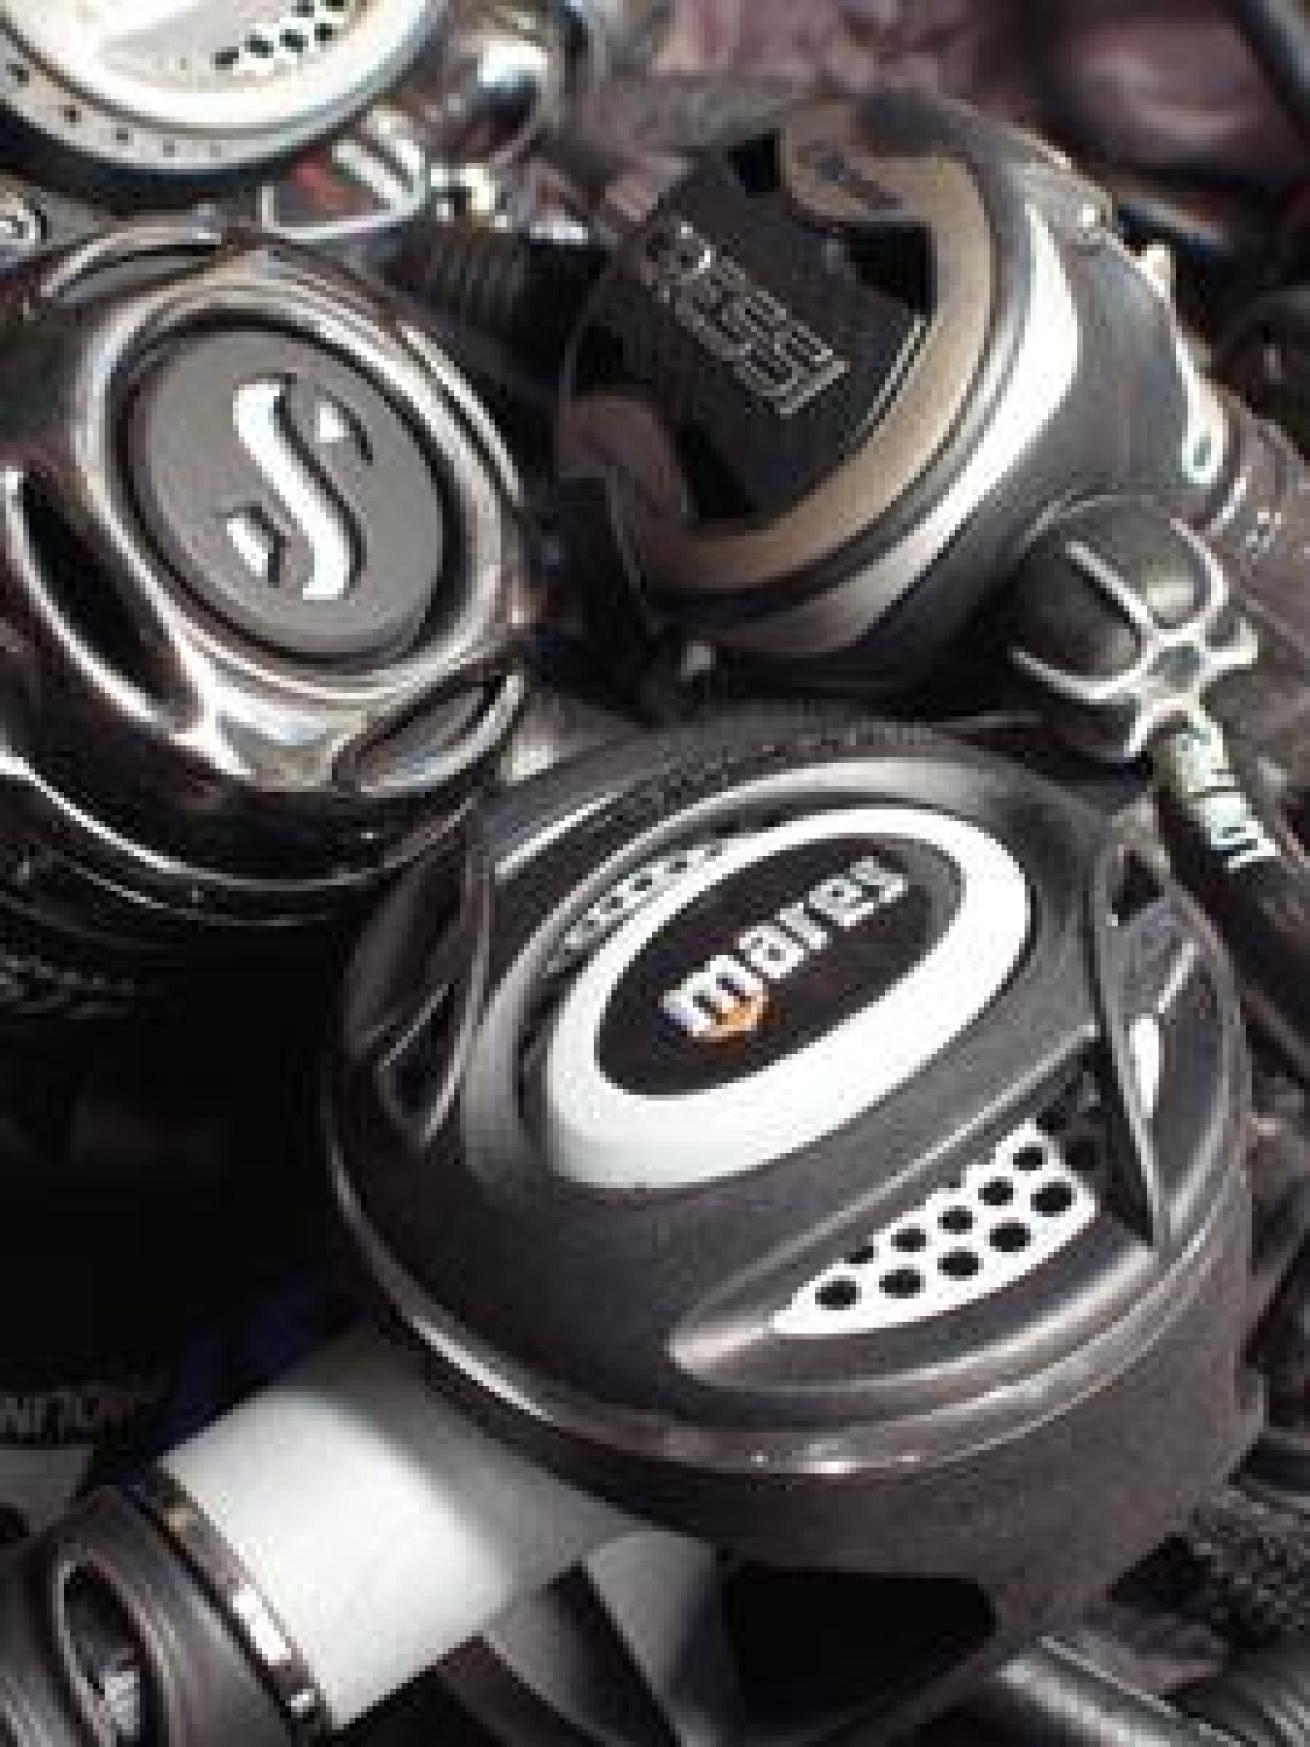
2. Visually inspect all regulator hoses to ensure there are no cracks, make sure there are no holes or tears in the mouthpieces and check the metal fittings for corrosion.
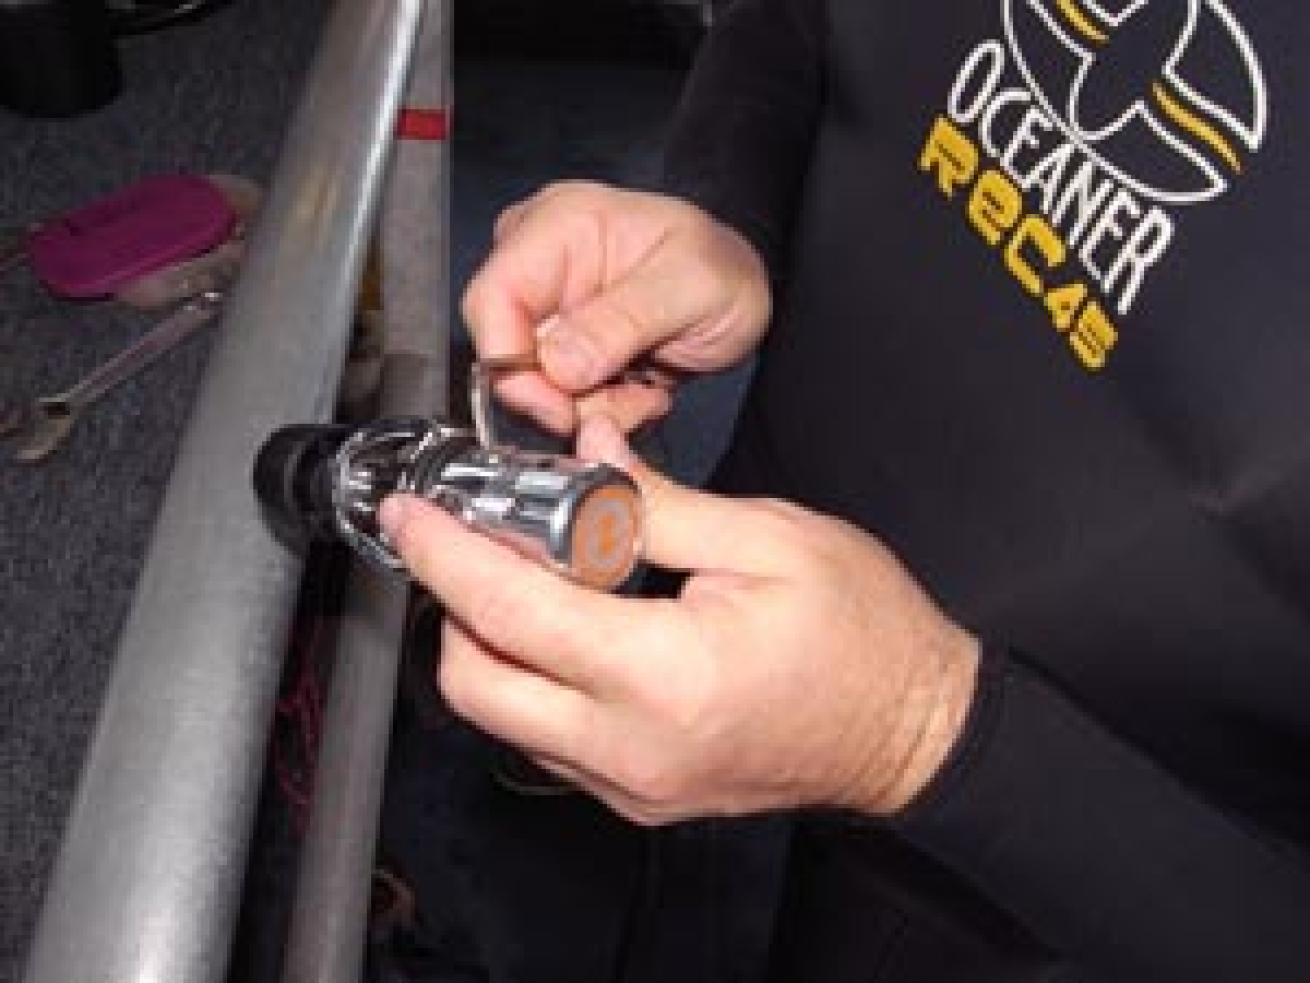
3. If you use hose protectors, slide them away from the first stage to check beneath them. At the same time, look for corrosion on the metal first stage. Cracks in the hoses or obvious corrosion on any of the regulator's components require professional service from a qualified technician.
4. Next, disconnect the regulator from the tank, replace the dust cover, inhale on each regulator forcefully and hold a vacuum. Each regulator should let in either a very tiny trickle of air or no air at all.
5. Check each second-stage housing for cracks.
Postdive
1. When rinsing your regulator, make sure the purge valves on the second stages don't get depressed and the first stage dust cover is firmly in place.
2. After dunking the entire octopus, rinse your second stages by running warm water through the regulator mouthpiece and out the exhaust diaphragm.
3. Rinse the fitting that connects to your low-pressure inflator by working the slip coupling back and forth while holding it under warm running water.
Ryan McClellan
If you've invested significant money in your dive gear, it's essential you perform proper maintenance on your regulator. Regular maintainence will prolong the life of your gear and help keep you safe while diving. User maintenance requires that you visually inspect, clean and properly handle all the pieces of your setup using specific steps for both pre- and post-dive care. So, before your next dive trip, follow the pre-dive steps in this guide to make sure your regulator is safe and ready to dive. And at the end of your trip, follow the post-dive steps to keep it in top-notch condition until next time.
Predive
1. Connect your regulator to a tank when preparing your gear for a dive trip. Take a few breaths from the regulator, a few breaths from the octopus and check the SPG for an accurate reading.
2. Visually inspect all regulator hoses to ensure there are no cracks, make sure there are no holes or tears in the mouthpieces and check the metal fittings for corrosion.
3. If you use hose protectors, slide them away from the first stage to check beneath them. At the same time, look for corrosion on the metal first stage. Cracks in the hoses or obvious corrosion on any of the regulator's components require professional service from a qualified technician.
4. Next, disconnect the regulator from the tank, replace the dust cover, inhale on each regulator forcefully and hold a vacuum. Each regulator should let in either a very tiny trickle of air or no air at all.
5. Check each second-stage housing for cracks.
Postdive
1. When rinsing your regulator, make sure the purge valves on the second stages don't get depressed and the first stage dust cover is firmly in place.
2. After dunking the entire octopus, rinse your second stages by running warm water through the regulator mouthpiece and out the exhaust diaphragm.
3. Rinse the fitting that connects to your low-pressure inflator by working the slip coupling back and forth while holding it under warm running water.