


Erin QuigleyNeed help with photo editing? We'll show you how to remove backscatter from your underwater images.
I wish I had a magic bullet for backscatter removal. But the truth is, to get spots out of your shots, you’ve got to master more than one technique.
Lightroom Spot-Removal Tool
In Lightroom, you’re limited to a single, rather clumsy Spot Removal tool.
Click on a piece of backscatter, or click and drag to draw over a larger area, and the Spot Removal tool goes to work. If you don’t like the result, you can choose a different sampling area yourself. Simply select with the bolder outline, and drag it to another part of the image.
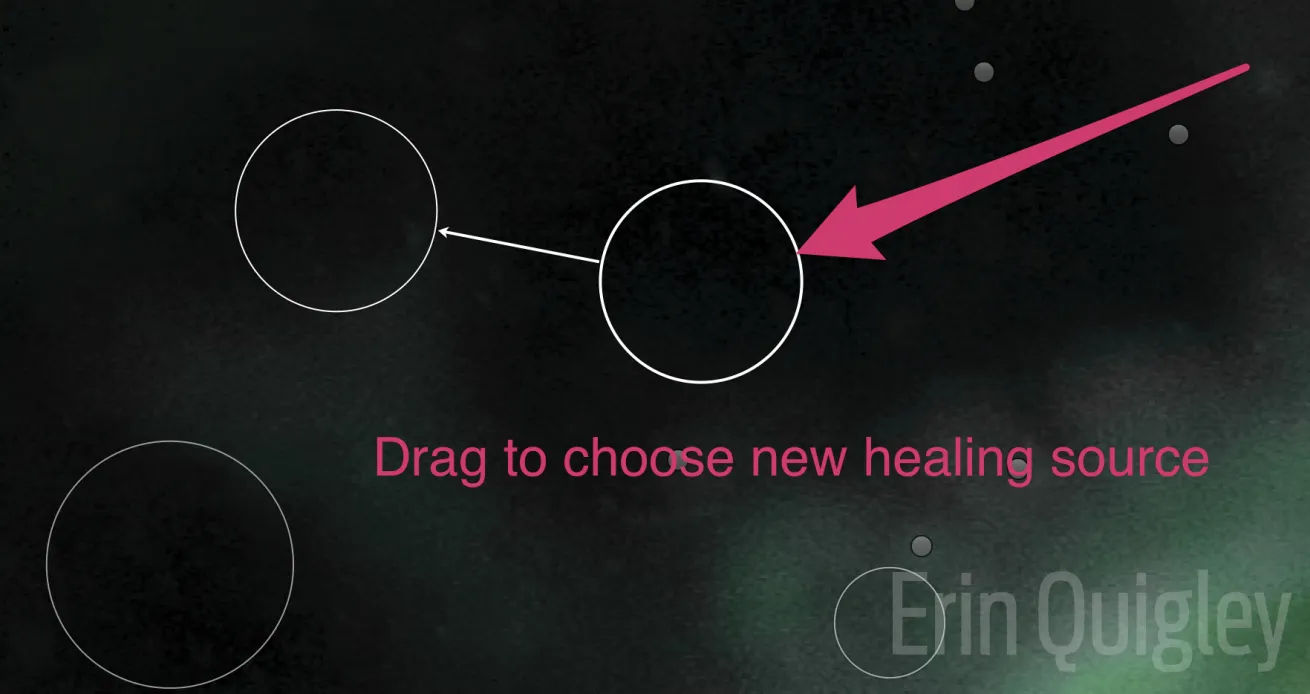
Erin QuigleyUsing the spot-removal tool in Lightroom is one way to remove backscatter from underwater photos.
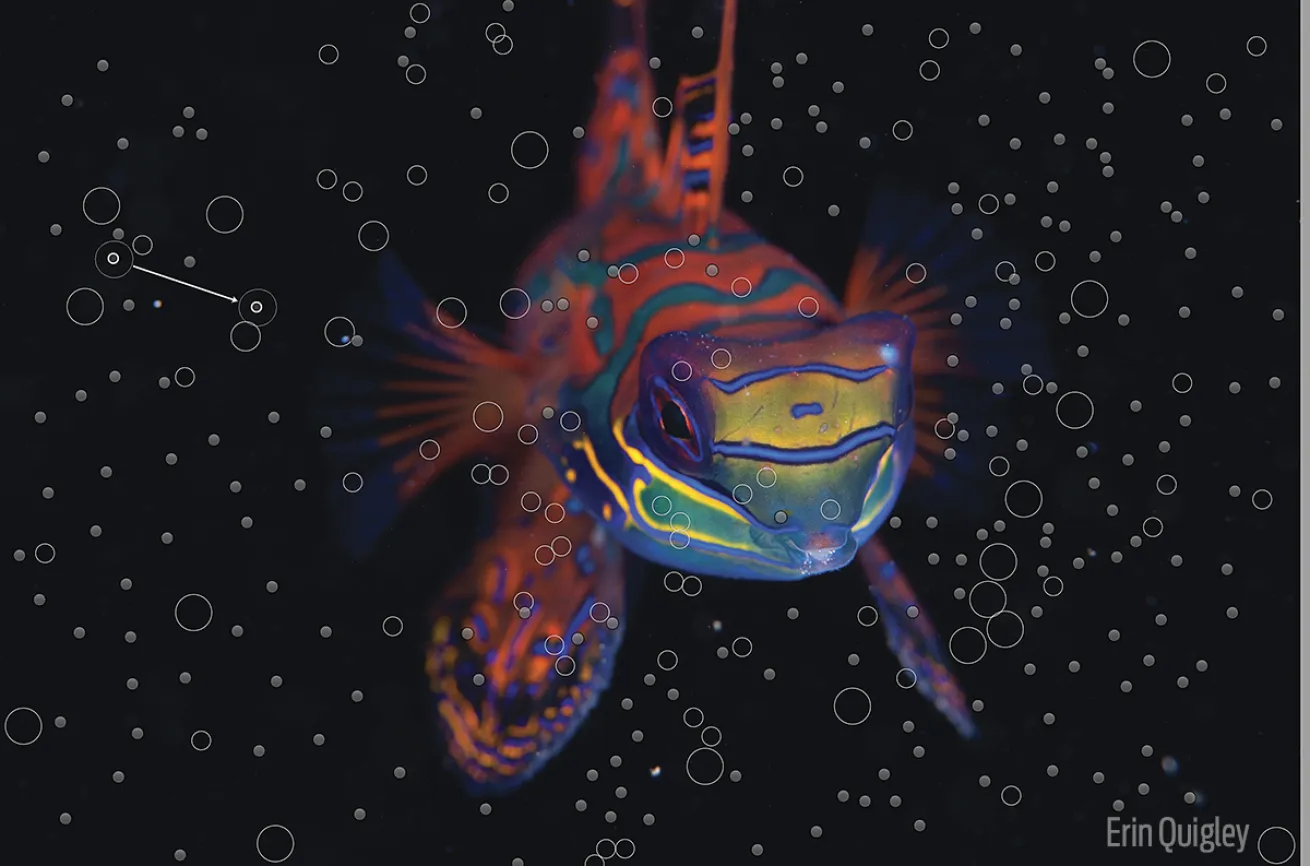
Although it’s possible to do significant cleaning with Lightroom’s Spot Removal tool, it’s grueling — for you and your processor. If your photo suffers from serious silt, you’ll eventually want to dive into Photoshop to access better tools.
Erin QuigleyPhotoshop has more tools that allow you to edit backscatter and spots out of your photos.
Photoshop Backscatter Removal Tools
For tough jobs, Photoshop offers myriad tools and techniques. You’re limited only by the depth of your bag of tricks and how much time you’re willing to spend on an image. Although there are a few great quick-and-dirty techniques that can knock spots back fast, they don’t work on every picture, and even when they do, there’s always some additional cleanup to be done. A real-world workflow combines multiple tools and techniques to get the job done.
In Photoshop, the Spot Healing brush, Healing brush, Patch tool, and Stamp (clone) tool are my go-to tools for image cleanup.
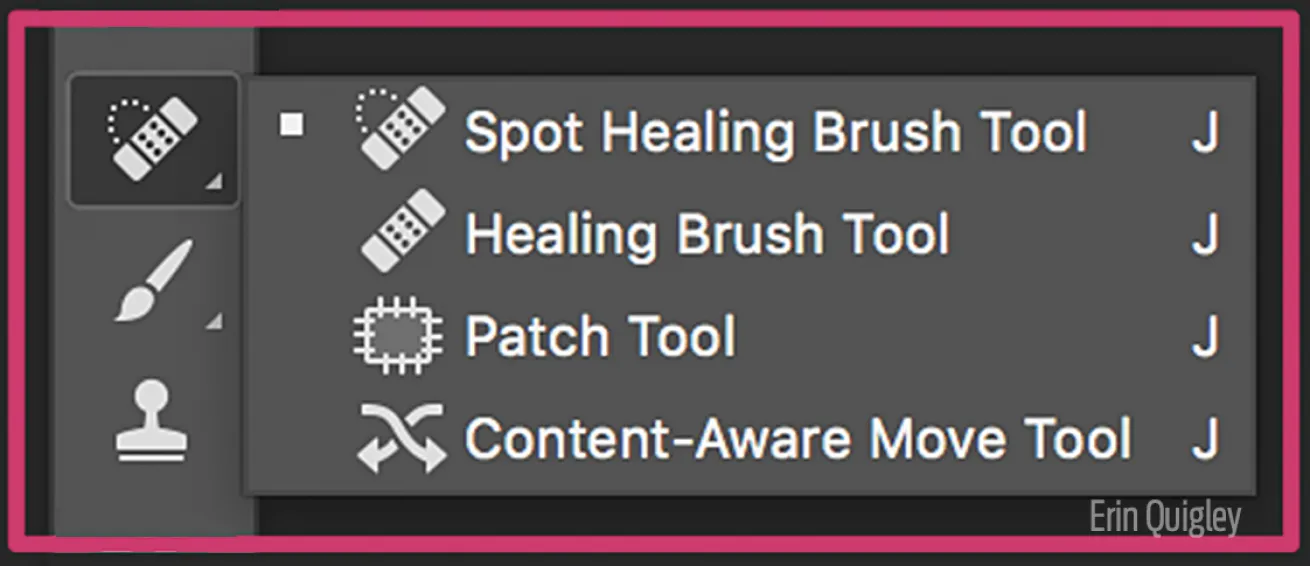
Erin QuigleyThe Spot Healing Brush, Healing Brush, Patch tool and Stamp are three of the easiest Photoshop tools to help you remove backscatter from your photos.
The Spot Healing Brush is the easiest to use. Simply click on an area to be repaired, and it automatically samples pixels near the edges of the brush for blending. Because the Healing Brushes have built-in blending power, you don’t need a brush with a big, feathered edge. Start with a hard-edged brush, and gradually soften it only if your edits are too visible. If you find you’re getting blurred results, switch to the regular Healing Brush, which does a better job of matching texture.
To use the regular Healing Brush, first Option-Click (Mac) or Alt-Click (PC) to set a source area, then paint over the pixels to be repaired. The Healing Brush matches texture, lighting, transparency, and shading, but doesn’t pay much attention to color. Use this brush to match texture or when you need more precision to line up edges and patterns.
The Patch Tool lets you repair larger areas of your image with pixels from another area of the same size. To use the Patch tool, draw around the area you want to repair. Click with the Patch tool inside the selection, and drag it to a clean area. When you release the mouse, the original pixels will be patched with clean ones from the sampled area. The Patch tool works well to speed up spot removal when you’ve cleaned up a decent amount of backscatter elsewhere, and can use the entire cleaned-up area to patch from. Use the Patch Tool in Content-Aware mode to enable Structure and Color sliders in the Patch tool options bar, which can be used to fine-tune results immediately after the patch is complete. Switch to Normal mode if you’re not getting the desired effect.
Erin QuigleyBe sure to check your work after removing backscatter.
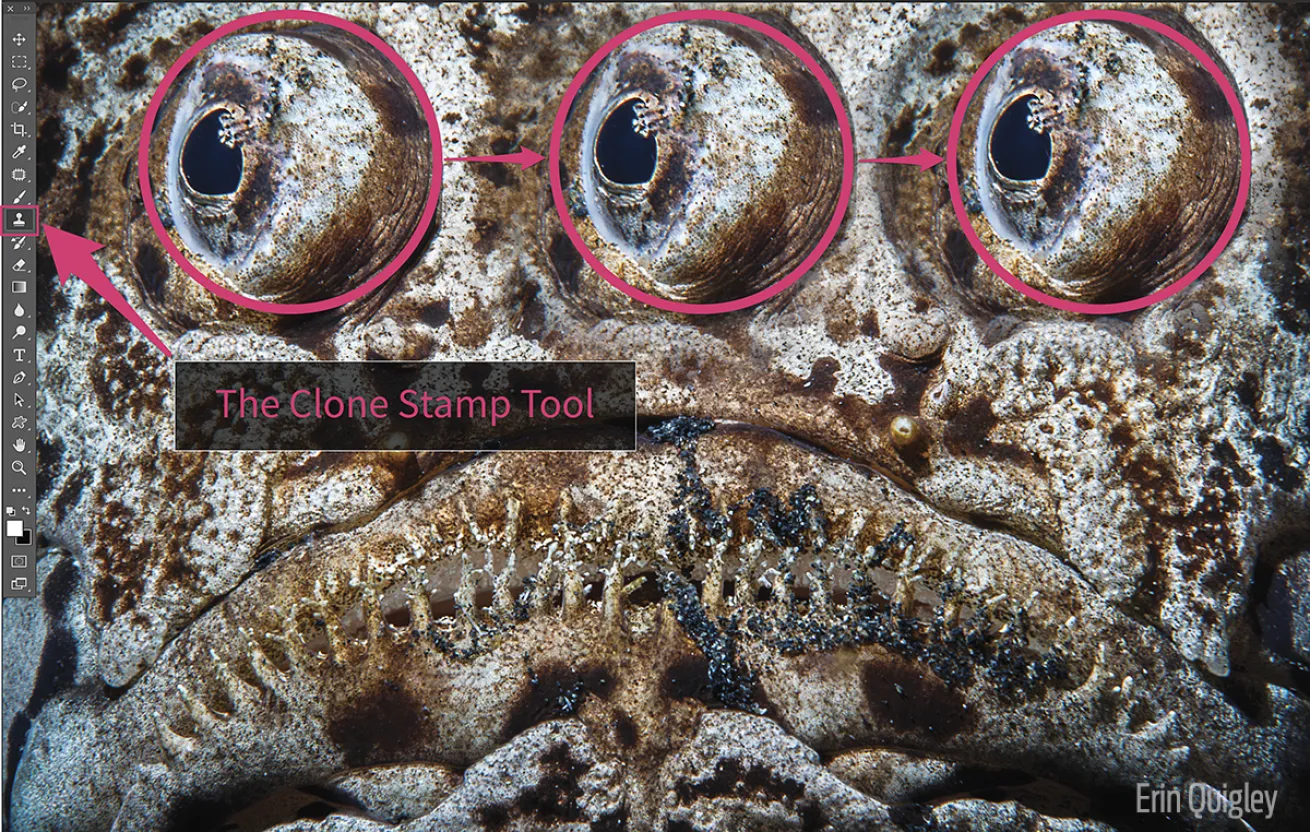
The Clone Stamp identically copies pixels from one place to another. Option or Alt click to sample an area that you want to copy. Move the Stamp tool to the location of the repair and paint. I usually resort to the Clone Stamp when I’m not getting any love from the Healing brushes, when I need to rebuild edges, or for special effect.
With all backscatter removal techniques, it’s important to check your work. Large amounts of healing, patching and cloning can leave blurs and smudges that make your photo appear “worked.” Make sure to analyze areas of spot removal at 1:1.
Pro Tip
Due to popular demand, in Photoshop CC 2015.5, Adobe added an option to restore the legacy algorithm for the Healing Brush. To enable it, go to Photoshop>Preferences>Tools (Mac) or Edit>Preferences>Tools (PC), and tick ON the “Use Legacy Healing Algorithm for the Healing Brush.” While you’re there, check OFF “Use Shift Key for Tool Switch,” which makes it possible to quickly switch between backscatter removal tools by using the keyboard shortcut “J.”


