

Jason Isley/Scubazoo
Black and white photography is a creative technique, primarily using the element of sharp contrast between dark and light areas to produce artistic images which often have a simple yet sophisticated feel to them.
Before the rise of colour photography in the 1930s, black and white was the norm and known simply as 'photography' – showing subtle differences in the brightness of real colours in achromatic grayscale gradations. Nowadays the tables have turned, and photography to most people means colour photography, while black and white photography itself has become something of a 'lost art'. In the days before digital, dedicated underwater photographers using black and white film were limited to just 36 frames, with their minds focused solely on the light, subject, and composition to create black and white images for the duration of their dive.
The modern, digital revolution has allowed for more spontaneous creativity at the simple touch of a button, meaning we can shoot first and think about creative looks later using photo editing software. Virtually all underwater photographers now shoot everything in colour, however, thinking in black and white while diving could make you see our underwater world in a different and positive way, while also enhancing your mastery of light – the key element of all underwater photography.
Here are some tips to help you create stunning black and white images:
1. Wide-angle black and white images are more common than macro. The wide field-of-view of rectilinear lenses (eg. 12-24mm, 16-35mm), and fisheye lenses (eg. 10-17mm, 15mm), allows for much greater contrast to be defined between the black, gray, and white tones in the scene. Large (wide-angle) subjects such as sharks, rays and whales have little color and are therefore an easy choice for a black and white image. On the other hand, many small macro subjects (with some exceptions) are often very colorful, and as such, look much nicer in color!
2. Contrast is the strongest and most important element in black and white photography, and 'tonal contrast' refers to the contrast in brightness of light and dark areas. Together with a simple composition, black and white underwater images work best with simple, striking subjects, and usually without distracting background or foreground details. Look out for animals that have good tonal contrast, with light and dark stripes or spots for example, such as a Whale Shark or a Banded Sea Snake. Try and isolate your subject with a clean background, such as a dark subject against a bright background, or vice versa. This could mean shooting downwards against a white, sandy seabed, or dark, deep water; or shooting towards the bright surface, capturing a silhouette.
3. Vibrant, colorful subjects should simply stay that way in our images, and don't benefit from the black and white technique. An example could be a cute, juvenile Yellow Boxfish – with bright skin, black spots, and fairly easy to shoot with a black background, it may seem like a good candidate for black and white. However, without its dazzling yellow skin the fish (and the image) leave little impression on the viewer. Non-divers may not notice, but many divers might.
4. Wrecks make for great black and white images, since this technique accentuates shapes, textures, structures and tonality. Wrecks have great 'leading lines' for eye-catching compositions, and many areas of strong contrast with shadows and highlights (and often sunbeams). Shoot at an upward angle, to isolate features such as the bow against the bright sunlit surface. Black and white works well for many wreck images to convey a slightly melancholic, sentimental tone – especially wrecks with a significant history, or that sunk tragically with loss of life. When it comes to editing, a nice finishing touch for wrecks is to increase the 'grain' or 'noise', which helps to give the overall image a more historic, 'decaying', and antique feeling.
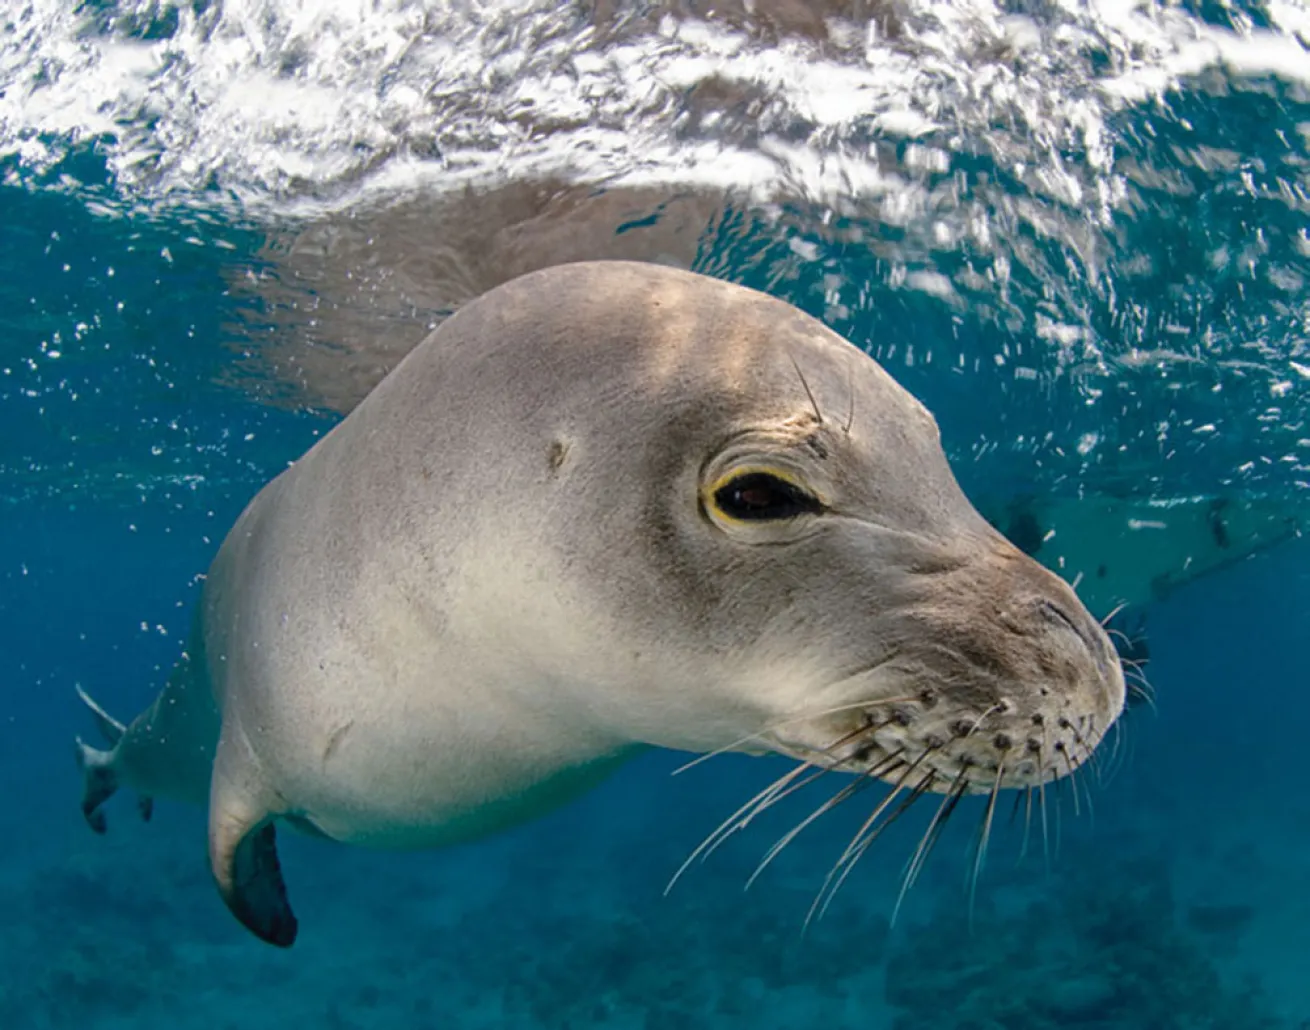
5. 'Sharpness contrast' is a useful element in situations where you may not have good tonal contrast, quite often when shooting close-up macro subjects for example. By focusing sharply on the eye of an animal and shooting with a low f-stop for a shallow depth-of-field, the subject can still be defined in black and white. Be aware though of unwanted tonal contrasts (such as bright or dark spots) in the blurry background.
6. As a general rule, shooting with natural (ambient) light where possible for black and white shots gives a nicer, more organic result than using artificial strobe light. However, rules are there to be broken, and there's obviously many situations where strobe light is essential to make a subject stand out clearly. Strobe light can also sometimes reveal hidden textures or patterns in a subject. Sandy, shallow seabeds will reflect sunlight on bright, sunny days – this can be beneficial as it increases the contrast with darker foreground subjects. e.g. a turtle swimming over the seabed.
7. The black and white technique is also a good way to emphasize interesting patterns or shapes in subjects – for example, the light spots of a Whale Shark, or an abstract macro image of a Brain Coral, or a dark (kite-shaped) Eagle Ray over a light sandy seabed.
8. Because we see in color, colors can have a strong influence on us when we shoot, which can affect our judgement of what's needed for a good black and white image. Your camera should have a mode specifically for shooting in black and white, which could be called B&W, Monochrome, or Monotone depending on your brand of camera. By thinking and actually shooting in black and white, you can see what the scene really looks like in this style, and adjust your settings based solely on the black, white and gray tones – rather than guessing based on how you see color. By switching your camera to shoot 'RAW & JPEG', the JPEG displayed on your LCD screen will be in black and white. The RAW file on the other hand is, and always will be in color – the 'standard' that you'll always need to keep. While the JPEG may look fine, if you need to tweak your image using photo editing software such as Adobe Lightroom or Adobe Photoshop, you should edit the RAW file (to minimize quality loss). Tell Lightroom to display both the RAW & JPEG file in the 'Preferences' menu so you can easily compare the color RAW with the JPEG, then convert the RAW to black and white, and edit accordingly to match the JPEG (or edit even further until you're happy with the result).
9. Certain color images that you aren't happy with and might throw away, may actually look great when converted to black and white, like an overexposed silhouette shot of a turtle, or a shot in murky visibility for example. Find an old 'throwaway' shot in your library that you think is suitable, convert it, play around with your black and white editing, and you may be pleasantly surprised with the result.
10. Use editing software such as Photoshop, Lightroom or Aperture to convert normal color RAW images to black and white. Silver Efex Pro is another program specifically for creativity with black and white photography, and comes highly recommended by many professionals.
There are many different ways to convert images to black and white with just Photoshop alone – the easiest method is opening the RAW image in Adobe Camera Raw, clicking on the 'HSL/Grayscale' tab, checking the box 'Convert to Grayscale', and then adjusting the tones manually. There are also numerous 'Plugins' for Photoshop, and 'Presets' for Lightroom, allowing for lightning-fast creation of black and white images (as well as sepia and numerous other monochrome effects).
11. Contrast is key when editing black and white images, and will need to be given a boost in most images using the contrast sliding bar of your editing software. Use the 'tone curve' or slider bars to adjust the levels of blacks, whites, shadows and highlights – in general, blacks and shadows need to be made darker, and whites and highlights, lighter. Since this is black and white photography, the best results are images with strong contrast between the black and white extremes. In between these are various shades of gray. Beware though, while the grays make up the negative space in the rest of your image and are a natural component of black and white photography, sometimes they can be detrimental. For example, a large animal in shallow, bright blue water and not very close to you, will often have little contrast, and although in color the blue looks great, when converted to black and white the entire image will look flat, and a very dull gray. With such blue water images, you could use an 'adjustment brush' to darken the main subject to make it pop, while a 'graduated filter' could make the deep water at the bottom of the frame much darker than it was originally, giving a stronger contrast with the lighter, surface water.
12. Black and white images should be straightforward and simple, bringing photography back to its primitive form. Shooting in black and white underwater takes a bit of courage to make that 'switch', but will certainly boost your skills and improve your understanding of light and contrast. Meanwhile, converting and editing suitable images to black and white with software such as Photoshop or Lightroom will take your editing skills to the next level too.
Follow these useful tips, and soon enough you'll have artistic black and white underwater images of your own, that wouldn't look out of place in a fine art photography gallery!
Inspired? For a selection of some of our favorite black and white photographs from our collection, visit our Black and White Photo Gallery.
Christian Loader (30, UK) is a full-time professional photographer for Scubazoo Images. He has worked extensively throughout SE Asia as an underwater videographer and photographer, and lives in Kota Kinabalu, Sabah, Malaysia.


