


Christian Loader/ScubazooPink Anemonefish eggs - Gaya Island, Sabah, Malaysian Borneo. (reversed 18-35mm lens, uncropped image). When finding an appropriate subject for this technique, think small, and think even smaller. These eggs are barely 2mm long!
Christian Loader/ScubazooMataking Island, Sabah, Malaysian Borneo. (reversed 18-35mm lens, uncropped image).
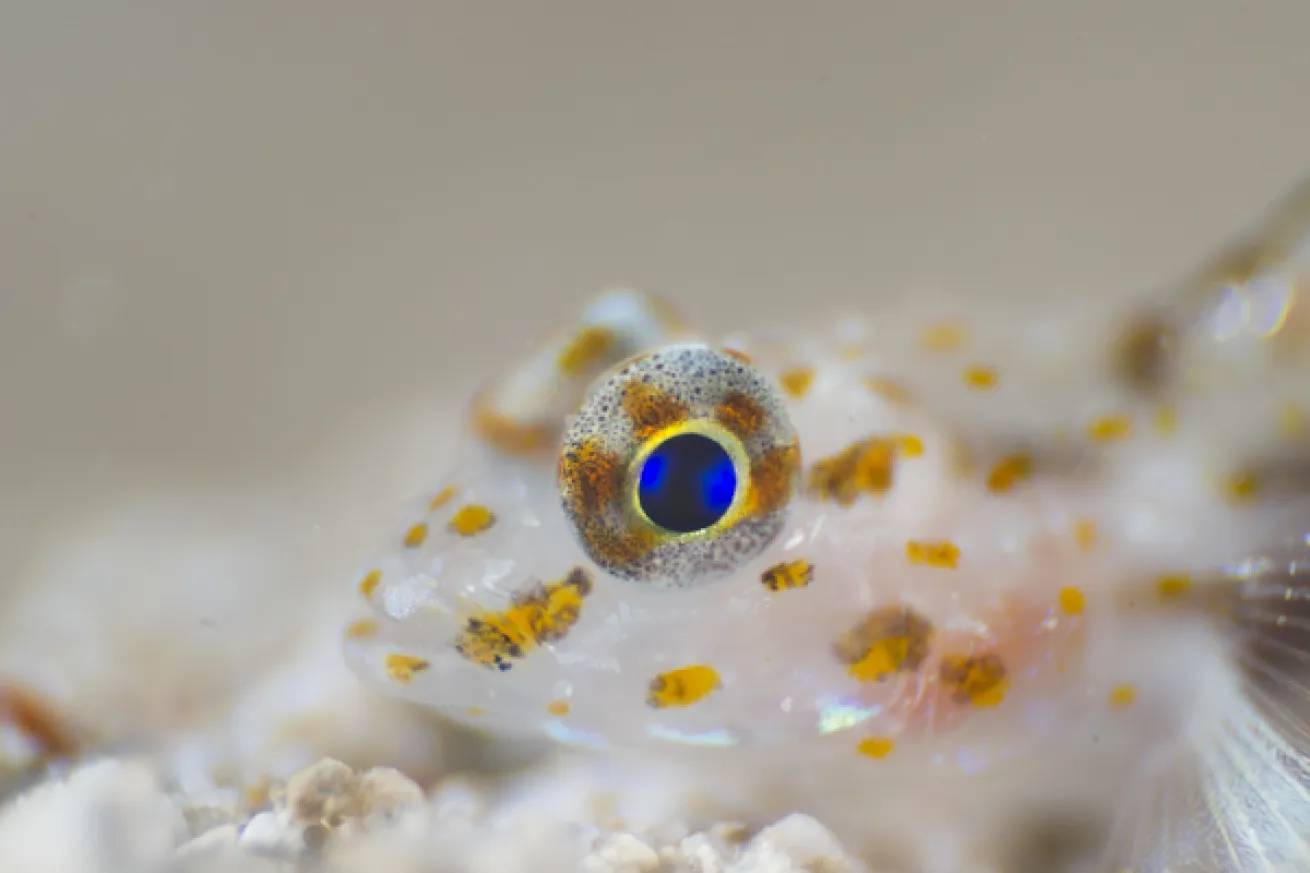
Christian Loader/ScubazooGaya Island, Sabah, Malaysian Borneo. (reversed 18-35mm lens, uncropped image). Fish are very difficult subjects for reverse macro photography. I was lucky with this goby, and managed to creep up closer and closer until it was 2 inches in front of the camera housing's port.
Christian Loader/ScubazooGaya Island, Sabah, Malaysian Borneo. (reversed 18-35mm lens, uncropped image).
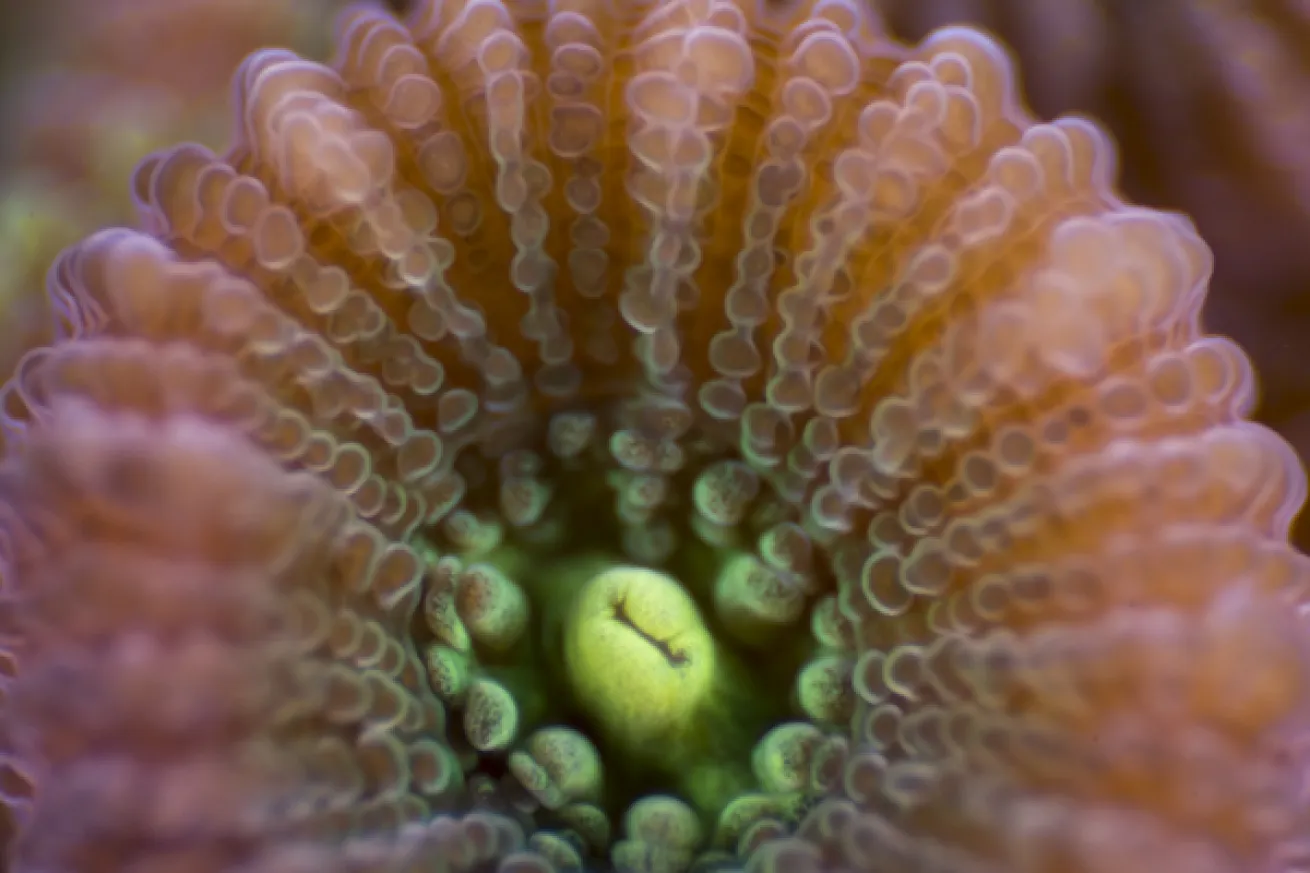
Christian Loader/ScubazooGaya Island, Sabah, Malaysian Borneo. (reversed 18-35mm lens, uncropped image). Extreme close-up abstract images can be achieved using this technique.
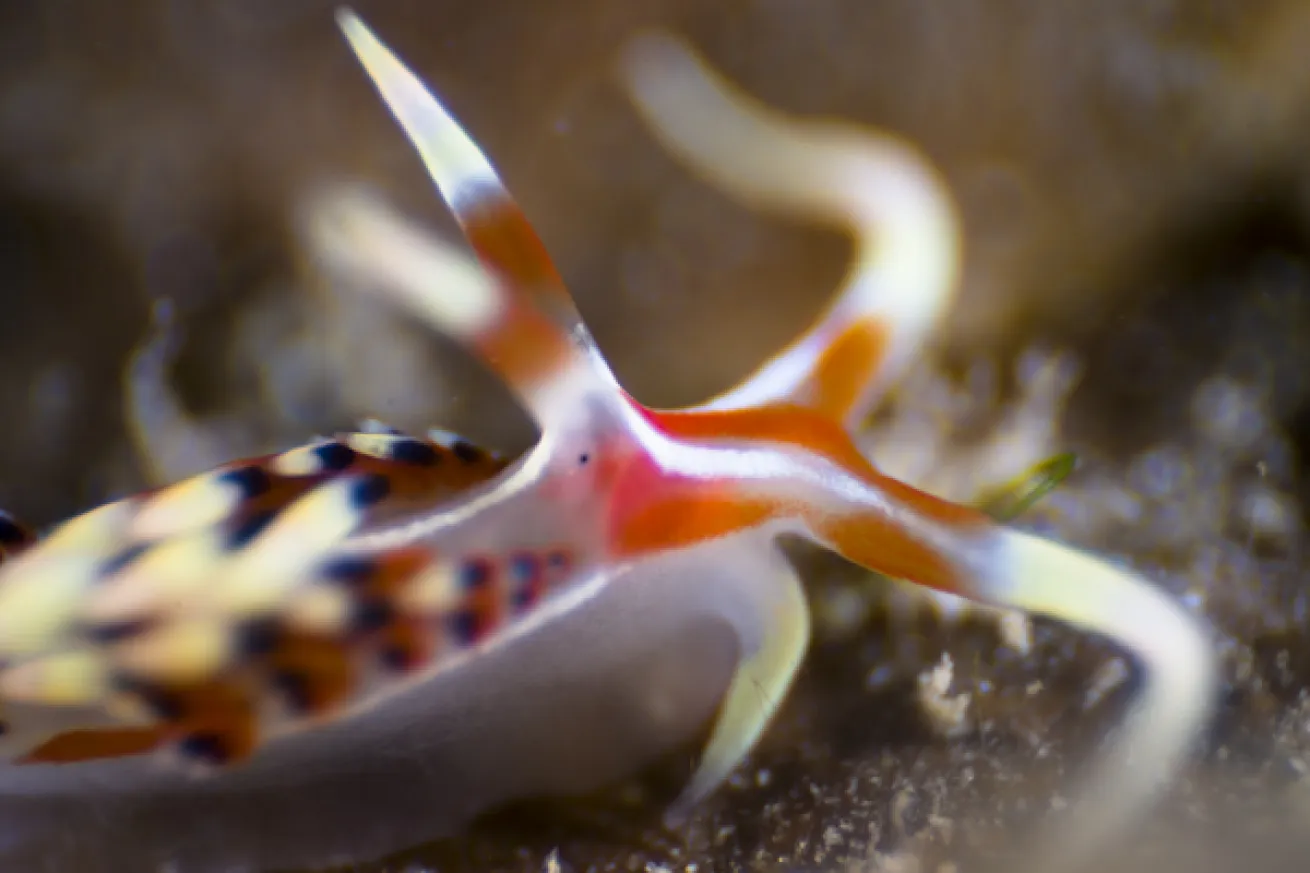
Christian Loader/ScubazooGaya Island, Sabah, Malaysian Borneo. (reversed 18-35mm lens, uncropped image). At such extreme magnification, it's difficult to even find your tiny subject while looking through the viewfinder. This nudibranch seemed like it was racing across this rock, and was quite tricky to shoot!
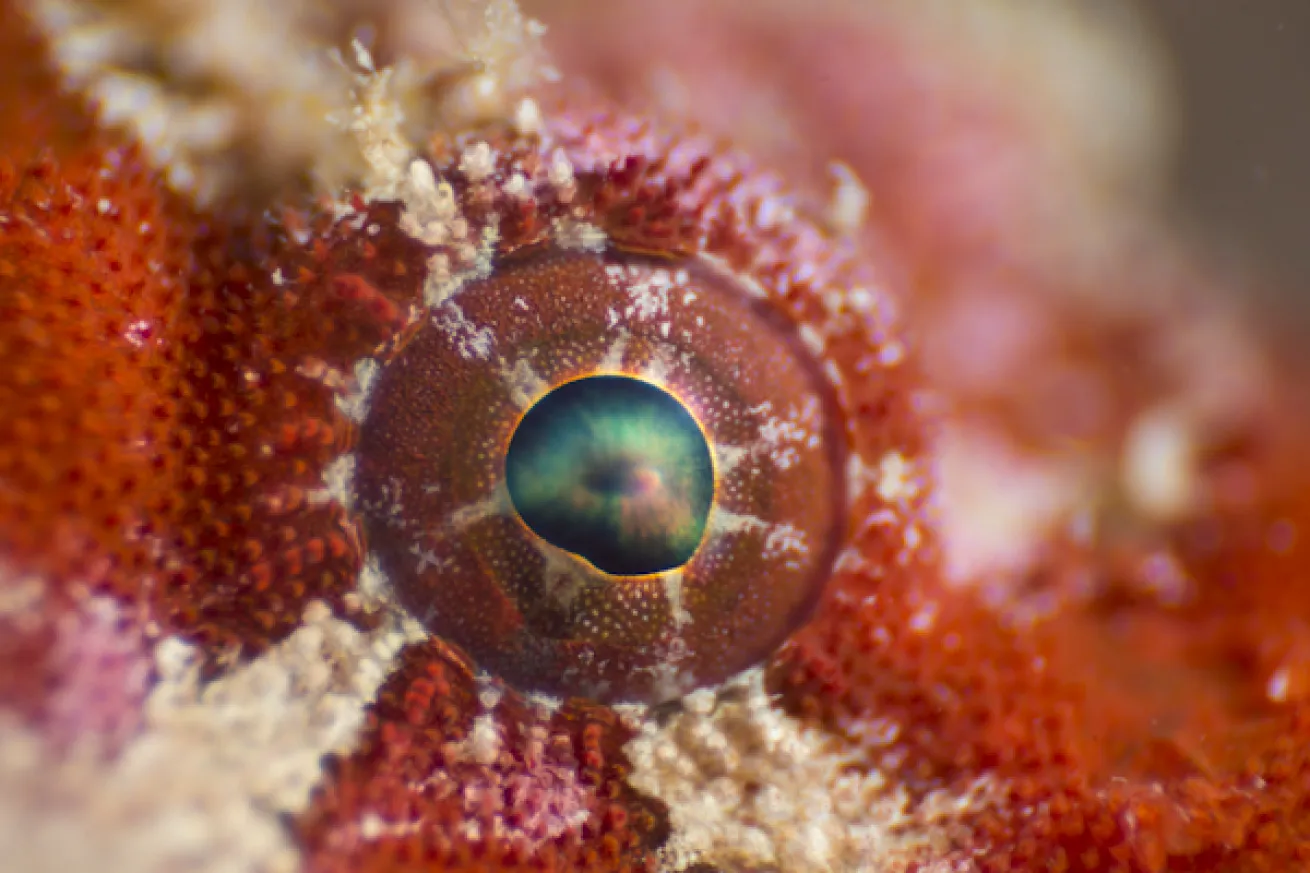
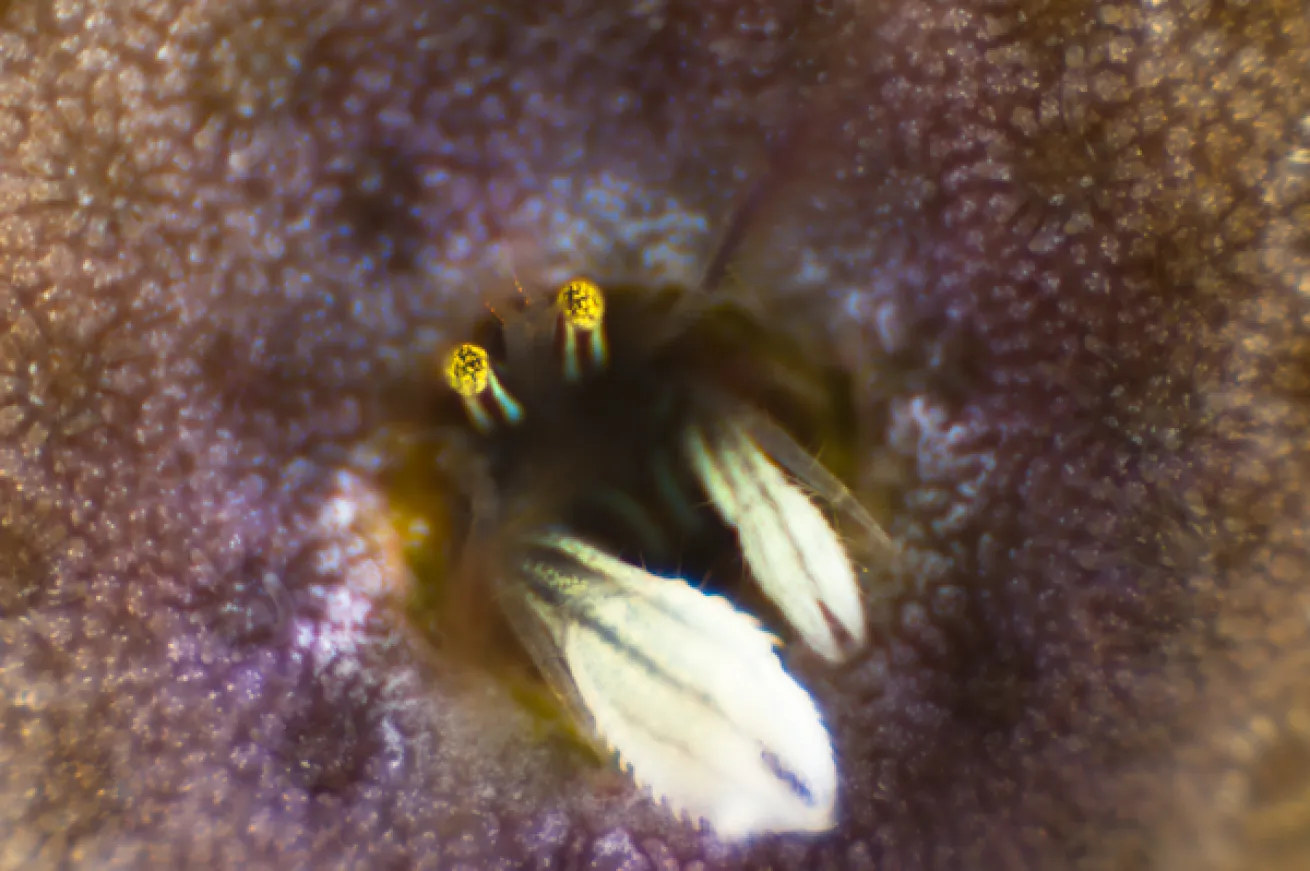
Christian Loader/ScubazooSapi Island, Sabah, Malaysian Borneo. (reversed 18-35mm lens, uncropped image). Frogfish are probably the most stationary of all fish, making them the easiest fish subject for reverse lens super macro. Scorpionfish on the other hand can be more shy and quickly swim off as you approach them so close with a big, scary-looking camera.
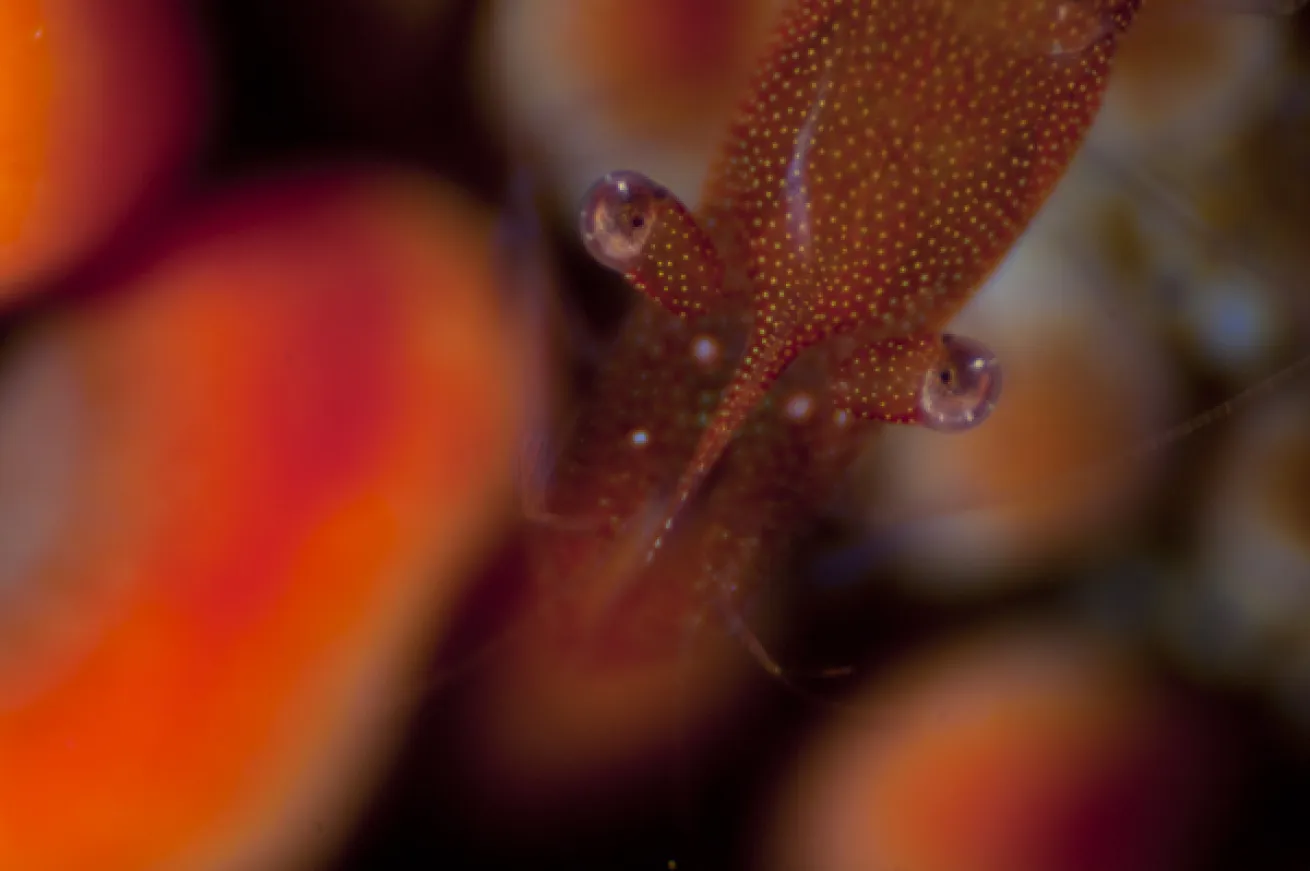
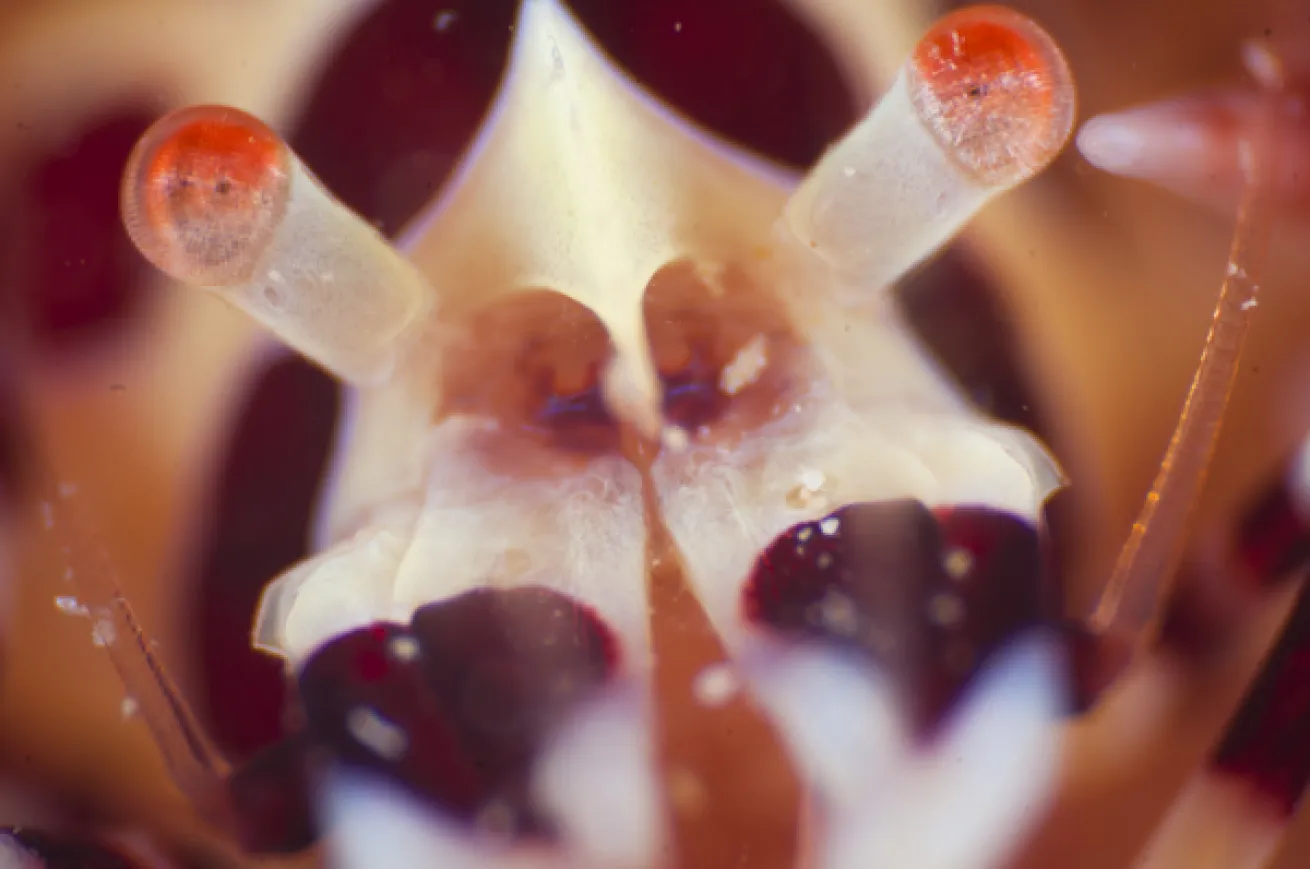
Gilbert WoolleyMataking Island, Sabah, Malaysian Borneo. (reversed 18-35mm lens, uncropped image). Shrimps and crabs are a fairly easy subject to try and shoot with a reversed lens. The razor-thin depth-of-field might mean you need to take a few shots before you get one with the shrimps eyes sharply in focus.
Jason Isley/Scubazoo.comGaya Island, Sabah, Malaysian Borneo. (reversed 18-35mm lens, uncropped image).
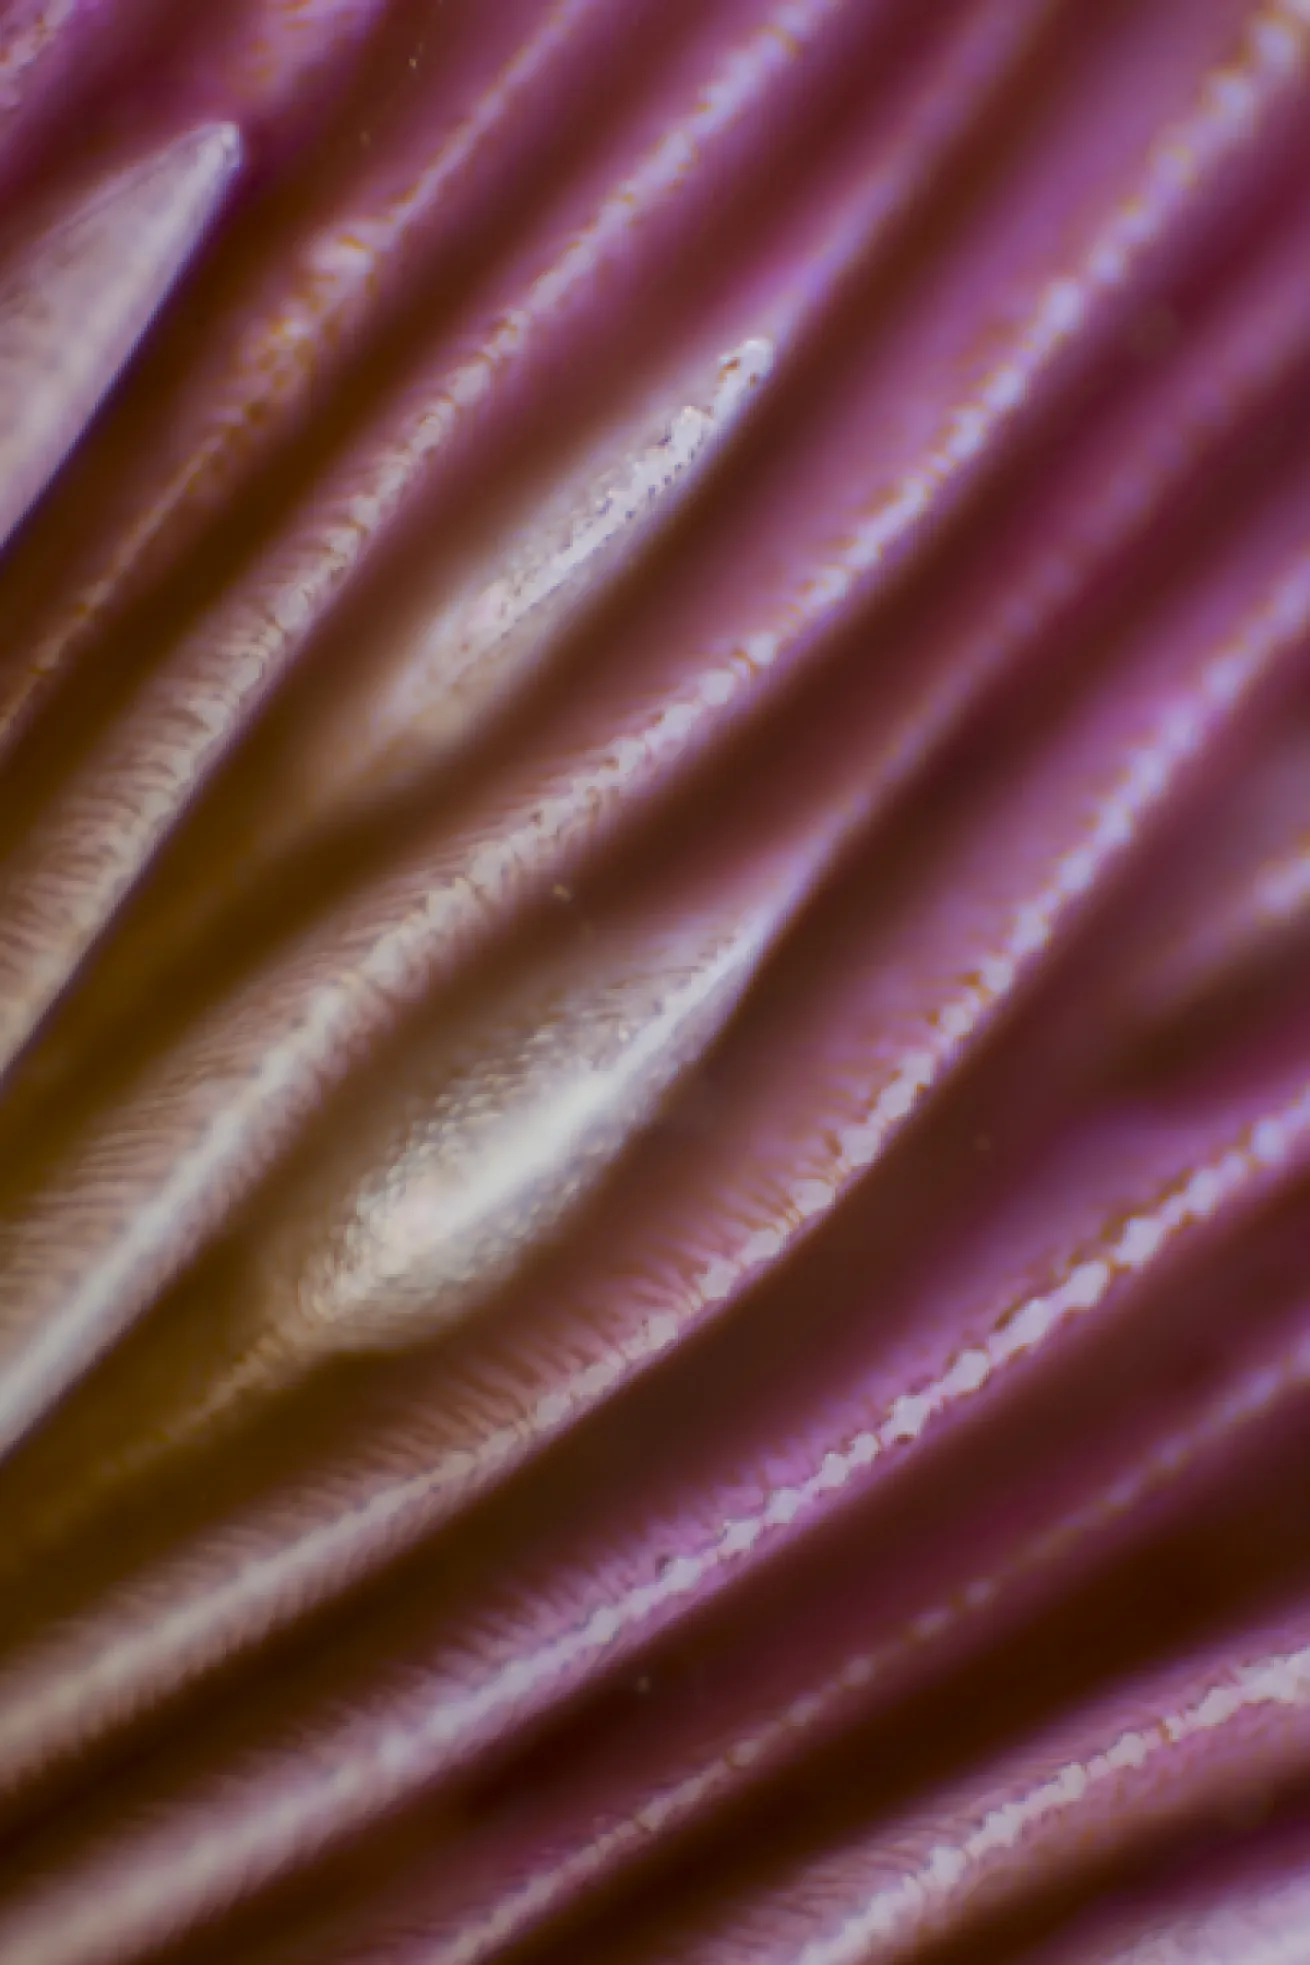
Jason Isley/Scubazoo.comGaya Island, Sabah, Malaysian Borneo. (reversed 18-35mm lens, uncropped image). If extreme magnification and shallow depth-of-field are what you're into, then the reverse lens technique may be for you.
Tips for shooting reverse lens super-macro underwater.
Super-macro photography is usually accomplished with expensive macro lenses, diopters, and extension tubes. However, there's an alternative and inexpensive method to get extremely close up with only a standard kit lens, such as the Nikon 18-35mm f3.5 which I've been shooting with. The 'reverse lens technique' involves attaching such a lens to your camera backwards using a cheap reversing ring – a threaded adaptor with a mount for Nikon/Canon etc., attached to the threaded filter holder on the front of the lens. But losing the electrical connection, you say goodbye to autofocus, metering, and aperture control.
This may all sound strange, but it works. In normal use, a lens focuses light from far away so the image is much smaller, which can be recorded onto a digital sensor. Reversing the lens means the opposite occurs, resulting in powerful magnification. A reversed 50mm lens will provide roughly a 1:1 ratio, which is typical of a ‘true macro’ lens, while a reversed 20mm lens yields a huge 4:1 ratio!
There's a never-ending effort these days by passionate underwater macro photographers to shoot smaller and smaller things, and getting a 4:1 ratio with a reversed lens could be an intriguing and cost-effective prospect.
Here are some tips to help you get started trying this technique underwater:
_With a zoom lens like the 18-35mm, keep it at its widest focal length to achieve maximum magnification (you can lock it in place using tape).
If your lens has an aperture ring, open it up to its lowest f-number to allow the most light in, however you can have it on the 2nd or 3rd lowest number to give you a bit more depth-of-field, but any higher and you won't be able to see anything because it will appear too dark through your viewfinder. For lenses without an aperture ring, next to the rear glass element is a small metal rectangular aperture lever which you'll need to actuate so the aperture is fully open, and carefully stick in place with tape, tack, or a small piece of card.
Set your camera to manual mode. Without aperture control, you need to correctly expose your images using shutter speed, ISO and strobe power. Without autofocus either, move the camera back and forth slightly to focus on your subject.
Shooting supermacro requires a fast shutter speed of around 1/200s. Keep the ISO low, and have your strobes on a low power setting to begin with, and then change accordingly after a few test shots.
The reverse lens technique results in a very small lens-subject distance of just a couple of inches, so your housing/port set-up may need adjusting (with an extension ring for example) for the lens' rear element to sit as close as possible to the macro front port. This gives you valuable room between the port and the subject to allow light from your strobes to reach it. A focus light is advisable to illuminate the subject 2 inches in front of the port, because being so close with your camera can cast a shadow, making it even more difficult to see the subject in the viewfinder.
Be careful not to damage coral or other animals with your camera as you move slightly forward and back to focus on your subject, as you have to be so close. You also don't want to scratch your glass port.
When it comes to subjects to start shooting underwater, think small, then think even smaller, and think approachable stationary subjects. The reverse lens technique gives a razor-thin depth-of-field, and coupled with the extreme magnification, it can take a while hunting for the subject in the viewfinder, so be patient. Moving subjects I found to be nearly impossible to capture. A slow nudibranch appeared and disappeared really fast through my viewfinder!
Shrimps, crabs, and nudibranchs are a good place to start, as well as close-up abstract images of coral polyps, sponges, tunicates, sea stars, urchins etc. For fish subjects, try shooting the eyes of static scorpionfish or frogfish, while blennies and gobies are another challenge you could overcome. The annoyance is just how close you have to get to your subject for it to be in focus, and even scorpionfish might swim away before you can even get a shot. Once again, this technique needs a lot of patience!
If you own a small 50mm lens (perhaps for topside use), and a macro lens such as a 60mm or 105mm and want to try super-macro underwater photography without buying external wet diopters, or extension tubes, you can reverse the 50mm onto the filter holder on the front of your macro lens using a very cheap coupling ring. The 50mm would now act as a powerful diopter, while you still have electronic control of aperture and focus of the primary lens. For this set-up you'll need an extra port extension to fit the 50mm lens._
Super-macro photography using this reverse lens technique may be a bit too super for some, but the magnification achieved is mind-blowing. It's not a macro set-up I would choose to dive with very regularly, given you are limited with what you can shoot. On a typical super-macro dive, I would prefer to use a macro lens with a diopter and/or extension tubes. However, if you dive a site regularly and know of a particular tiny subject which you feel you need more magnification to shoot properly, then this technique could give you a promising result.
Christian Loader (30, UK) is a professional photographer for Scubazoo Images (http://www.scubazoo.com/). He has worked extensively throughout SE Asia as an underwater videographer and photographer, and is currently based in Kota Kinabalu, Sabah, Malaysia.


