Macro Wide-Angle Photography: 5 Tips
Christian Loader/Scubazoo
Want to add a new skill to your underwater photography? Here are some tips to help you get started with the macro wide-angle technique:
1. Pick the right lens. You need a very wide lens for MWA, and fisheye lenses are the best, with up to 180 degrees field-of-view and a very close focus distance of just a few inches. Fisheye lenses like the Sigma 15mm, Canon 15mm, Nikon 10.5mm, and Nikon 16mm are popular, and for such small subjects where you may need to reduce the field-of-view, these prime fisheye lenses can be attached to a 1.4x or 1.5x teleconverter.
Fisheye zoom lenses such as the Tokina 10-17mm or Canon 8-15mm are the most versatile for MWA, allowing for ultra-wide as well as tighter compositions, and are a favorite lens among the majority of underwater photographers who shoot wide-angle, CFWA and MWA. Although not ideal, rectilinear wide-angle lenses such as the 16-35mm, 12-24mm etc., can be used for MWA but their minimum focus distances are much greater than fisheye lenses, and therefore must be coupled with a threaded close-up diopter (eg. +1, +2, +3) to enable focusing within a few inches for this technique.
A very unique lens specifically for MWA is the Inon UFL-MR130 (aka "Bug Eye" lens), designed solely for use with the Canon EF-S60mm f2.8 Macro USM lens. This very long, thin 'endoscope' lens has 130-degree coverage underwater, an incredibly close minimum focus distance, and gives a truly bizarre perspective. Due to it being long, thin and unimposing, this lens can get into places other ports can't, resulting in a unique point of view, and can be used to shoot shy animals that would have already disappeared if you'd approached with a normal MWA camera/fisheye lens setup. This lens needs to be controlled with manual focus, gives a razor thin depth-of-field, and is very soft around the edges. By all accounts this lens is very difficult to shoot with for the average underwater photographer, and a fairly expensive one too!
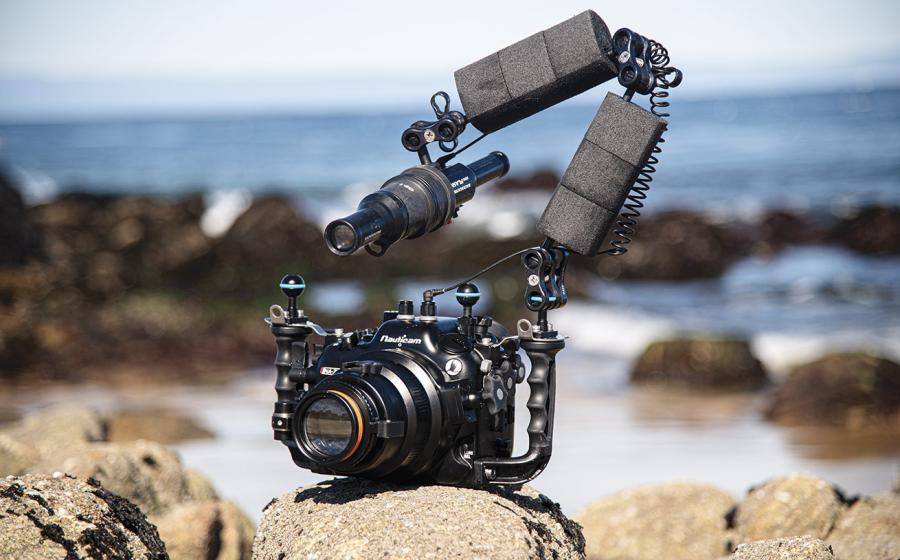
2. Get correct positioning. Shooting MWA, it's important to get low down and shoot upwards to isolate your close subject against a brighter background, which is more easily achieved with smaller camera housings. In situations where you're shooting a lot of portrait (vertical) shots, you could remove the left handle of your DSLR housing if the housing itself has a mount for your left strobe. This will give you valuable extra room to shoot from a better, lower angle. However, you may still find that you're burying your head in the sand or breaking your neck just to see through your viewfinder which isn't good! A 45-degree viewfinder is highly beneficial in these situations, allowing a much more comfortable shooting position, as well as avoiding any environmental damage on the seabed – something we should all be aware of when shooting on any dive.
3. Consider your port choices. Although MWA is possible with a larger dome port (e.g. 6'', 8'' dome), the best results are achieved using a fisheye lens with a mini dome port (4–5''), and anyone serious about this technique should definitely invest in one of these great ports. It allows you to shoot from a lower angle, get closer to your subject, and most importantly achieve the best lighting as you can tuck the strobes in closer to the port.
4. Fine-tune your lighting. Unlike lighting for conventional wide-angle photography where your strobes on long arms would often be pushed far out and in the 10 & 2 o'clock position, for MWA they need to be on shorter arms and tucked in much closer to the housing like they would be when shooting standard macro. Make sure you use diffusers on the strobes to soften the light, and position the strobes slightly behind the housing to avoid glare. When you're very close to your subject, you may need to point the strobes slightly inward to evenly light the front of your subject as well as the sides, but otherwise keep them pointing straight ahead.
The 3 & 9 o'clock and 10 & 2 o'clock strobe positions are best for horizontal/landscape shots in open water, and on the seabed respectively. However, for portrait/vertical shots in clearer, open water the strobes should be in the 12 & 6 o'clock position when you have some space below the subject. Be aware of the ambient light from above, which may mean you need to reduce the power of the lower strobe. When shooting close-up portraits on the seabed, you may find that only one strobe in the 12 o'clock position provides all the light you need for your foreground subject.
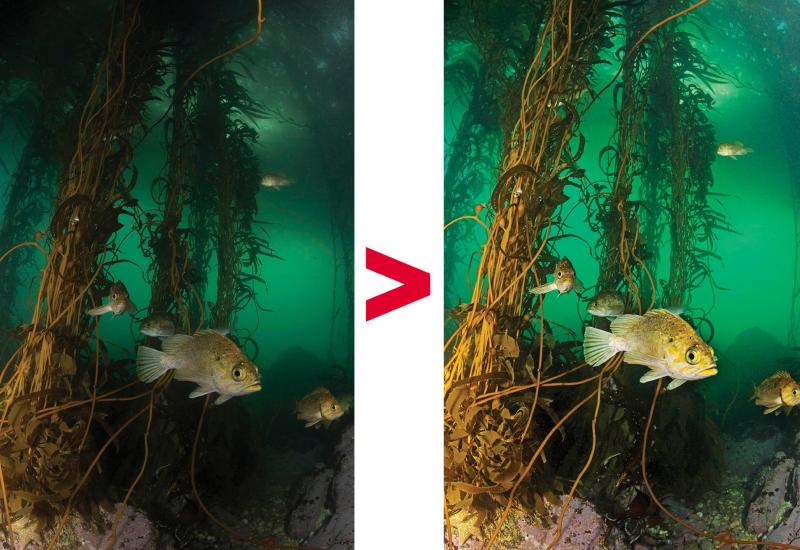
If you want the background to be visible, expose the image for the ambient light – set your shutter speed and aperture for a slightly under-exposed image using the ambient light, and then light your subject and foreground with the strobes on a low power, but just enough that it doesn't look too artificially lit. If you're resting on the seabed and in a stable position then you can use a lower shutter speed to expose for the ambient light, and a higher aperture for greater depth-of-field.
A common problem with MWA is an unevenly lit foreground subject, and overexposed, burnt highlights in the foreground. Take extra care with your strobe positioning and power, and be sure to review each image in your camera's LCD screen, so you can adjust the settings and strobe positions accordingly.
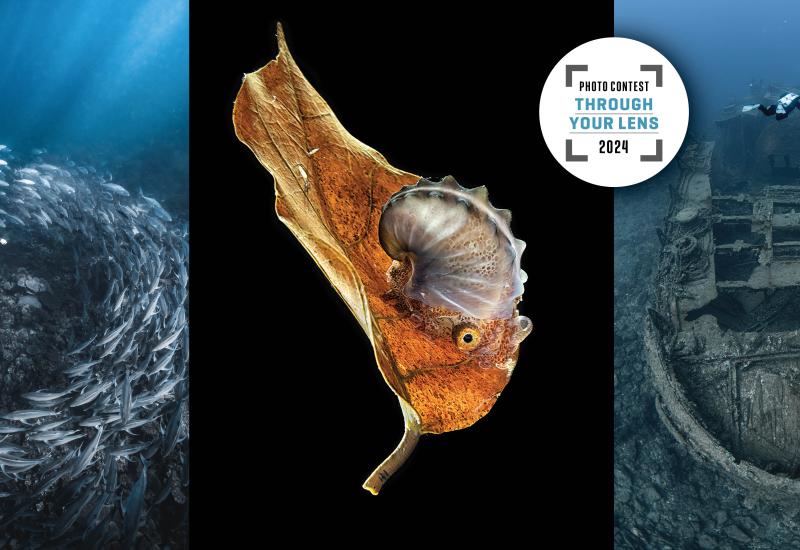
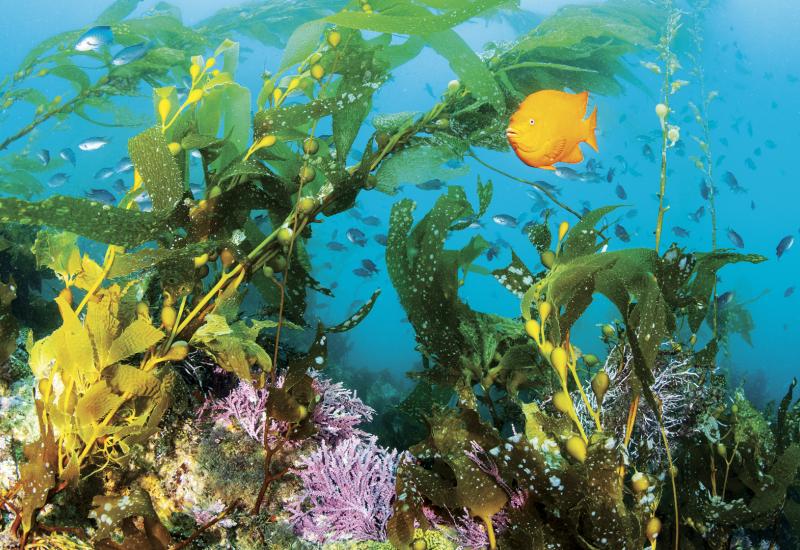
5. Look at the little things. Shooting MWA, focus your attention on small, macro subjects. Lionfish, scorpionfish, frogfish, ghost pipefish, anemonefish, cuttlefish, octopus, seahorses, moray eels, and large nudibranchs are just some examples of good MWA subjects, as they are generally easily approached and often remain stationary making them fairly easy to shoot. Charismatic subjects such as a large jawfish, frogfish or anemonefish for example will really captivate the viewer, while the more colourful the subject the better, giving more impact to the image. When shooting MWA for the first time, sea stars, anemones, feather stars, and soft corals for example are very easy subjects to start with.
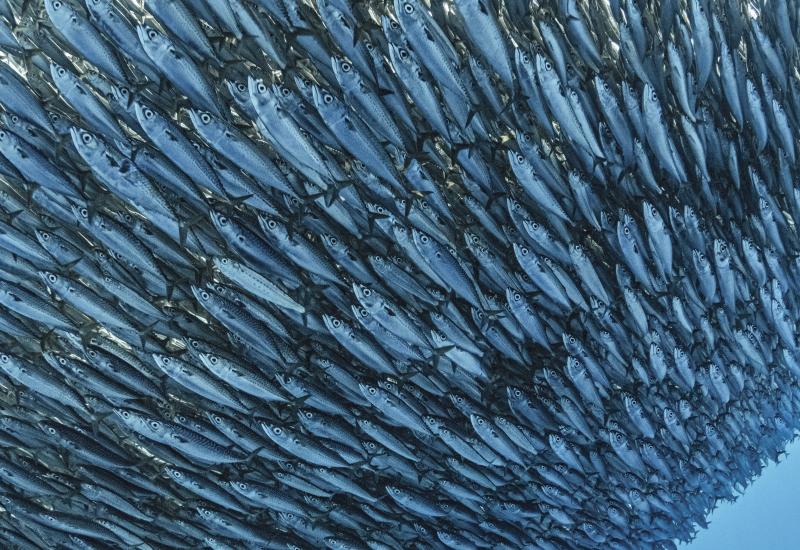
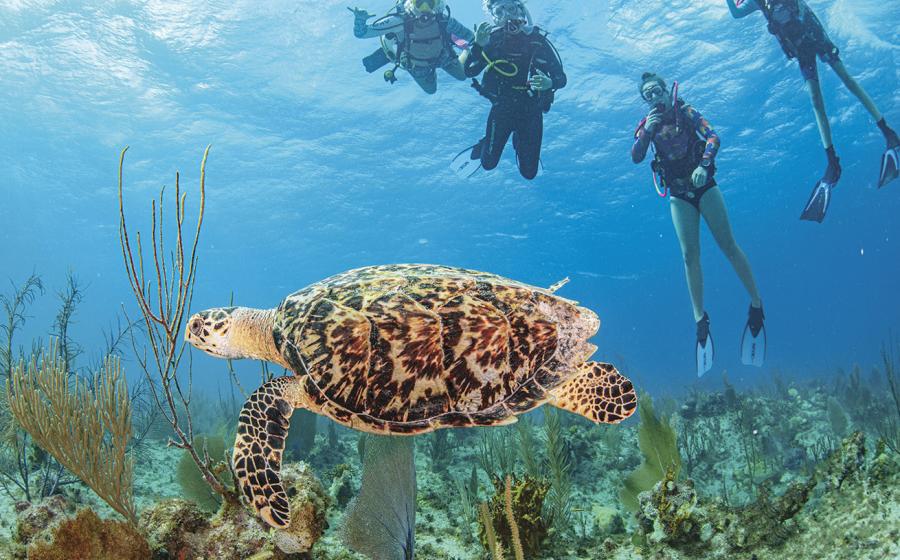
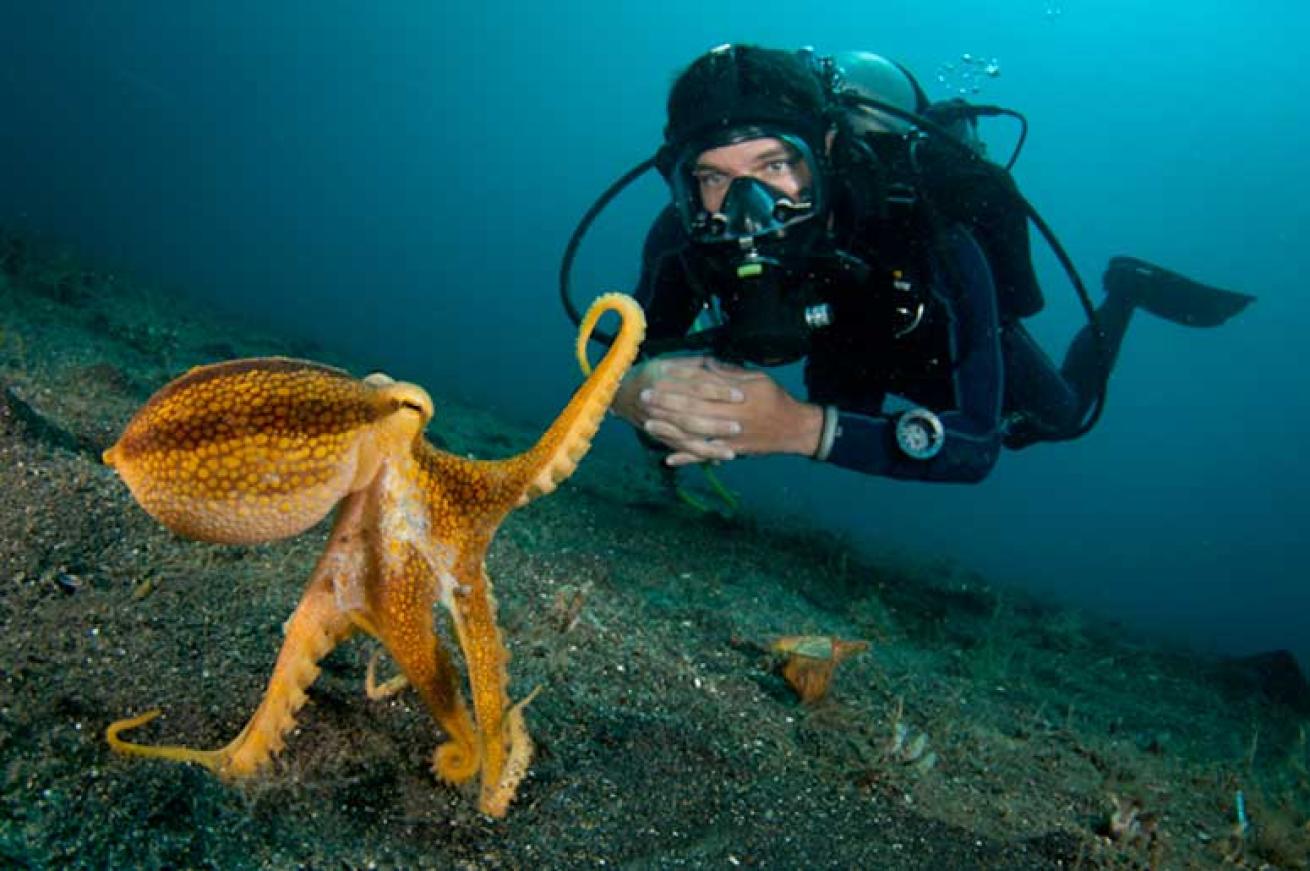
Also, be sure to pay attention to the background when composing MWA images. A clear, blue water background can be dull and boring, however sun beams, sun bursts, and surface texture can make it a bit more interesting. The strong contrast of silhouetted wrecks, jetties, caves, walls, and divers against blue water make the best backgrounds, adding a nice degree of depth to the image. Divers are a great addition to MWA backgrounds, especially when you have nothing else other than blue water. You can communicate with a diver to move into a better position for your desired composition, and the easily recognizable shape of a silhouetted diver adds a human element to the image which the viewer can connect with.
While your standard wide-angle setup may be of little use on a sandy 'muck' dive where macro photography is the norm, MWA is a versatile technique which can be used to great effect in such locations, among many others. This technique is a joy to shoot – seeing these small subjects right up close with such a vast background scene. Once you get over the initial difficulty with lighting, MWA is actually surprisingly easy, and with these simple tips in mind you'll be well on your way to producing eye-catching images of some larger than life critters!
Want to see some of Christian's work? Check out his Macro Photography Gallery.
Christian Loader (30, UK) is a full-time professional photographer for Scubazoo Images (www.scubazoo.com). He has worked extensively throughout SE Asia as an underwater videographer and photographer for Scubazoo since 2007, and lives in Kota Kinabalu, Sabah, Malaysian Borneo.