How to Take Underwater Portraits
Tanya G. Burnett
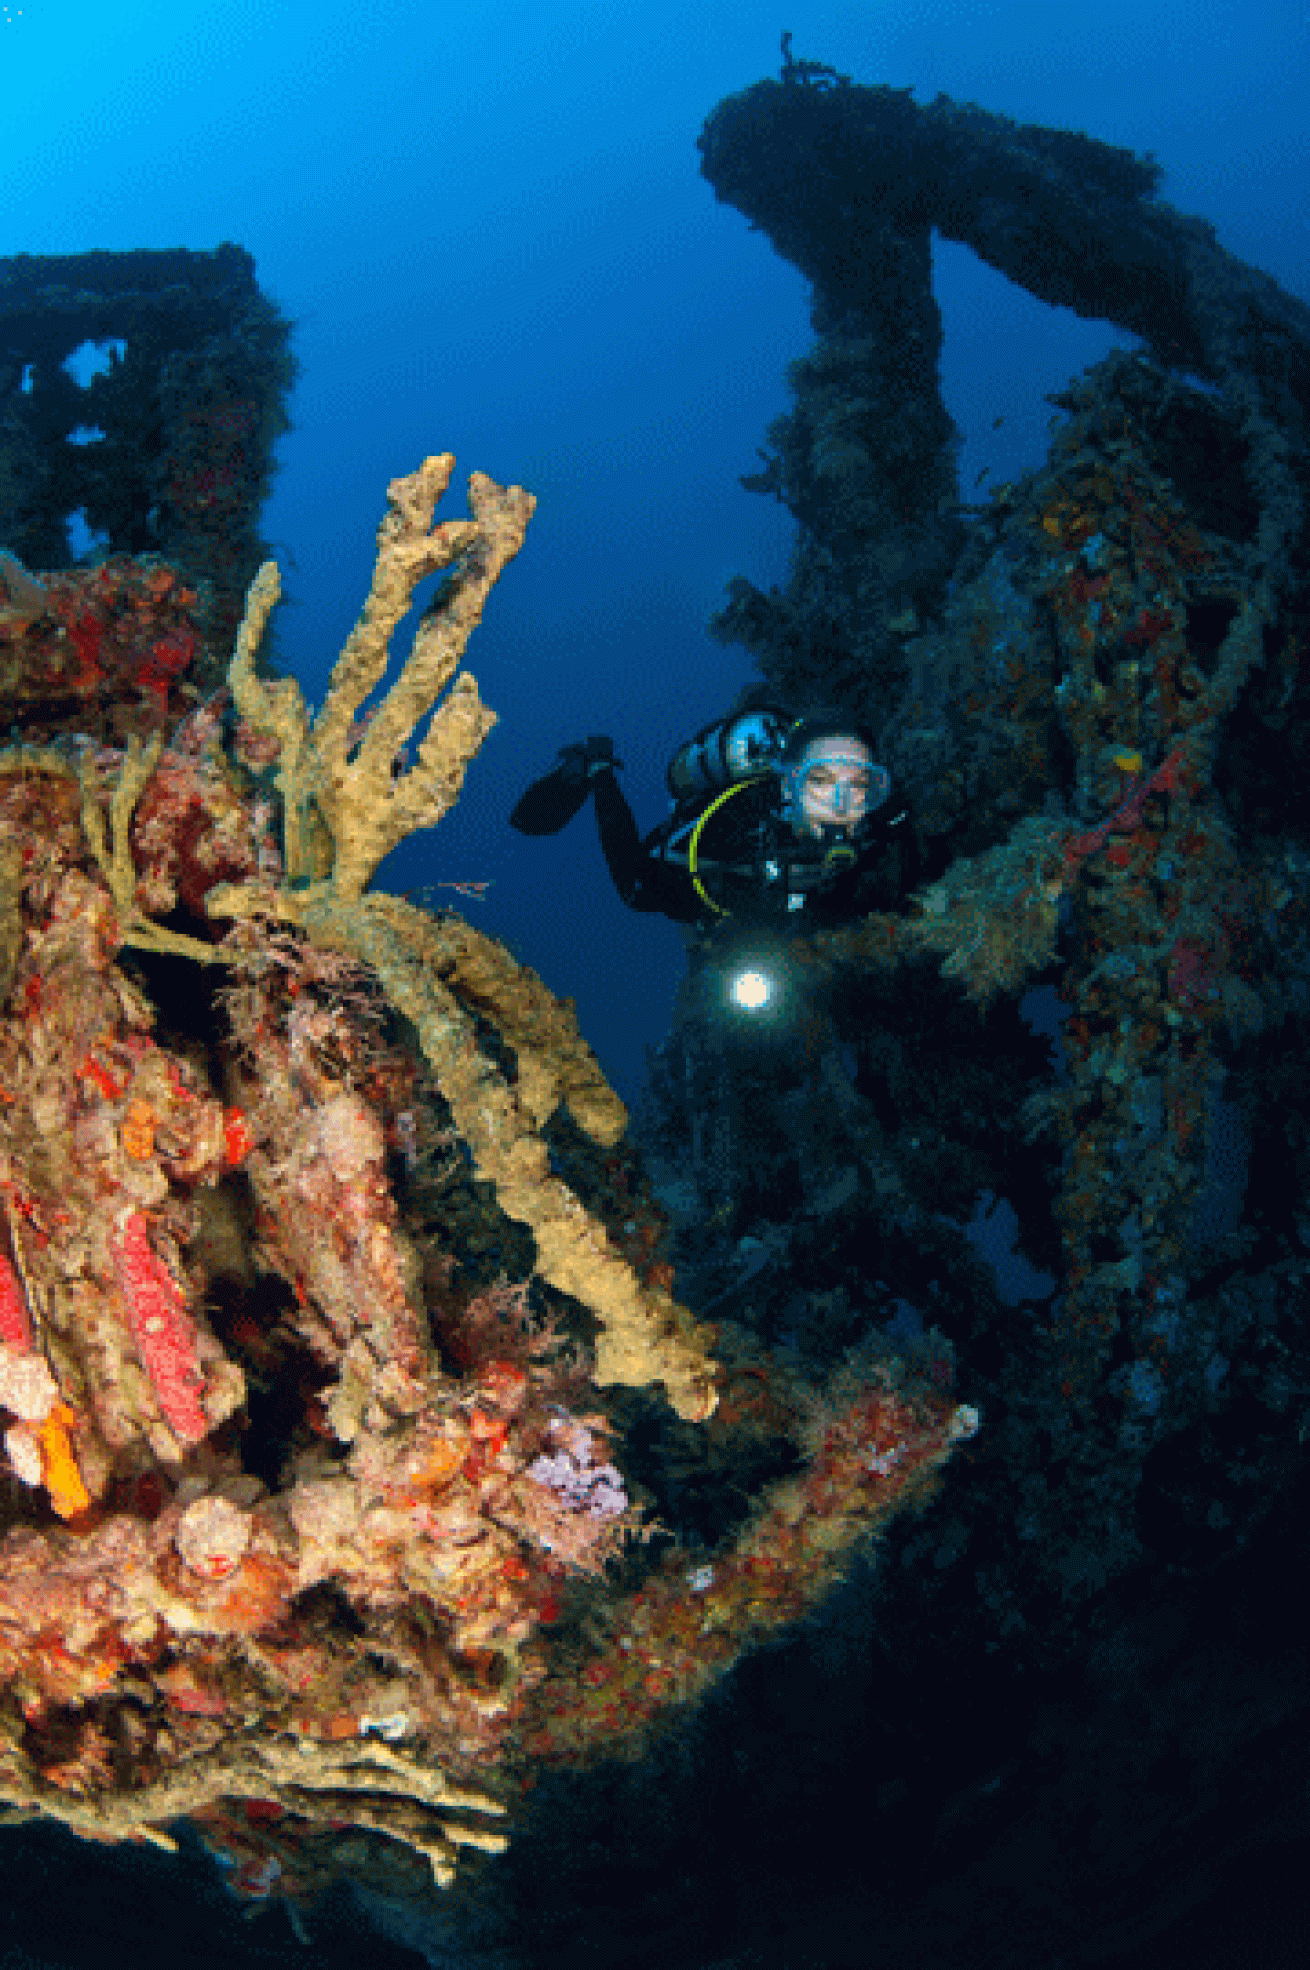
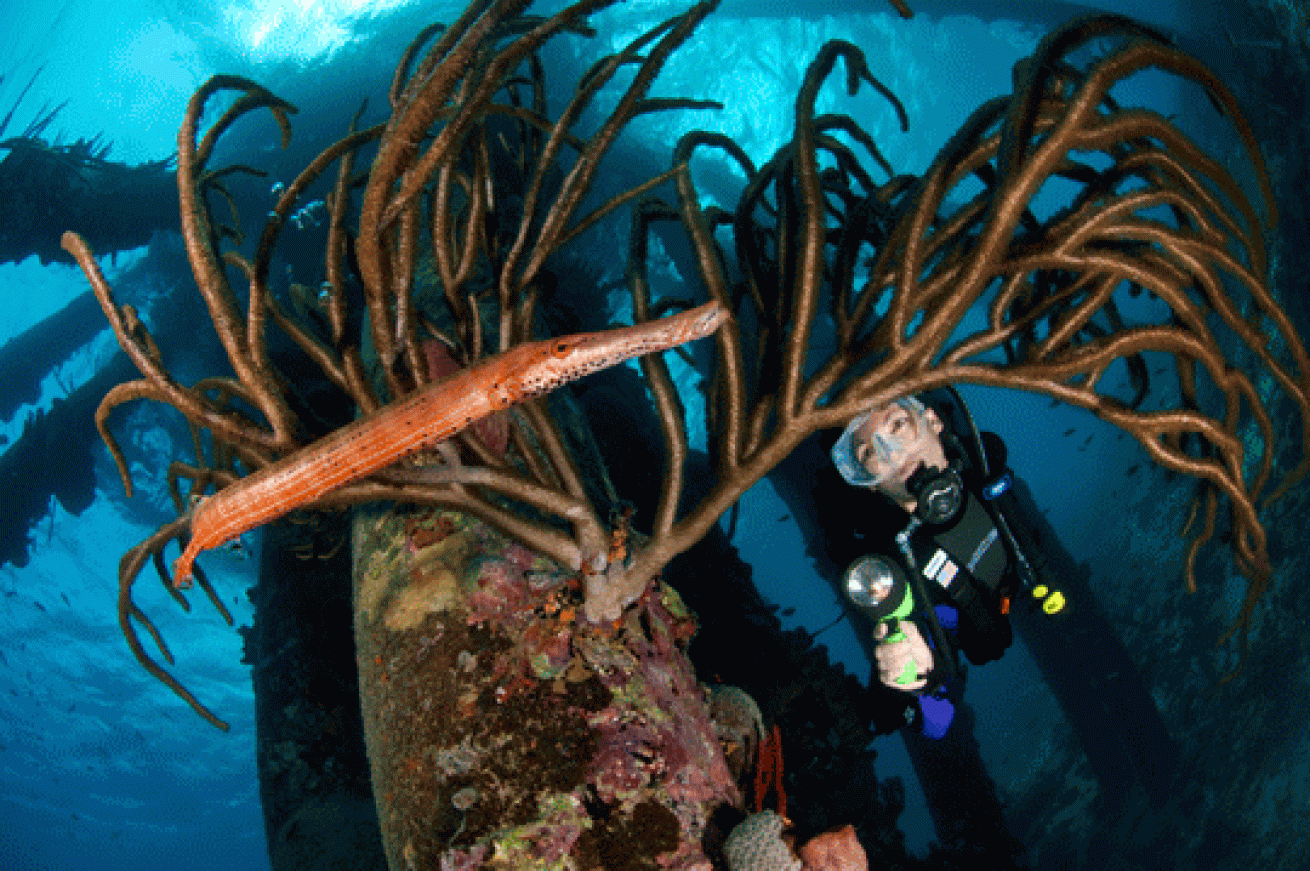
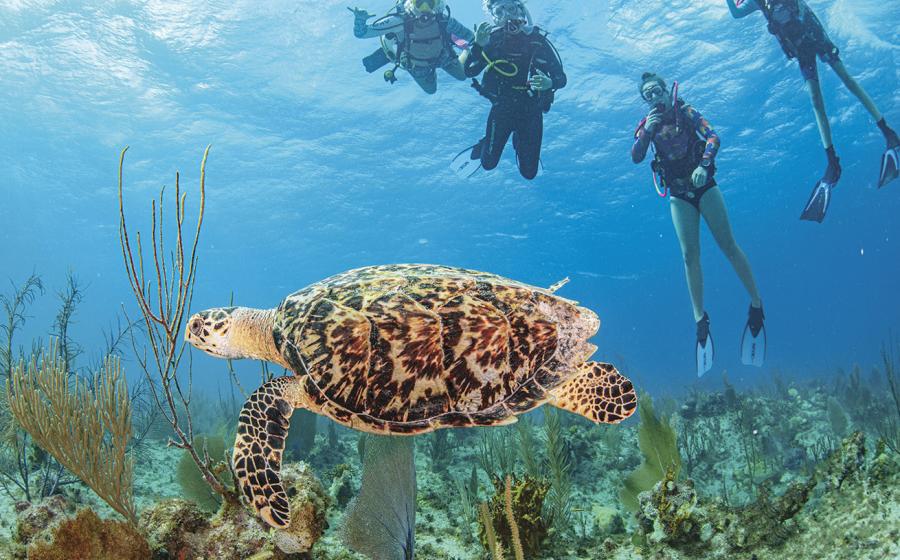
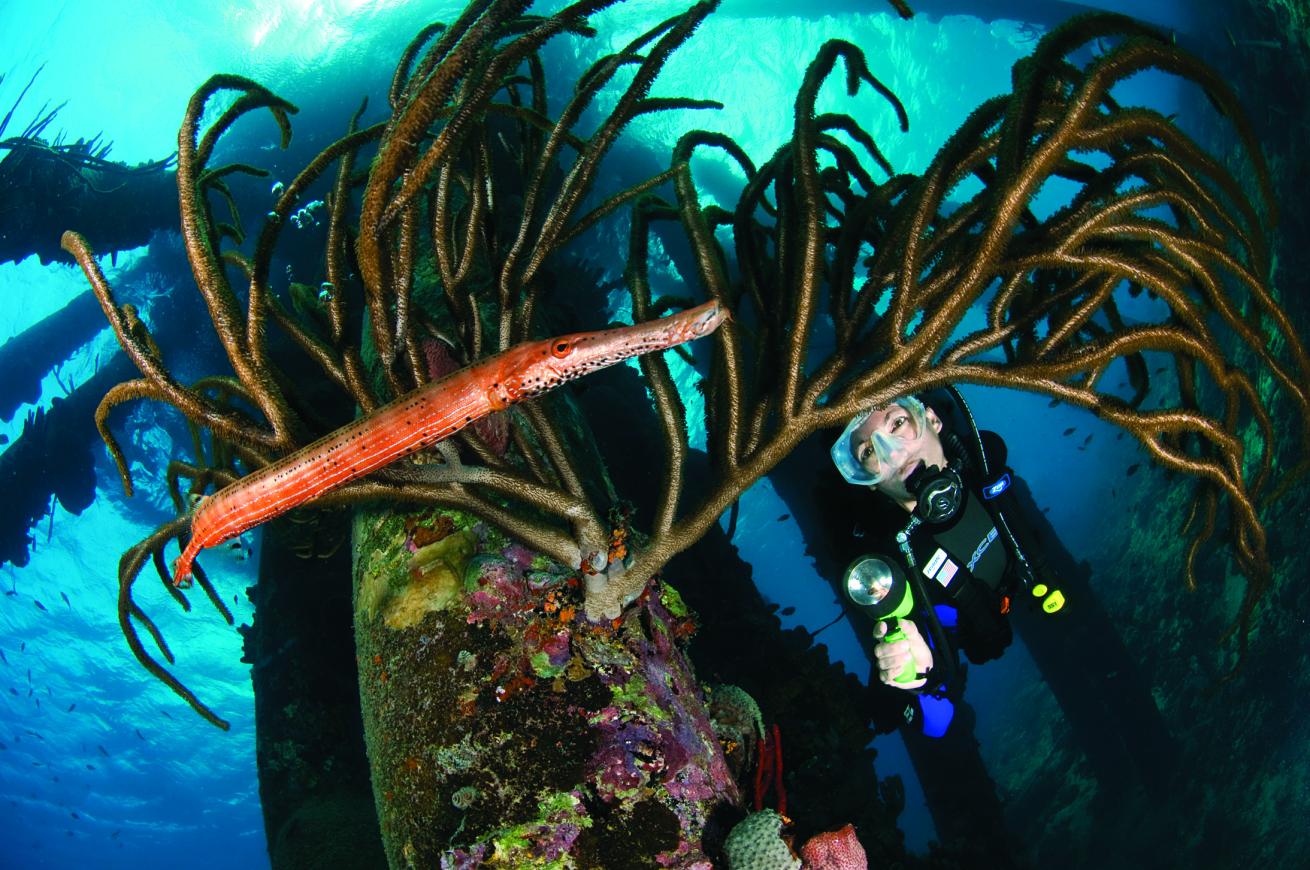
Wide-angle photography has always been one of my favorite styles of underwater photography; there are many approaches, but one of the most challenging and rewarding techniques is shooting with an underwater model. I like the sense of space and the dimension one can get with a reef and diver in the foreground or a diver in the distant background. It’s a great way for others to picture themselves on a reef, a wreck or near a school of fish — whether they were on the dive or not. This type of photography requires significant advance planning between the shooter and model, as communication in water is limited to hand signals that must be acted upon with limited time to spare. Luckily, it’s a partnership that gets easier for both with practice. Photographers must explain, and make clear, to their models a host of basic principles, including where to position themselves in relationship to a specific lens, how to pose their extremities, and how to make sure their face is lit inside their mask without looking straight at the camera.
Including a model in the shot gives the image the all-important human element, something that many observers can relate to. How a model can be incorporated into an image is limited only by the imagination of the photographer and the type of lens — sometimes even small adjustments in positioning or lighting can have an enormous impact on the end result. Multiple shots of the same basic image are highly recommended in a process where patience and attention to detail will be rewarded.
BEGINNER TIPS
Communication is key > Start off shooting with models in shallow water near a scenic reef with lots of ambient light. It might take many shots for you and the model to get in sync. Convey clear hand signals slowly. In the beginning stages, sometimes writing messages on a slate can help minimize confusion. Remember, you’re both working toward a common goal.
INTERMEDIATE TIPS
Experiment with angles and movement > Add a sense of scale to a deeper dive by asking your model to swim slowly and higher in the water column. Try shooting in a sequence as the model swims into the frame while your strobes add fill light. Shooting from a lower perspective looking up gives images the scale you’re looking for and brings in light from the surface.
ADVANCED TIPS
Plan your dive and get creative with a fisheye > Analyze your image goals before you get in the water; if you’re diving a deeper site, you will need to maximize your shooting and bottom time with the model. If water visibility is low, consider shooting with a super-wide fisheye to get close to your subjects and “cheat” the appearance of the water for the better.
MODELING 101
Positioning • At times, models can see their reflection in the photographer’s dome port, which they can use to help position themselves. The goal is to elongate with legs parallel and natural — not bent wildly or set wide apart.
Buoyancy • Being overweighted can lead to reef crashes, unnecessary struggling and an awkward appearance in the photo. Once weighted properly, models can more easily pose near the reef.
Face Contact • Eyes need to been seen clearly, but it’s usually a better shot if the model looks just over or to the side of the dome port. Using a clear silicone mask can help with keeping the face lit and reducing shadows
Bubbles • It might sound obvious, but breathing is important. Fewer bubbles make the shot look clean, and it’s natural to want to hold your breath as long as possible to help create a great shot, but comfort and safety come first.