

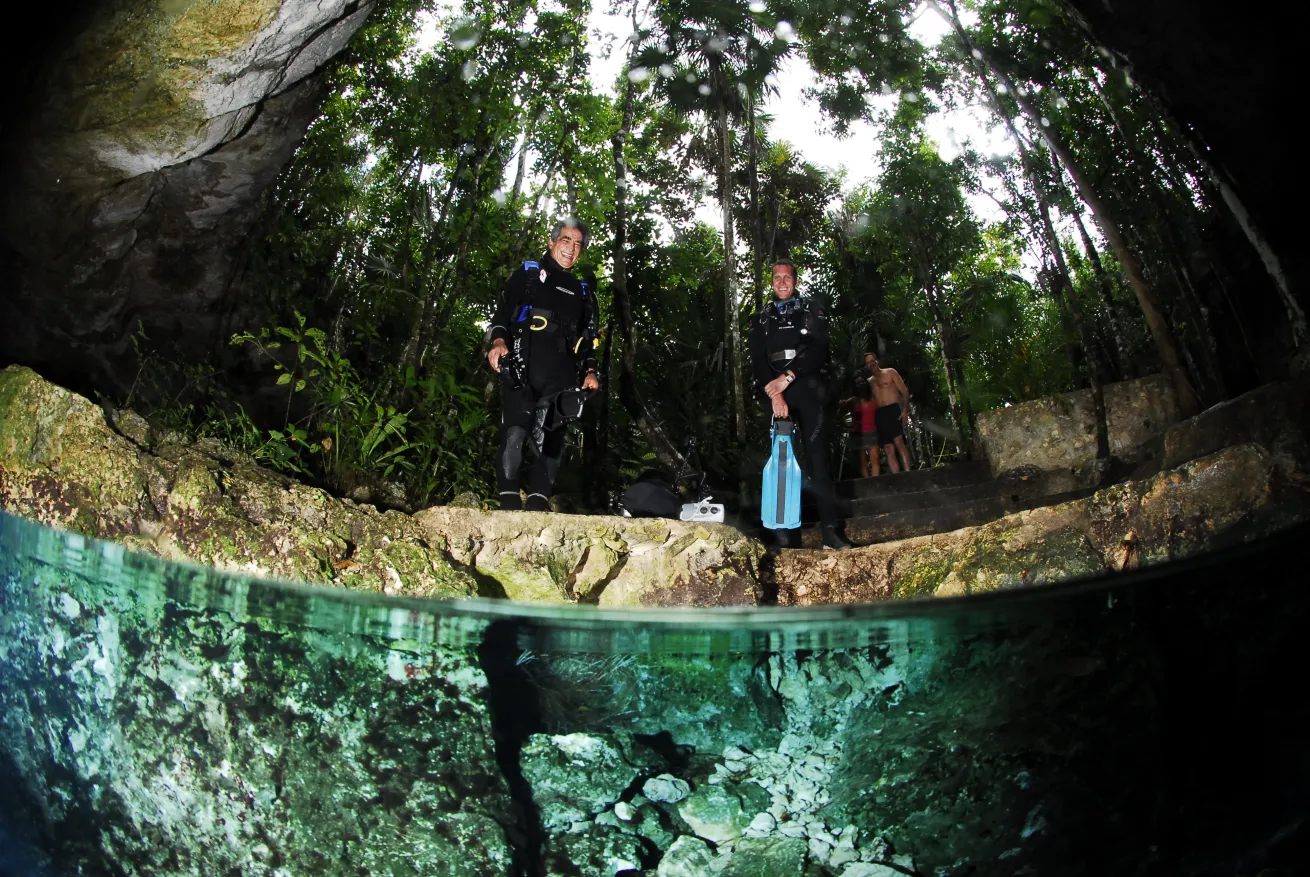
Getting ready to dive the Dos Ojos cenote in Mexico's Yucatan Peninsula.
Ty Sawyer
When photographing the cenotes of Riviera Maya, excellent buoyancy control and self-awareness is essential. The crystal-clear water and delicate limestone formations are what make these sites a pleasure to dive and photograph. Stay off the bottom or sand, sediment, and silt will compromise your the quality of your images and lower visibility. Poor buoyancy skills can also damage this fragile environment. Be aware of your surroundings to protect both yourself and the dive site.
Go Wide. Shoot the widest lens you have in your kit to capture the essence of cenote diving. A super wide zoom, wide-angle prime or fisheye all allow you to capture most of the main chamber and are ideal lens choices for dramatic cavern shots that highlight your dive buddy and surrounding stalactites, stalagmites and flowstone. If using a fisheye or super wide lens with distortion, place your main subject more toward the center so they are in the “sweet spot” and distortion free.
Capture sun rays and silhouettes. Divers have always marveled at the stunning light that penetrates the shallow waters of these popular cenotes. To capture these dramatic rays crank up the shutter speed and meter for the ambient light of the cavern itself. Don’t be afraid to bump the ISO up to 400 or 800 to hold a high shutter speed and ample depth of field. The newer cameras on the market can handle higher ISOs without generating too much noise. Shoot divers in silhouette carrying their lights for added drama or add a touch of strobe power to change the mood of your composition altogether.
Power up. You’ll need strobes (preferably two) to illuminate the deeper regions inside the cenotes and the divers exploring their way around the beautiful stalactites that hang from the ceilings of many of the chamber rooms. An aperture of f/8 should provide all the depth of field you’ll need inside for an impressive shot. With a digital setup you’ll get immediate feedback about your image. Watch your histograms, review your capture and adjust shutter speed on the fly to help get the right exposure. Dial down your strobe power if needed to prevent blowing out highlights and detail of other divers and the warm earthy colors of the rock formations that serve as subject matter.
Don’t forget the over/under shot. With a super wide-angle lens or fisheye, most prosumer DSLRs in housings and a dome port can pull of an impressive over under composition without the use of a diopter. Capture your images as RAW files and post process the perfect exposure after the dive using Adobe Photoshop or your favorite editing software.
Try This Setup:
Want the complete package? Consider shooting the Nikon D700 or D300 in an underwater housing made by Ikelite. You’ll get professional looking shots, full access to all the controls needed to shoot cenotes and with a pair of their new digital Substrobe DS160s you’ll enjoy fast recycle times, a super bright modeling light, and 10 power settings for precise exposure control and enough light for the most demanding shots you can take. Ikelite’s Super-Eye magnifier makes composition a breeze while their 8 inch dome port accommodates most wide angle zooms many divers use to capture wide angle scenes. Nikon’s new 10-24mm f/3.4-4.5G ED AF-S DX Zoom is the perfect wide angle zoom for the D300 to get your creative juices pumping. Another DX favorite is the 10.5mm f/2.8 fisheye, perfect for underwater shooting. Shooting the D700? You’ll find Nikon’s classic 17-35mm f/2.8 AF-S the perfect full frame zoom and the 16mm f/2.8 fisheye lens works great too.
Doug Sloss is a photographer and writer specializing in the marine environment. He is also producer of a handful of educational DVDs including his latest release “Adobe Photoshop CS4 for the Underwater Photographer”, a collection of movie based tutorials designed to help underwater photographers create truly awesome images. You can find out more about Doug and his educational software at www.underwaterphotoshop.com.
Ty SawyerGetting ready to dive the Dos Ojos cenote in Mexico's Yucatan Peninsula.
When photographing the cenotes of Riviera Maya, excellent buoyancy control and self-awareness is essential. The crystal-clear water and delicate limestone formations are what make these sites a pleasure to dive and photograph. Stay off the bottom or sand, sediment, and silt will compromise your the quality of your images and lower visibility. Poor buoyancy skills can also damage this fragile environment. Be aware of your surroundings to protect both yourself and the dive site.
Go Wide. Shoot the widest lens you have in your kit to capture the essence of cenote diving. A super wide zoom, wide-angle prime or fisheye all allow you to capture most of the main chamber and are ideal lens choices for dramatic cavern shots that highlight your dive buddy and surrounding stalactites, stalagmites and flowstone. If using a fisheye or super wide lens with distortion, place your main subject more toward the center so they are in the “sweet spot” and distortion free.
Capture sun rays and silhouettes. Divers have always marveled at the stunning light that penetrates the shallow waters of these popular cenotes. To capture these dramatic rays crank up the shutter speed and meter for the ambient light of the cavern itself. Don’t be afraid to bump the ISO up to 400 or 800 to hold a high shutter speed and ample depth of field. The newer cameras on the market can handle higher ISOs without generating too much noise. Shoot divers in silhouette carrying their lights for added drama or add a touch of strobe power to change the mood of your composition altogether.
Power up. You’ll need strobes (preferably two) to illuminate the deeper regions inside the cenotes and the divers exploring their way around the beautiful stalactites that hang from the ceilings of many of the chamber rooms. An aperture of f/8 should provide all the depth of field you’ll need inside for an impressive shot. With a digital setup you’ll get immediate feedback about your image. Watch your histograms, review your capture and adjust shutter speed on the fly to help get the right exposure. Dial down your strobe power if needed to prevent blowing out highlights and detail of other divers and the warm earthy colors of the rock formations that serve as subject matter.
Don’t forget the over/under shot. With a super wide-angle lens or fisheye, most prosumer DSLRs in housings and a dome port can pull of an impressive over under composition without the use of a diopter. Capture your images as RAW files and post process the perfect exposure after the dive using Adobe Photoshop or your favorite editing software.
Try This Setup:
Want the complete package? Consider shooting the Nikon D700 or D300 in an underwater housing made by Ikelite. You’ll get professional looking shots, full access to all the controls needed to shoot cenotes and with a pair of their new digital Substrobe DS160s you’ll enjoy fast recycle times, a super bright modeling light, and 10 power settings for precise exposure control and enough light for the most demanding shots you can take. Ikelite’s Super-Eye magnifier makes composition a breeze while their 8 inch dome port accommodates most wide angle zooms many divers use to capture wide angle scenes. Nikon’s new 10-24mm f/3.4-4.5G ED AF-S DX Zoom is the perfect wide angle zoom for the D300 to get your creative juices pumping. Another DX favorite is the 10.5mm f/2.8 fisheye, perfect for underwater shooting. Shooting the D700? You’ll find Nikon’s classic 17-35mm f/2.8 AF-S the perfect full frame zoom and the 16mm f/2.8 fisheye lens works great too.
Doug Sloss is a photographer and writer specializing in the marine environment. He is also producer of a handful of educational DVDs including his latest release “Adobe Photoshop CS4 for the Underwater Photographer”, a collection of movie based tutorials designed to help underwater photographers create truly awesome images. You can find out more about Doug and his educational software at www.underwaterphotoshop.com.


