

Fascinating, inspiring, threatened—sharks are the ocean’s A-list celebrities and are guaranteed to get the heart pounding and the shutter-finger pumping. But they’re not always the easiest subject to approach and shoot.
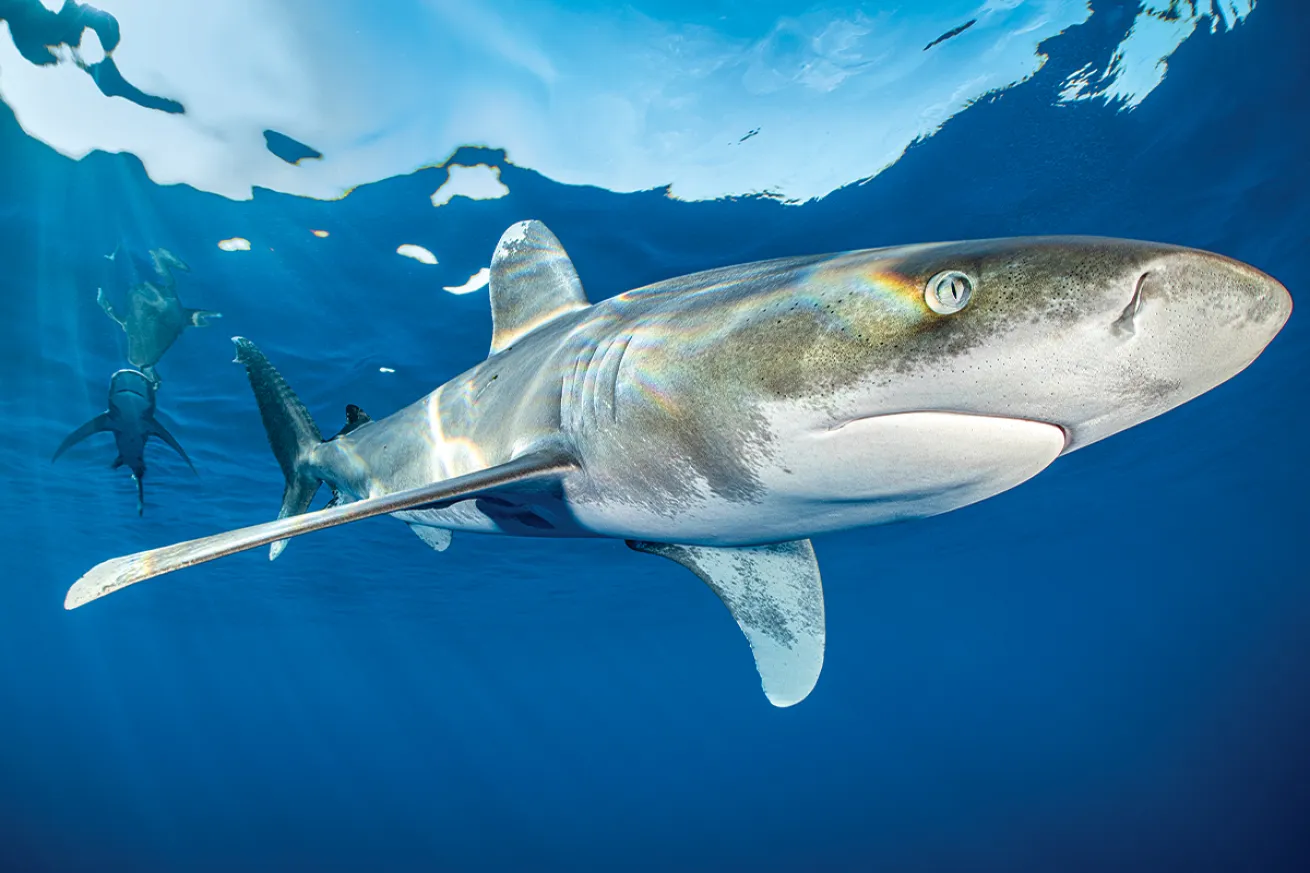
Alex MustardI shot this oceanic whitetip unbaited, holding my camera above my head and aiming at the pectoral fin.
Snapping sharks often involves periods of waiting, injected with moments of high-octane photography. The challenge is to keep a cool head when the fleeting opportunity presents itself and adrenaline is flowing. Experienced shooters know the key to success is preparation. A successful shark photographer studies species and location, plans for likely shots, and rehearses and optimizes settings so they don’t need to figure things out in the heat of the moment.
Sharks have dominated the oceans since before the time of the dinosaurs. During our lifetime, their world has changed beyond recognition, as their numbers have been decimated by fishing. What can we do? Support shark and ecotourism projects that actively protect populations by choosing to dive in countries and locations that declare their waters shark sanctuaries. As photographers, we should strive for standout shark images that make our audience stop and look, and win sharks the friends they desperately need.
TIP 1: Going Natural
We can photograph sharks on baited and unbaited dives; in both instances, I want to produce images with a natural feeling—I am not interested in pictures of sharks eating handouts.
Unbaited encounters are less reliable but give us the chance to capture aspects of natural behavior such as schooling, being cleaned or even sleeping. Sharks tend to keep their distance on unbaited dives, so consider using a longer lens, such as a midrange zoom, and set up lighting appropriately with strobes pushed out on long arms. Tweak your settings by opening the aperture a little, to help the strobes illuminate the subject, and speed up the shutter speed to keep the correct exposure for the blue.
TIP 2: Disciplined Approach
Baited dives—which should always be led by pros who know how to minimize risks to divers and sharks—typically bring constant action, which can leave little time to think. I find that action-packed dives are much more productive when I divide my time into 10-minute slots and focus on one idea at a time. This is especially true when diving with the largest sharks, such as tigers, where, from a safety perspective, you do not want to be lost in thought or glued to your viewfinder.
Different types of shots—classic portrait, shark on the dome, shark in the scene, verticals, panning images and silhouettes—require different camera settings, strobe powers and positions; try not to take them all at once. Instead, by working through ideas methodically, you can optimize gear, settings and compositions.
Bait brings sharks close enough to fill the frame of a fisheye. However, I tend to avoid a straight fisheye on shark dives because when the sharks do come close, it makes them look tadpole- shaped, with a massive head and tiny body. My favorite shark lenses are a fisheye with 1.4x teleconverter, or specialist water-contact lenses like Nauticam’s WWL-1, WACP-1 and WACP-2.
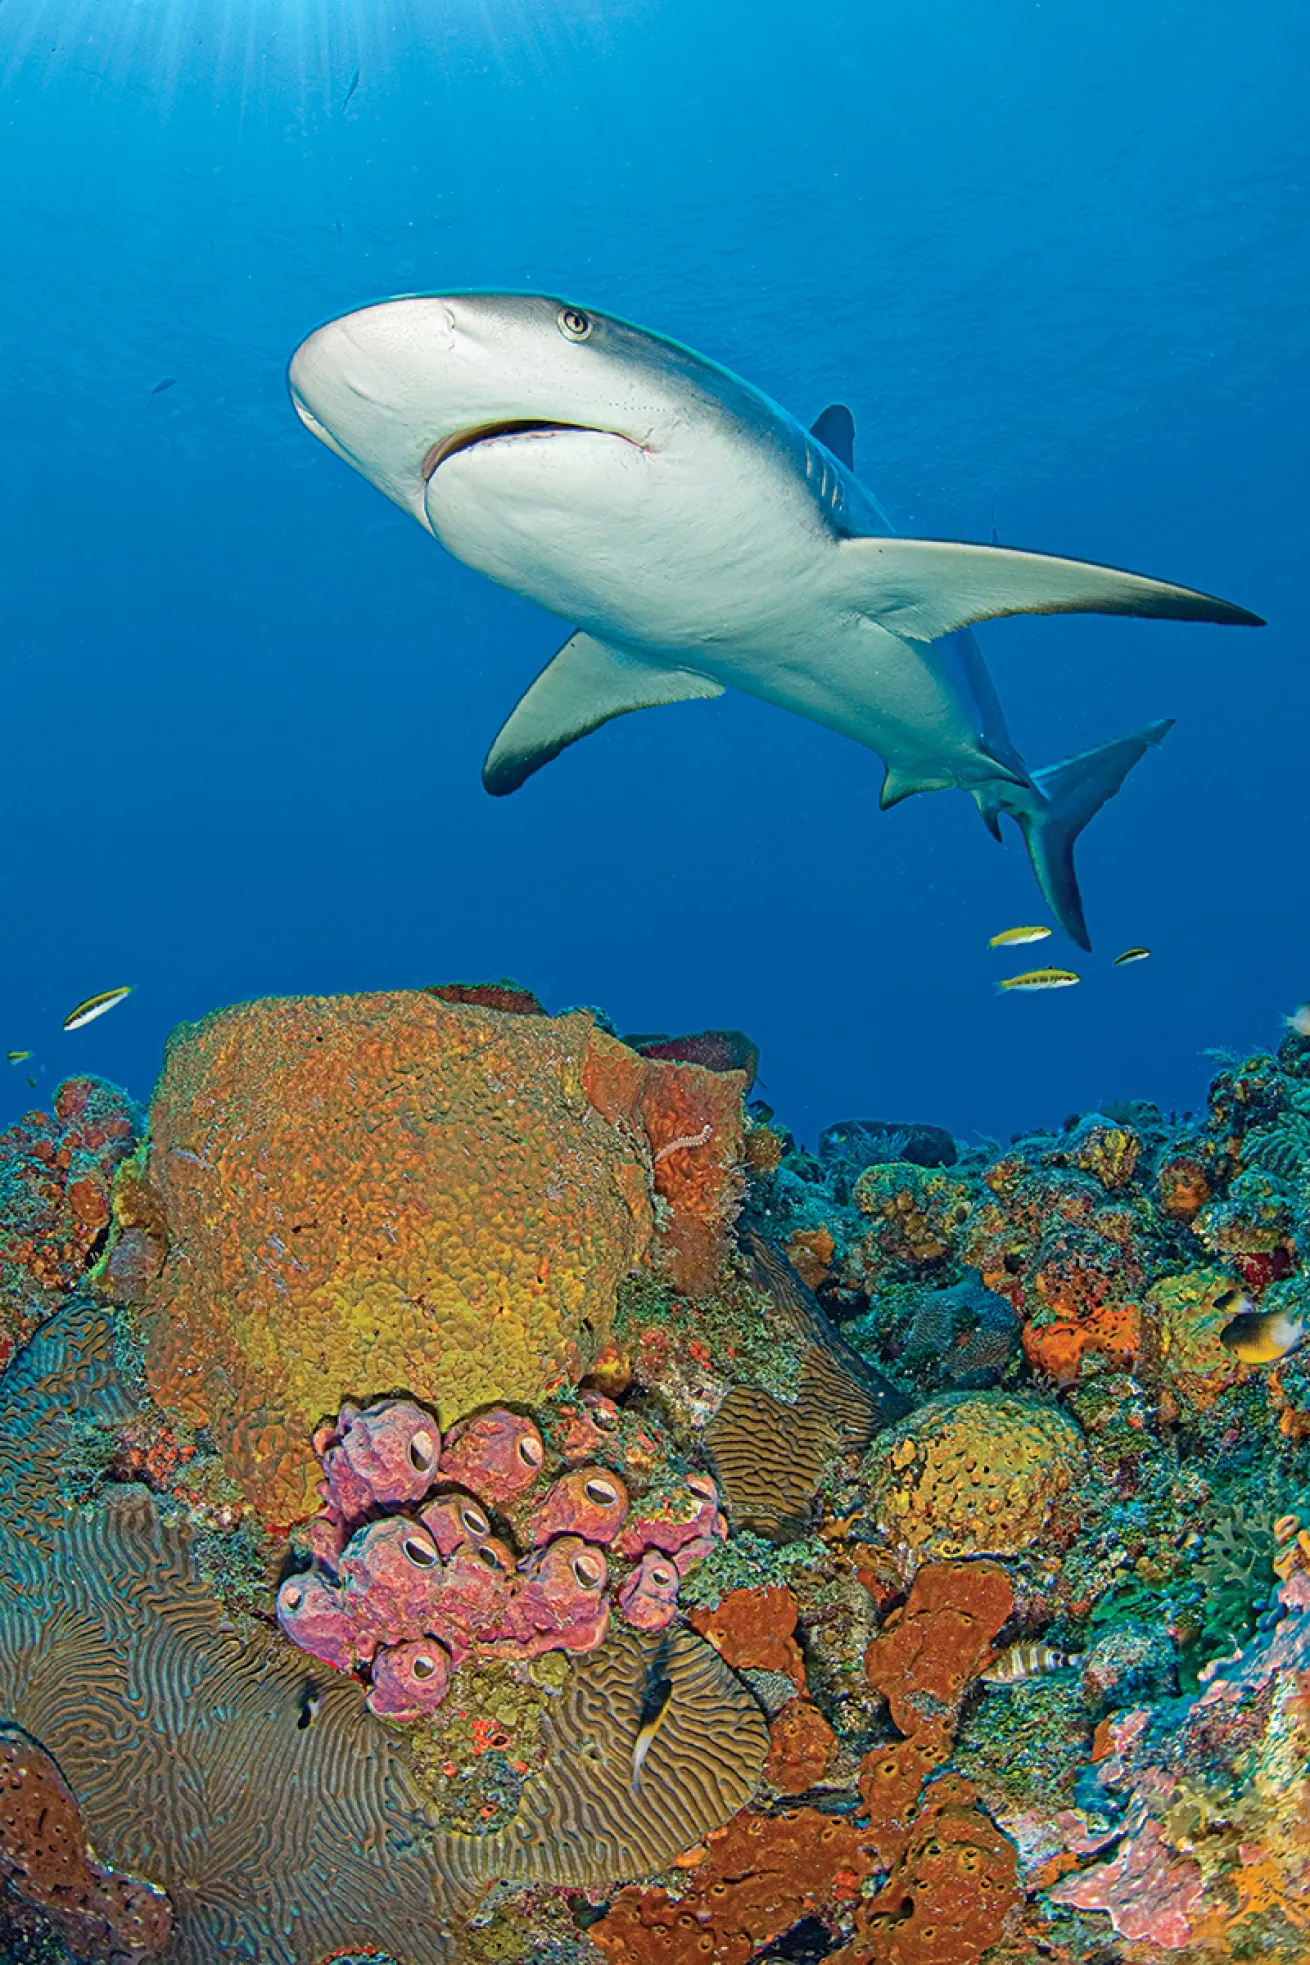
Alex MustardOn a baited dive, I found a vibrant section of reef and waited for a shark to swim into the frame.
TIP 3: Shoot from the hip
When shark dives are action-packed, we need to keep our eyes on the sharks, which means shooting from the hip. Aiming your housing without looking at the viewfinder or screen is much easier than you might imagine with big subjects and a wide-angle lens. The mistake everyone makes at first is pointing the camera at the head of the shark—this will put the shark on one side of the frame and chop its tail out of the picture when it comes close. Instead, aim the camera at the pectoral fin, which ends up balancing the shark much more evenly across the frame.
Most sharks on baited dives spend their time near the source of the scent; it’s easy to conclude that being as close as possible will deliver better shots. In truth, it definitely delivers more shots, but few of them will be standouts as the rest of the frame will be full of bits of other sharks, fish, people, bubbles and more. The challenge of these dives is not to get photos of the melee but to make strong, clean images.
On baited dives, I choose a spot at the edge of the group. Here I will get less “action,” but when I do get close passes, I will have a natural background free from other divers’ bubbles, and I will have clean shots away from where sharks and people are stirring up sediment.
If you have patience, plan your shots, rehearse your lighting and ignore the action others are getting, you’ll be ready for that perfect pass.
Get More Underwater Photography Tips:


