

Richard AspinallPreparing your camera well before you leave for your next dive trip will help you take epic photos while reducing stress on trips
The weeks prior to a dive photography trip should be filled with anticipation as your travel date approaches. But these trips, as special as they may be, often come with a steep price tag, so it pays to invest a little time beforehand to plan and prepare—in fact, doing so is crucial to enjoying your trip and getting those must-have shots. Camera (or equipment) failure could very well transform you into the most miserable person on the boat, only made worse if it could have been prevented. What can be done to reduce the risk of camera kit calamity? Follow these seven tips.
Know Your Camera
No one wants to be reading instruction manuals on vacation. Get to know your camera and all of the settings you might need to use for any situation before your flight. How do you change the ISO setting? Where’s the focus mode selector button? How do you view the histogram?
Some cameras allow you to create custom settings, so you can define in detail how the camera behaves. I have created settings for “macro” and “wide” in my camera, so I only need to choose the one I want, and I’m ready to go.
As part of your maintenance and preparation, don’t forget to practice your technique. Even if you’re just shooting plastic Nemos tied to a pound of lead, familiarizing yourself with your camera will be worth it.
Related Reading: The Best Underwater Cameras for Beginners
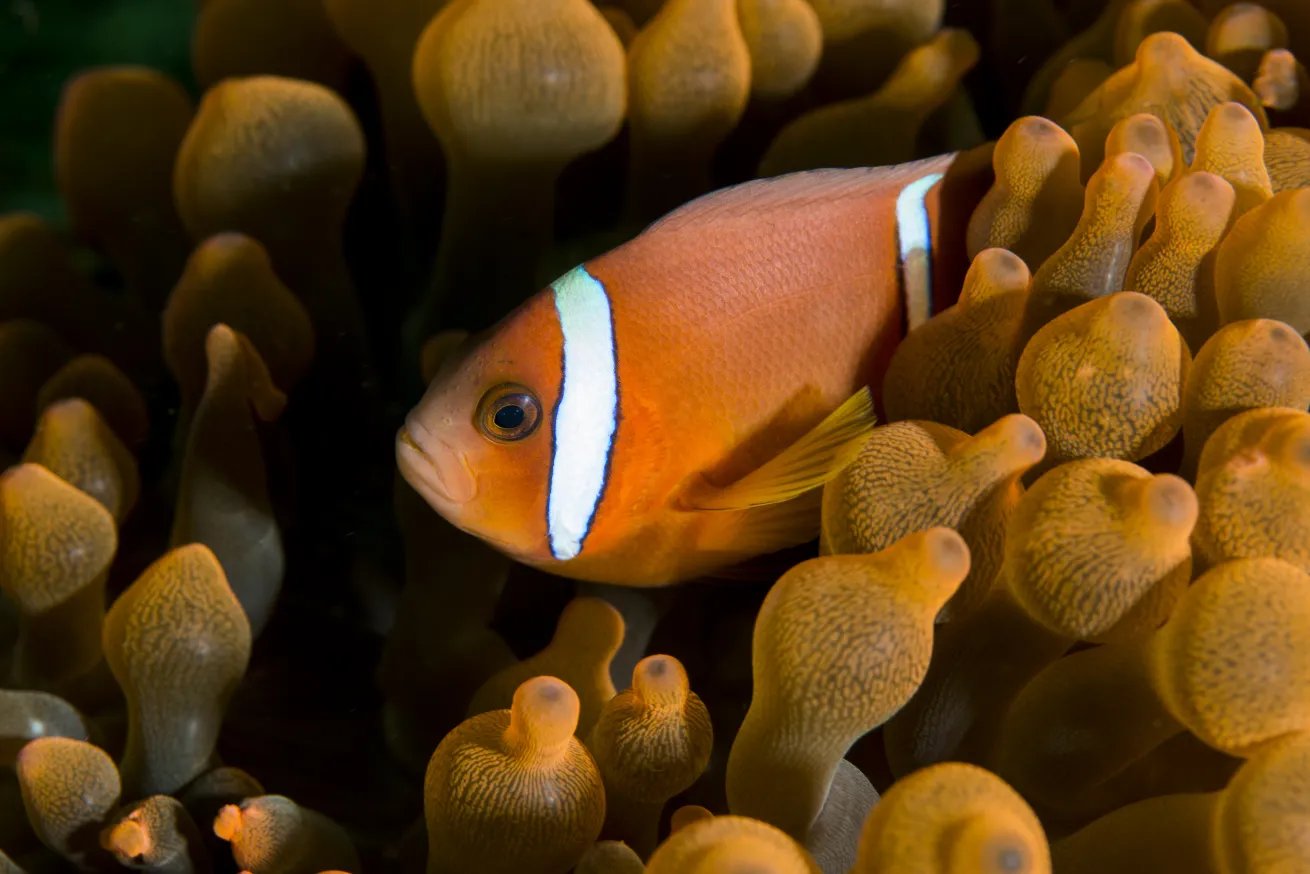
Research Your Destination
Knowing what you’re going to shoot beforehand is useful. What is it about the destination that appeals? Is the water rich with macro life? Are there clear-water reefscapes? Imposing wrecks? The more you know, the more prepared you’ll be.
Review Airline Policies
Richard AspinallPractice with your camera, so when opportunities arise, getting the correct settings is second nature
Flying with camera gear can be challenging. My greatest fear is misplaced luggage. Though this is out of your control, there are a few steps you can take to ensure that misplaced luggage doesn’t ruin your trip.
Air tags or other tracking devices help keep you informed on the location of your luggage. Though bluetooth may not always work to track your bag, it does give some piece of mind. These devices can also be used once you arrive at your destination when you take a camera bag or wallet with you on topside outings.
If you are traveling on a liveaboard, I recommend booking a hotel for the first day of your vacation. That way, if your luggage arrives on the next plane, you will be reunited with your equipment prior to the trip. This also ensures if there are travel delays, you will still make it onboard your boat. Additionally, try to pack as many of your essentials in your carry-on luggage, but be prepared that airline overhead space may be limited (or non-existent) on some airplanes.
Airline policies on carrying rechargeable lithium-ion batteries vary. Check their websites and your batteries’ manuals; normally the device’s rating will be below their limit. It is recommended to even print out battery policies in case the airline security is not familiar with the rules (which has happened.) Some strobe manufacturers use airline-friendly technology such as Ni-MH batteries, avoiding the issue altogether.
Some airlines have strict regulations on the weight of bags, both carry-on and checked. Be prepared to reshuffle items to distribute weight but in a way that protects your camera equipment. Paying baggage fees ahead of time often saves money and helps you keep on budget for your trip.
Plan Ahead
“How long should I start preparing before my trip?” is the most important question to ask. The answer is simple: How long would it take to repair your camera kit or source a replacement part? If it will take three weeks, then that’s your answer. Camera stores don’t always keep a complete inventory of components and may need to order from the manufacturer.
Whether you need a new O-ring or a fix for one of the myriad failures your housing can experience, deal with it well before you set out to the airport with a potential catastrophe in your camera bag.
Speaking of O-rings, keep a supply with you. You may be a long, long way from a dive store. Housings rely on several vital and easily damaged O-rings; don’t let your trip be ruined by a very inexpensive component. You might also want to stock a few other basic tools, like super glue, duct tape and a Swiss Army knife.
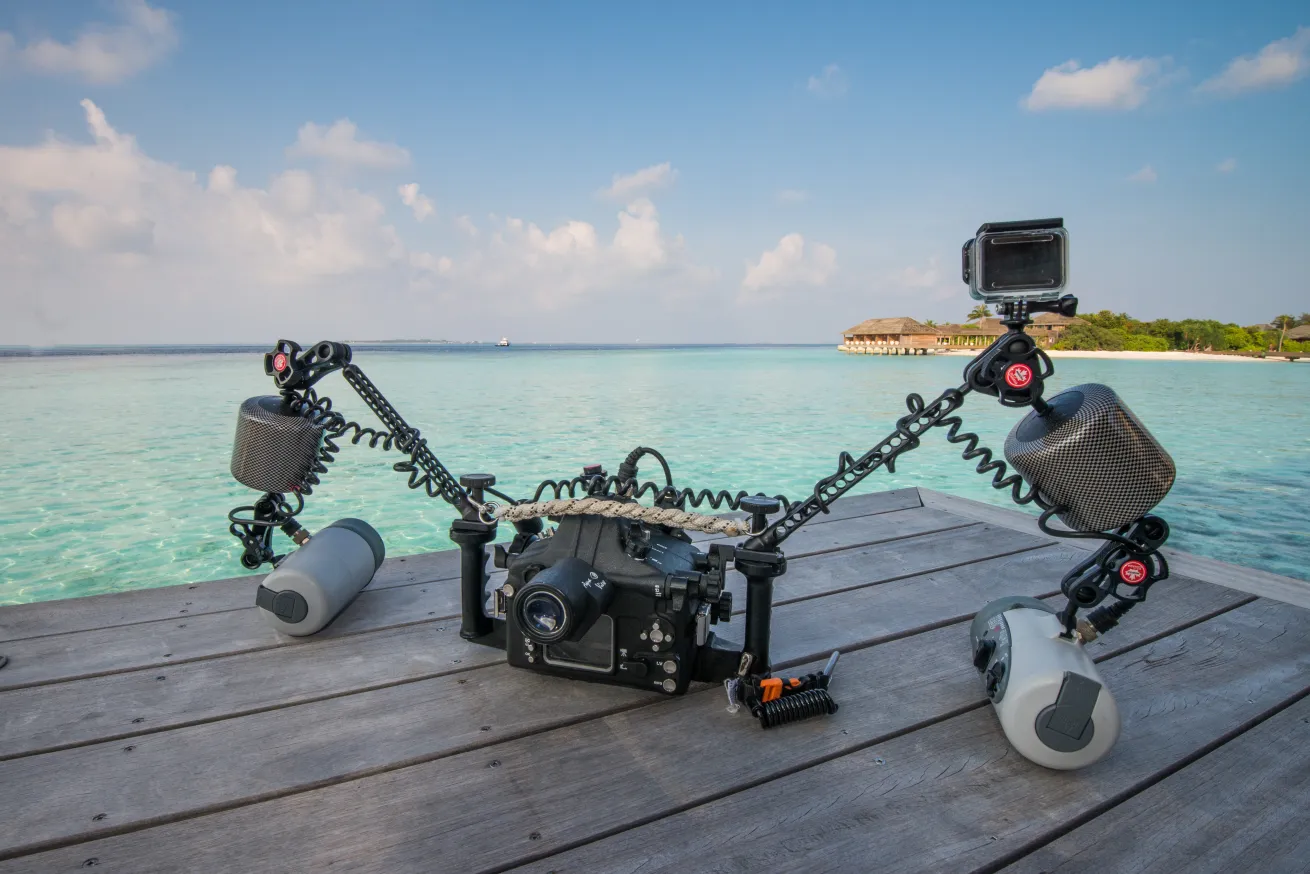
Assuming your camera equipment is faulty until proven otherwise is sensible. Put your kit together and test it thoroughly in a pool or a local dive, (without your camera in the housing) to check for issues. If all is well, connect everything and have a “wet dress rehearsal” to verify that components, like electronic sync cables, are properly working. Additionally, make sure all components are “talking to” each other, by testing out strobes, gears and anything else you might need.
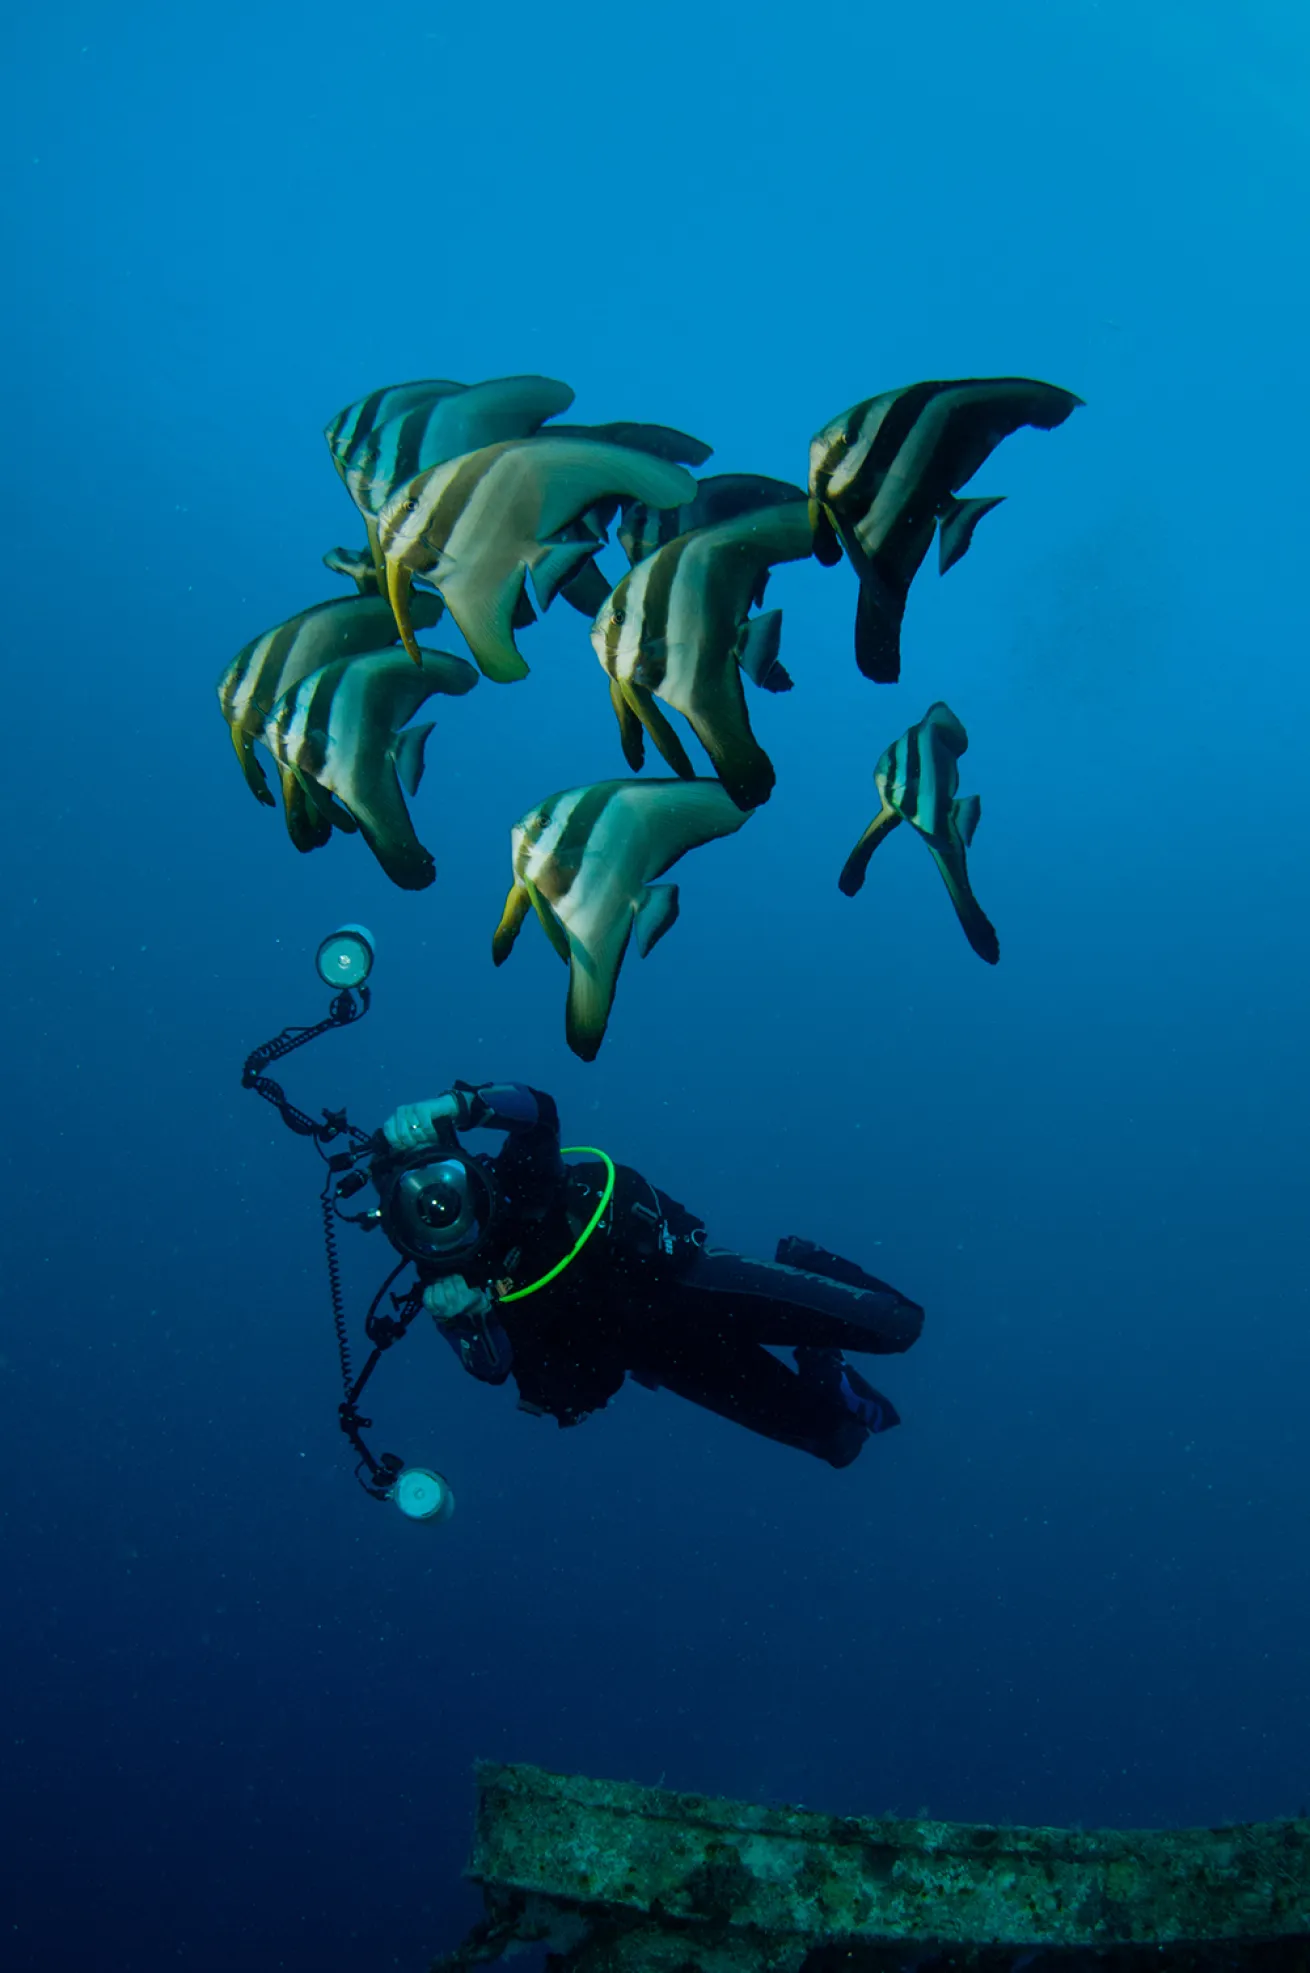
Richard AspinallResearch the species you might want to capture
Vacuum Test Your Gear
The happiest you’ll ever be as a photographer is when everything works as it should, and you’re getting great shots. This is what you’re here for, after all! Help ensure that feeling by investing in a leak-detection system. This attaches to your housing and allows you to pump air out to create a partial vacuum. If your housing leaks, it will alert you. A reassuring green (or other color dependent on the housing manufacturer) light will show all is well. Doing this at home is easy; since the only thing leaking will be air, you can quickly sort the issue.
Related Reading: The Longest Dive Trip Yet
Check Buoyancy and Trim

Richard AspinallPractice in the pool to help nail macro shots
Camera housings can be bulky and come with their own buoyancy characteristics and challenges. A large dome port might cause your rig to rotate upward in your grip. Macro ports with additional lenses may cause the opposite to happen. A week of fighting your camera can be frustrating. There are enough things moving around; your camera should not be one of them. Try adding foam floats, float arms or collars as needed.
Keep Your Gear Clean
Sea water is nasty stuff. It is essential to rinse cameras in fresh water after every dive. If there is not a rinse tank immediately following your dive, keep a wet towel over it, out of the sun, so salt crystals don’t form. Ideally, your housing needs to be immersed in fresh water after every dive, with each button and dial pressed and turned to flush out salt or debris. Don’t ignore this crucial step in the rinse tank, though other divers may drop gear in without giving it much more thought. If you’re on a boat without a rinse tank, consider bringing an extra-large reusable water bottle filled with fresh water.


