

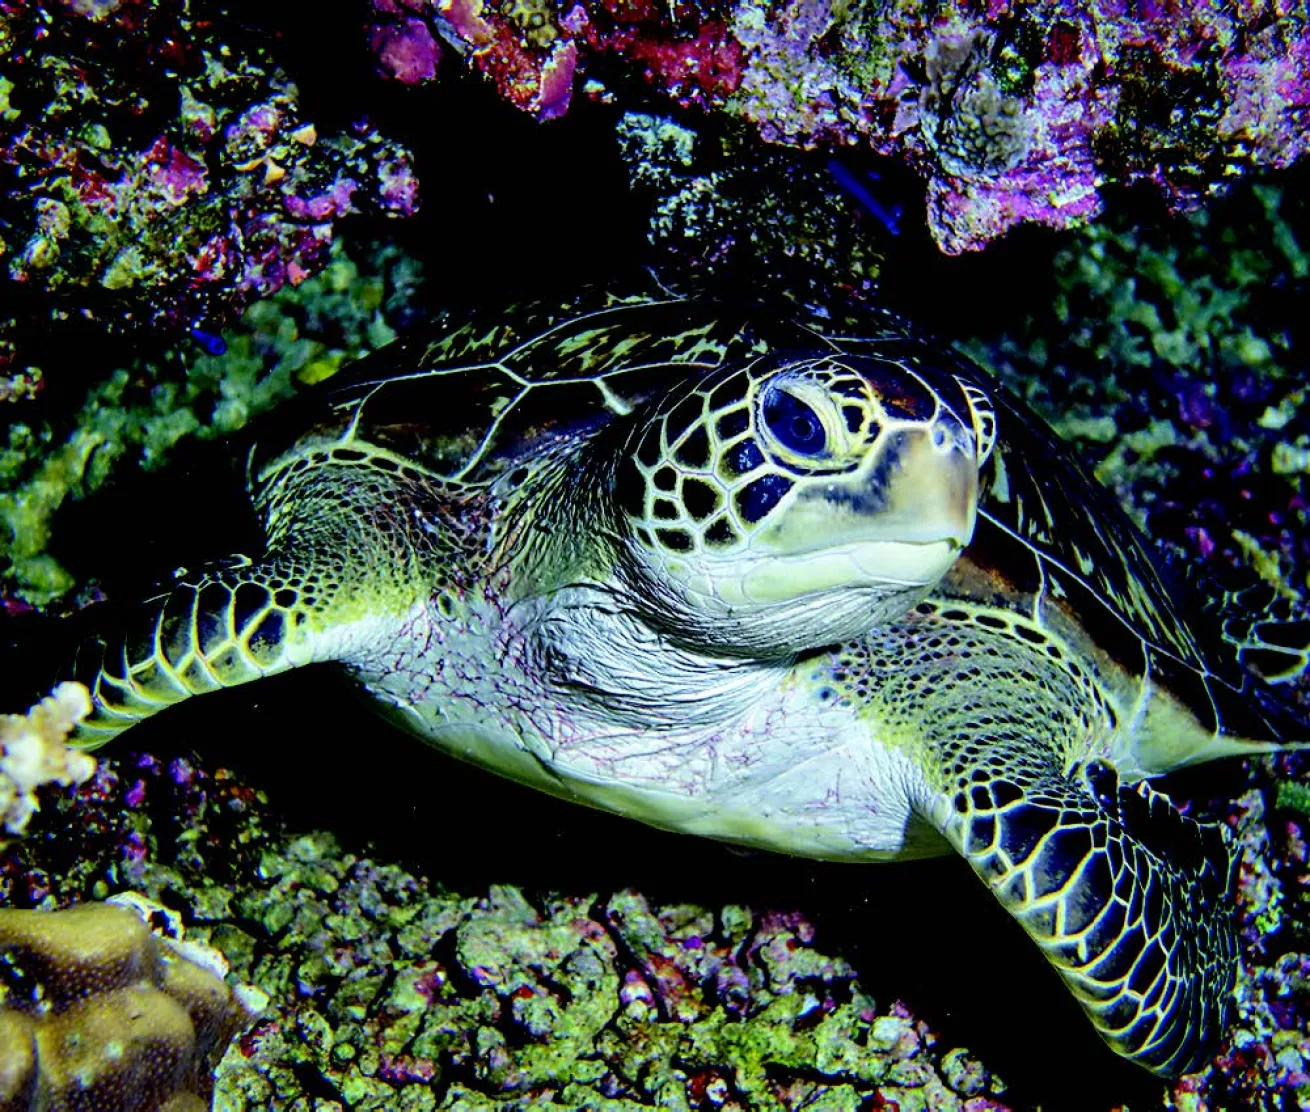
Turtle in Indonesia
BEHIND THE LENS: [ Gear ] Sola 2000 video lights, Sony RX 100, Recsea housing [ Camera Specs ] ISO 500 [ Shutter Speed ] 1/60 sec [ F-Stop ] 3.5 [ Location ] Wakatobi, Indonesia
Jim Decker
As video lights become more affordable and brighter, underwater photographers are faced with an array of choices and shooting techniques. You can use these video-lighting tips for shooting stills and videos — or both.
1. Get close, then get closer
There’s a reason this is the No. 1 tip given to aspiring underwater photographers, but when using a video light, it’s imperative. Even the brightest video lights on the market can’t compare to using strobes, which are more powerful. Get the light as close to the subject as possible to ensure the subject is adequately illuminated — the greater the distance, the greater the amount of light that’s dispersed in the water column.
2. Adjust your light
Because a video light is always on, you can’t separate shutter-speed and video-light exposures as you can with a strobe. Strobes fire faster than the camera’s shutter speed, so they aren’t subject to shutter-speed changes. This allows you to expose for the foreground and background independently. To change the background exposure when using a video light, make the light darker for a lighter background and vice versa. The goal of using artificial lighting is overcoming ambient light. You need a brighter light to overcome bright ambient light conditions like those in clear tropical waters near the surface, while a less-powerful light is needed for conditions with lower levels of ambient light, such as deep or murky water.
3. Use a light with a high CRI
CRI (color-rendering index) measures how faithfully the light will reproduce colors. A number of 100 is perfect. However, a light with a higher CRI will have a lower lumen output (less bright) than a light that generates the same lumen output but has a lower CRI value. To get great natural colors in your images, look for a light that has a CRI of at least 80; greater than 90 will render the ultimate in color reproduction.
4. Shoot at a slightly downward angle
If you are having problems with a background that is too bright, try shooting at a downward angle into darker water, which will help knock down the background exposure.
5. Use white balance
In shallow water, you can use a custom white balance adjusted with the lights on. This will work better with lights that have a higher color temperature (cooler color) than those with a lower color temperature (warmer color). If you use this technique when shooting in deeper water, your light might start to look overly red, especially if the ambient light is strong. As you go deeper, use auto white balance, which will give you the most natural-looking color.
6. Rapid-fire macro photos
Do you find yourself deleting most of your macro images? The “keeper” rate in macro photography is often low due to the very small depth of field and the difficulty of composition with tiny subjects. When shooting macro with a compact camera and using a video light, try using continuous-shooting mode. It can’t hurt: The law of averages will be in your favor, and you have a better chance of getting the perfect shot.
For More on Underwater Photography:
Mastering Macro | How to Take Over/Under Images | How to Place Your Strobes
Jim DeckerBEHIND THE LENS: [ Gear ] Sola 2000 video lights, Sony RX 100, Recsea housing [ Camera Specs ] ISO 500 [ Shutter Speed ] 1/60 sec [ F-Stop ] 3.5 [ Location ] Wakatobi, Indonesia
As video lights become more affordable and brighter, underwater photographers are faced with an array of choices and shooting techniques. You can use these video-lighting tips for shooting stills and videos — or both.
1. Get close, then get closer
There’s a reason this is the No. 1 tip given to aspiring underwater photographers, but when using a video light, it’s imperative. Even the brightest video lights on the market can’t compare to using strobes, which are more powerful. Get the light as close to the subject as possible to ensure the subject is adequately illuminated — the greater the distance, the greater the amount of light that’s dispersed in the water column.
2. Adjust your light
Because a video light is always on, you can’t separate shutter-speed and video-light exposures as you can with a strobe. Strobes fire faster than the camera’s shutter speed, so they aren’t subject to shutter-speed changes. This allows you to expose for the foreground and background independently. To change the background exposure when using a video light, make the light darker for a lighter background and vice versa. The goal of using artificial lighting is overcoming ambient light. You need a brighter light to overcome bright ambient light conditions like those in clear tropical waters near the surface, while a less-powerful light is needed for conditions with lower levels of ambient light, such as deep or murky water.
3. Use a light with a high CRI
CRI (color-rendering index) measures how faithfully the light will reproduce colors. A number of 100 is perfect. However, a light with a higher CRI will have a lower lumen output (less bright) than a light that generates the same lumen output but has a lower CRI value. To get great natural colors in your images, look for a light that has a CRI of at least 80; greater than 90 will render the ultimate in color reproduction.
4. Shoot at a slightly downward angle
If you are having problems with a background that is too bright, try shooting at a downward angle into darker water, which will help knock down the background exposure.
5. Use white balance
In shallow water, you can use a custom white balance adjusted with the lights on. This will work better with lights that have a higher color temperature (cooler color) than those with a lower color temperature (warmer color). If you use this technique when shooting in deeper water, your light might start to look overly red, especially if the ambient light is strong. As you go deeper, use auto white balance, which will give you the most natural-looking color.
6. Rapid-fire macro photos
Do you find yourself deleting most of your macro images? The “keeper” rate in macro photography is often low due to the very small depth of field and the difficulty of composition with tiny subjects. When shooting macro with a compact camera and using a video light, try using continuous-shooting mode. It can’t hurt: The law of averages will be in your favor, and you have a better chance of getting the perfect shot.
For More on Underwater Photography:
Mastering Macro | How to Take Over/Under Images | How to Place Your Strobes


