

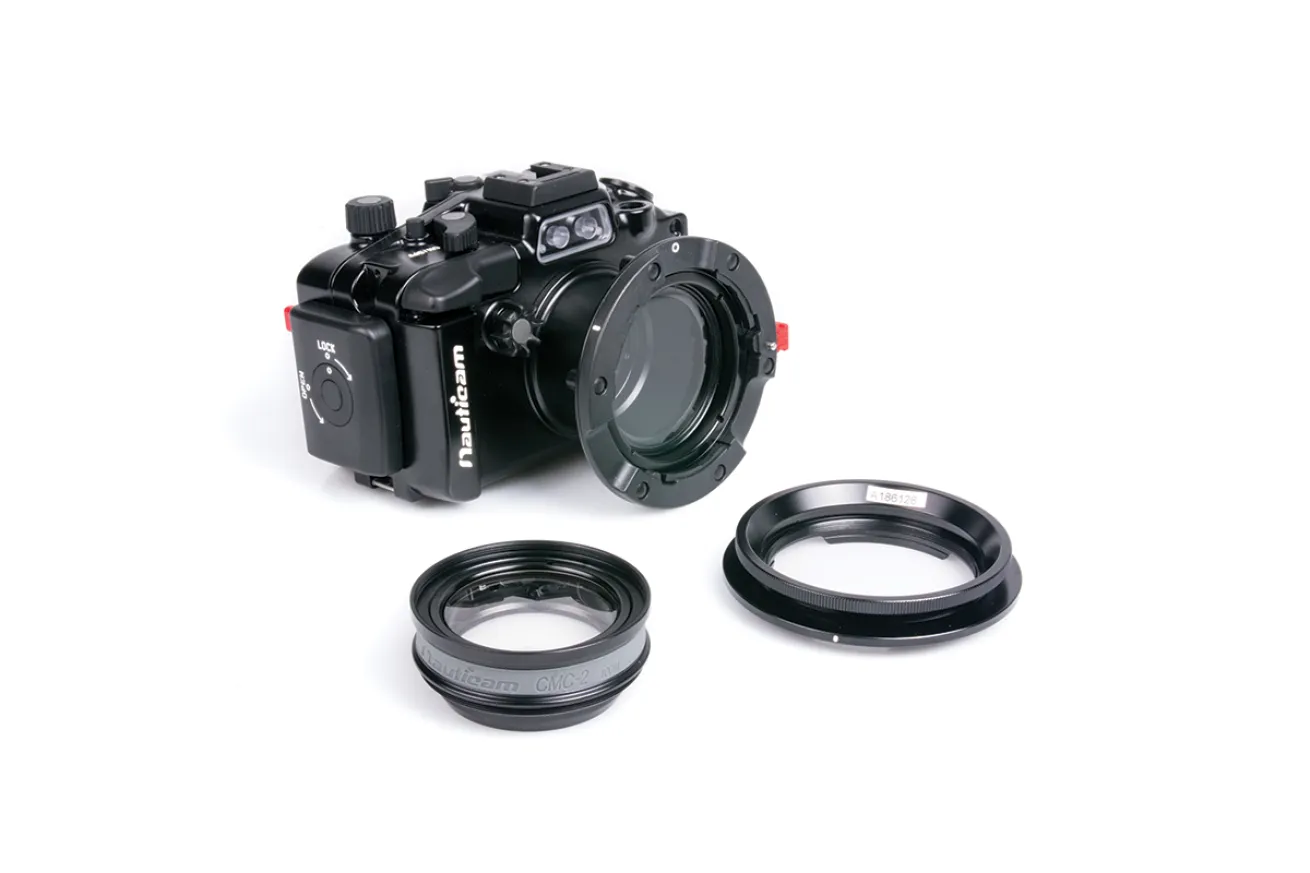
NauticamA nauticam with a macro diopter.
The colors, details and textures of small subjects are so mesmerizing that many divers soon gravitate toward photographing the macro world. Their most popular tool? A macro diopter, a sophisticated magnifier placed in front of the camera lens that makes the subject appear larger on the camera’s image sensor—important because macro subjects that occupy one-third of the image frame or less don’t deliver much impact or detail. Since the diopter magnifies the subject and eliminates the need to crop, it allows you to create ideal compositions in-camera.
A diopter will also reduce the minimum focus distance of your camera lens. This means you can hold the camera closer to your subject, shoot through less water, and create a crisper image as a result.
Macro diopters can be added and removed underwater. Most feature a universal M52 or M67 thread that’s compatible with nearly all housing ports. Many companies also make flip adapters that thread into the port and the diopter. A hinge between the plates allows the diopter to flip down over the lens or flip up out of the way.
Diopters come in different magnification levels. A +10 diopter is stronger than a +5 diopter, but it’s also more challenging to use. Most new photographers should practice with a diopter in the +3 to +6 range before adding a stronger lens to their gear bag.
Working distance is the culprit of much frustration for new macro photographers, and it varies with each diopter. You need to position the camera very close to the subject to achieve focus through the diopter, often in a range of just a few centimeters (working distance). Hold the camera steady so that it’s not floating in and out of that short range. Once it’s steady, you can move the camera closer, half depress the shutter to check whether the autofocus locks, and then move the system a hair closer once again. You can follow this process until the auto-focus box doesn’t lock, then retreat the system slightly back into focus range and capture the photograph. This will deliver maximum magnification of your subject, minimizing the need to crop.
Pro Tip: Purchase a flip adapter or a press-on lens mount so that you can easily add and remove your diopter without screwing through the threads each time.
The best rule when using your diopter is to stop down the aperture to the highest f-stop value available on the lens. The extra magnification of the diopter decreases depth of field, and by moving your aperture to a higher number you add depth of field back into the composition. This is a creative preference but a good starting point for detailed macro and super-macro images. However, the higher aperture lets less light into the camera, so you’ll need to move your light source closer to the subject and/or turn up the power. If you’re shooting with automatic settings or lighting with automatic power adjustment (TTL), you don’t need to make any changes when using your diopter.


