

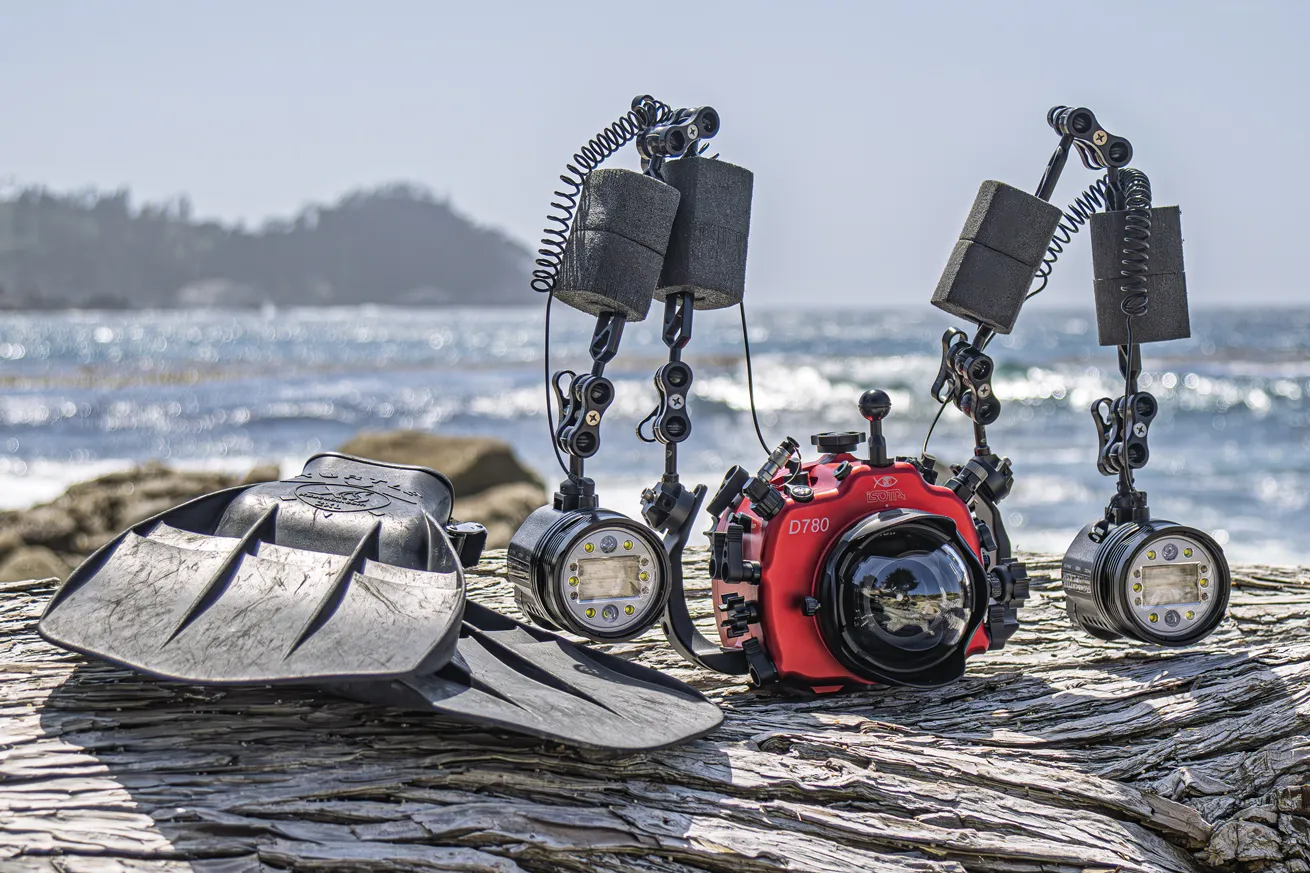
Thomas AndersonGear includes Isotta Nikon D780 housing, Sigma 15mm fisheye with 4.5-inch Mini Dome and Backscatter Hybrid Flashes.
Being based in Monterey, California, with most of my early dive training in Mendocino and Humboldt , I am no stranger to low visibility. Temperate divers savor the rare, epic-visibility days but are more often than not dealing with 10 to 15 feet of visibility. It is not uncommon in Monterey for visibility to dip below 10 feet or be near zero.
Photographers often turn to macro in low visibility; it’s a safe and reliable way to light small scenes and focus on the details. Even though it’s a challenge, shooting wide-angle in low visibility is absolutely worth a try. It’s a chance to capture vivid, unusual backgrounds, practice creative lighting and explore new techniques. Let’s dive into the world of shooting wide in poor viz and turn those dark, gloomy dives into something super fun.
Related Reading: How to Use Snoots to Light Your Macro Photography
Gear for Low Visibility Underwater Photography
The right gear can make wide-angle photography in low visibility much more manageable. First, using a fully manual camera will make capturing images a lot easier. Next, use a close-focusing, wide-angle lens like a fisheye. Fisheyes focus extremely close and are forgiving when it comes to corner sharpness. This makes them ideal for use with compact mini domes (typically 4 to 4.5 inches) that let you get even closer to the subject than a larger dome would allow.
Lower-powered or narrow-beam strobes can be used when shooting wide in bad visibility, since there’s less ambient light to fight. That said, powerful strobes at reduced power levels work just as well and often have other benefits such as faster recycle times and more power if needed. Avoid highly diffused and spread-out strobe beams, since these increase the chance of unwanted backscatter. Reduction rings or snoots will further narrow down the flash beam and can be used for creative lighting.
“Even though it’s a challenge, shooting wide-angle in low visibility is absolutely worth a try. It’s a chance to capture vivid, unusual backgrounds, practice creative lighting and explore new techniques.”
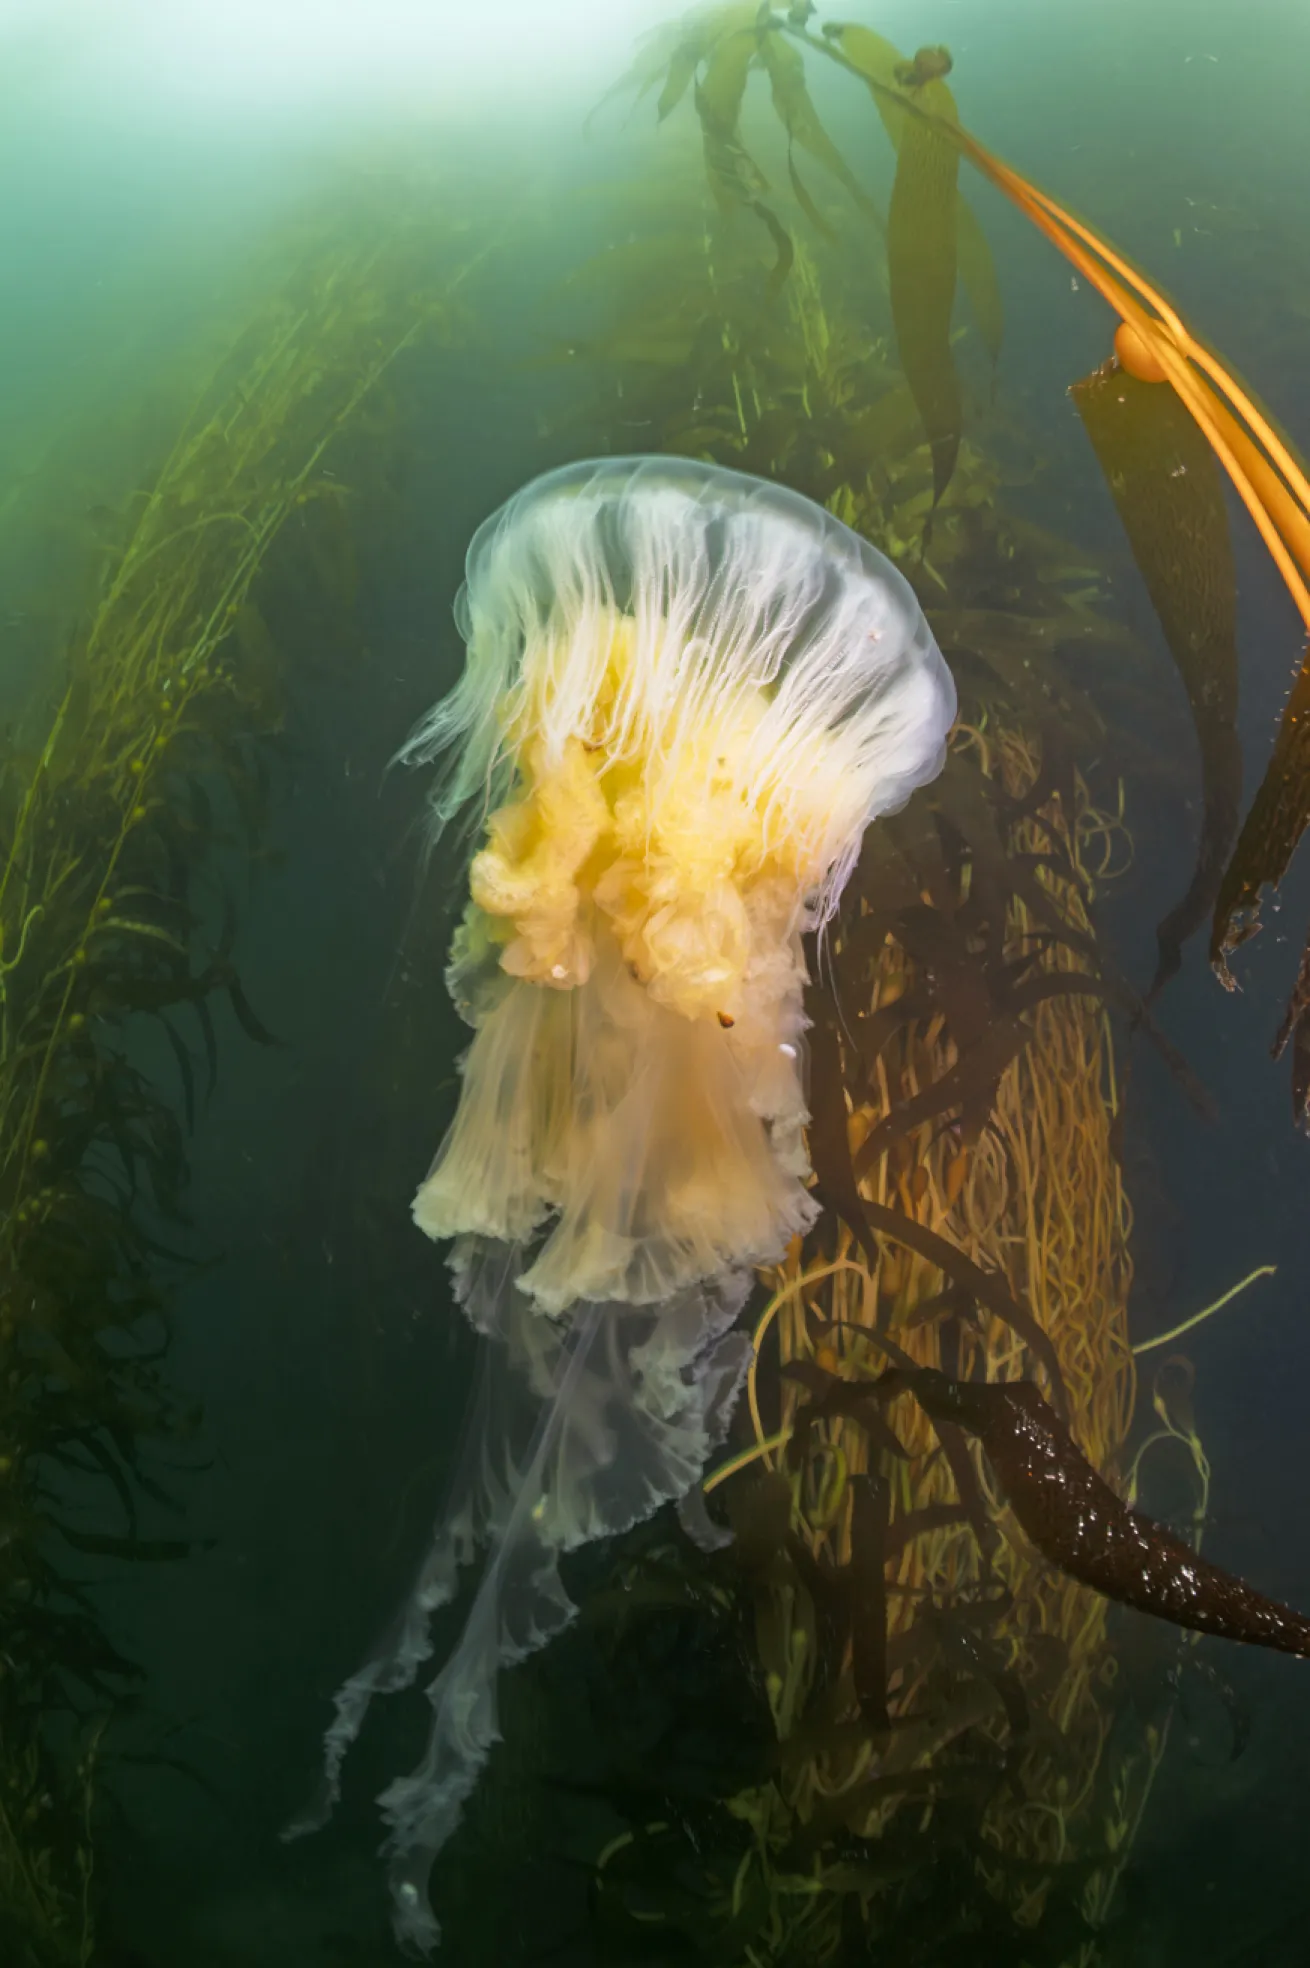
Thomas AndersonBad viz sometimes brings in cool subjects, such as egg yolk jellies. Being prepared under adverse conditions can help make it easier to nail the shot.
Settings for Shooting in Low Visibility
Finding the right exposure settings in low visibility is all about balance. Because you’ll likely use lower strobe power to avoid backscatter, dialing in exposure through your camera settings is critical.
First, let’s talk shutter speed. Shutter speed controls the background of the image, with higher shutter speeds resulting in darker backgrounds and slower shutter speeds resulting in brighter ones. For more vivid backgrounds, shutter speeds from 1/100 to 1/15 often create intense, greener results. For darker, more mysterious backgrounds, use a shutter speed faster than 1/100.
With a mini dome, f/11 to f/16 gives a good balance between exposure, sharpness and a generous depth of field. With your aperture set, raise your ISO to bring in more light, typically between 800 and 3200. Modern cameras do a good job managing noise at higher ISOs, with many editing applications also offering effective denoise features to boot.
How to Get the Shot
A common mantra in underwater photography is “get close,” and this is vitally important when shooting wide in bad visibility. Getting closer means less light is needed to expose the foreground and less water is between the subject and the camera, lowering the chances of creating backscatter in the image. Utilizing a mini dome makes getting close easier, almost to a macro-wide perspective.
With the distance closed in, it’s time to dial in camera and flash settings. Start by setting a wider aperture and higher ISO to bring in light, then adjust your strobe power to properly expose the subject. Then, use shutter speed for the desired background look. Aim your strobes carefully to light just the subject and as little of the water between it and the camera as possible. This is where reduction rings and snoots can come in handy for selective, creative lighting.
When composing, don’t forget to pay attention to the background. Even in bad visibility, the camera can pick up a lot of background detail. This is also a great opportunity to add a model holding a light to present a human element to the shot or add a background where there is none. Also, keep in mind complementary colors that can be used with a green background. Red and orange subjects, such as fish-eating anemones, octopuses, garibaldi or red and orange rockfish species will really pop against a green background.
Next time the viz is lacking, don’t be bummed. Grab your wide setup, experiment and have fun shooting in one of the most challenging and rewarding underwater environments.


