

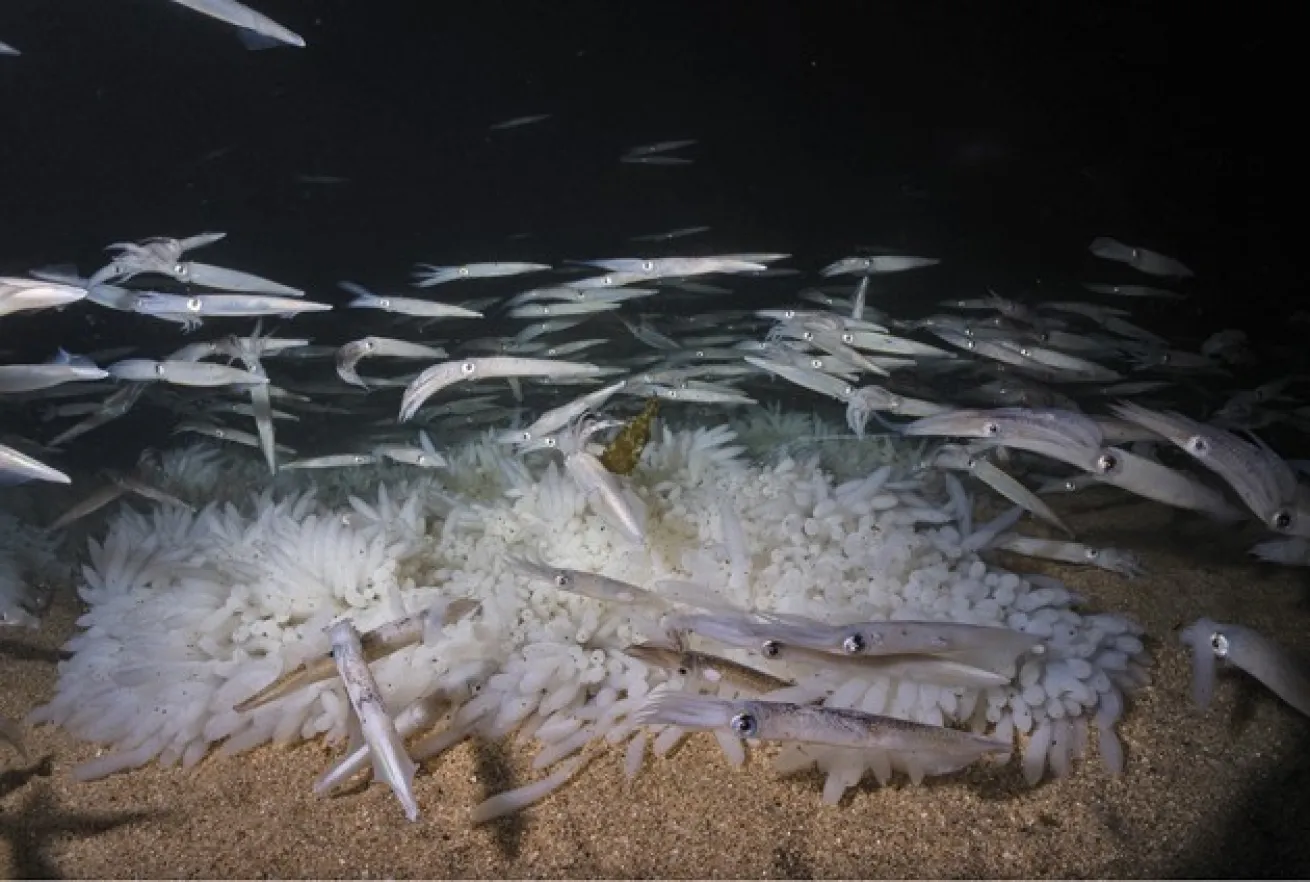
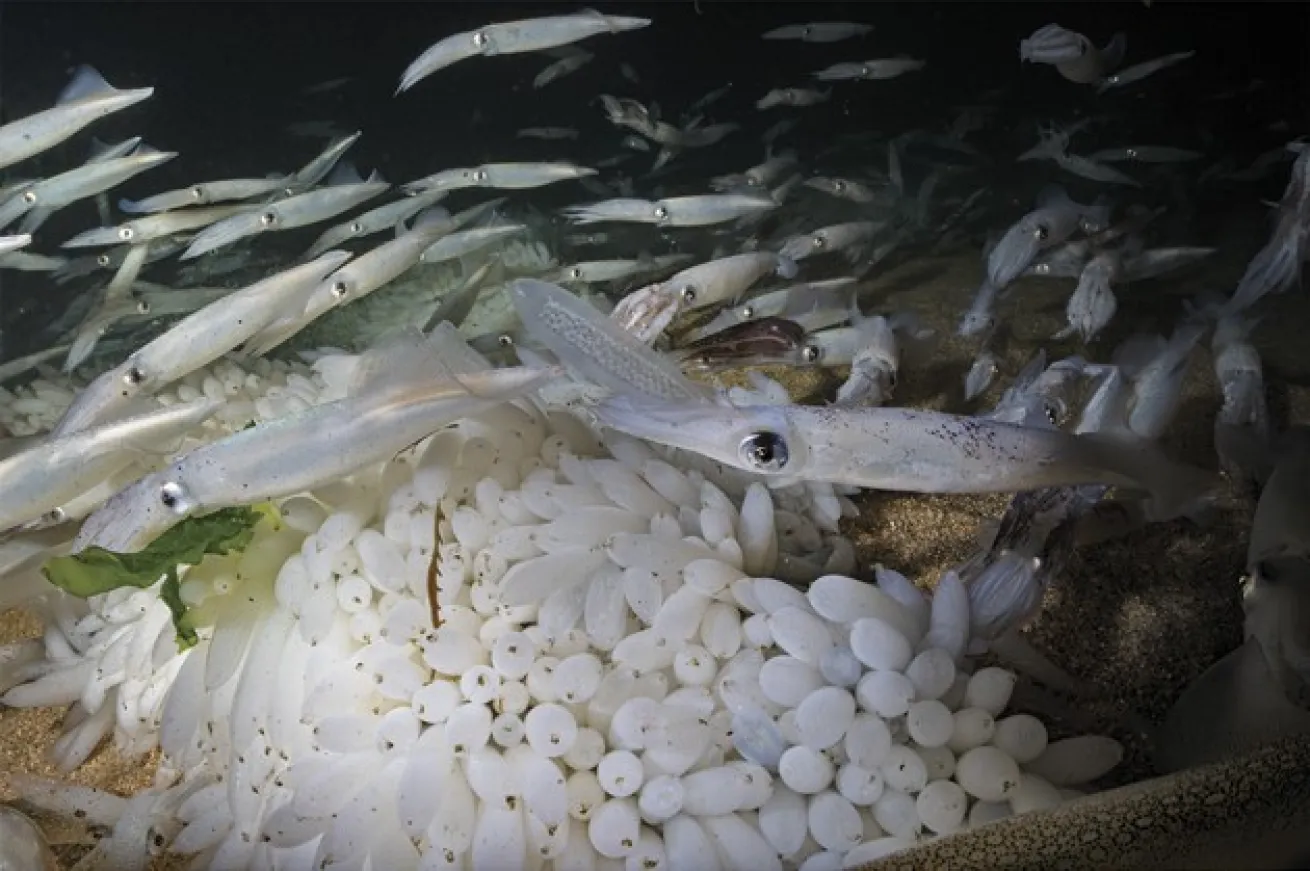
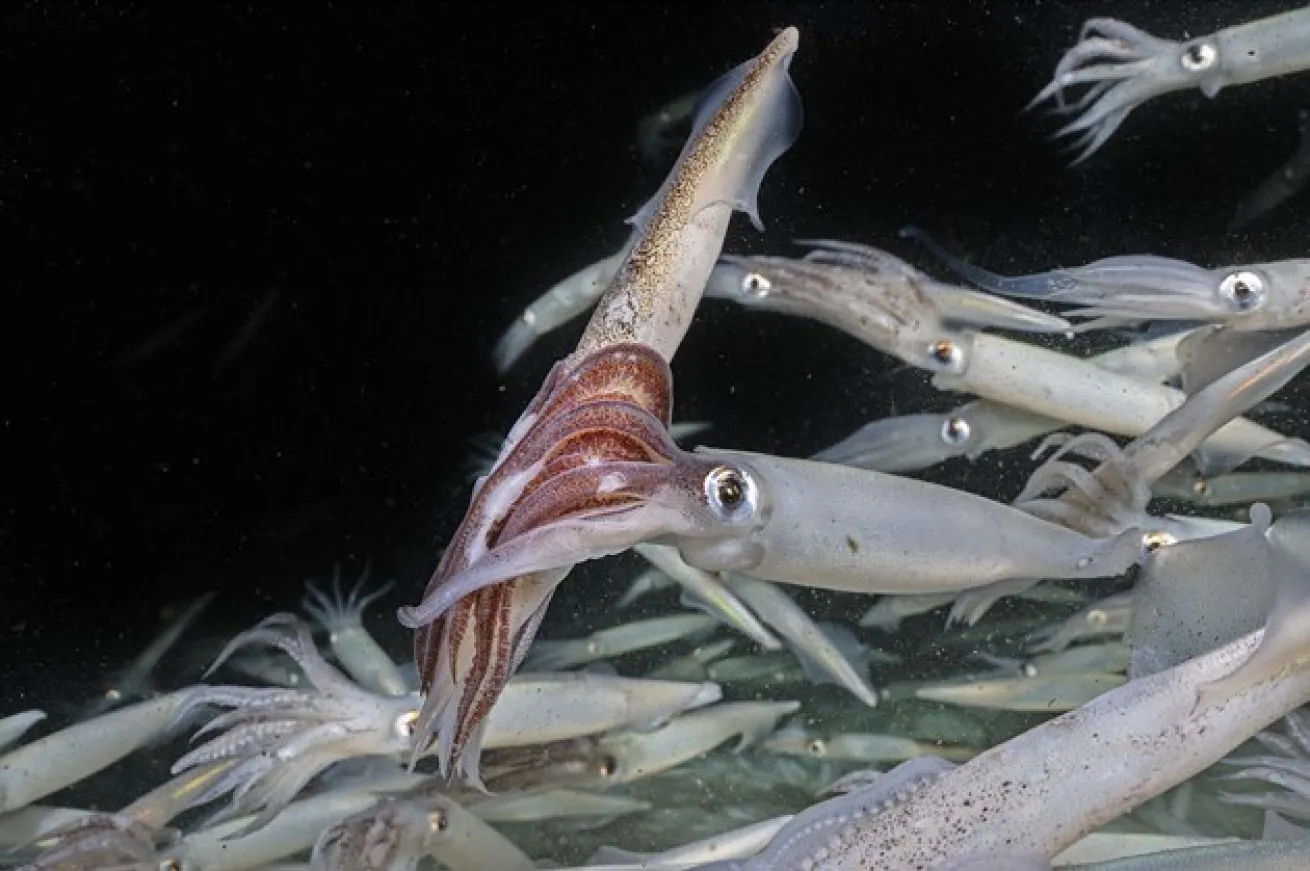
Thomas AndersonUse wide, medium and tight shots to tell the story of a unique behavior such as market squid mating. Planning goes a long way when capturing good footage of ephemeral events.
Thomas Anderson
Thomas Anderson
Video is a powerful way to tell a story. Watching subjects move and interact in their environment gives viewers a direct emotional connection that can be difficult to convey with still photography. The ocean offers unlimited stories to be told. With the right equipment, a few settings adjustments and some simple techniques, anyone can capture storytelling video like a pro.
Thomas Anderson
Best Camera Gear for Capturing Underwater Video
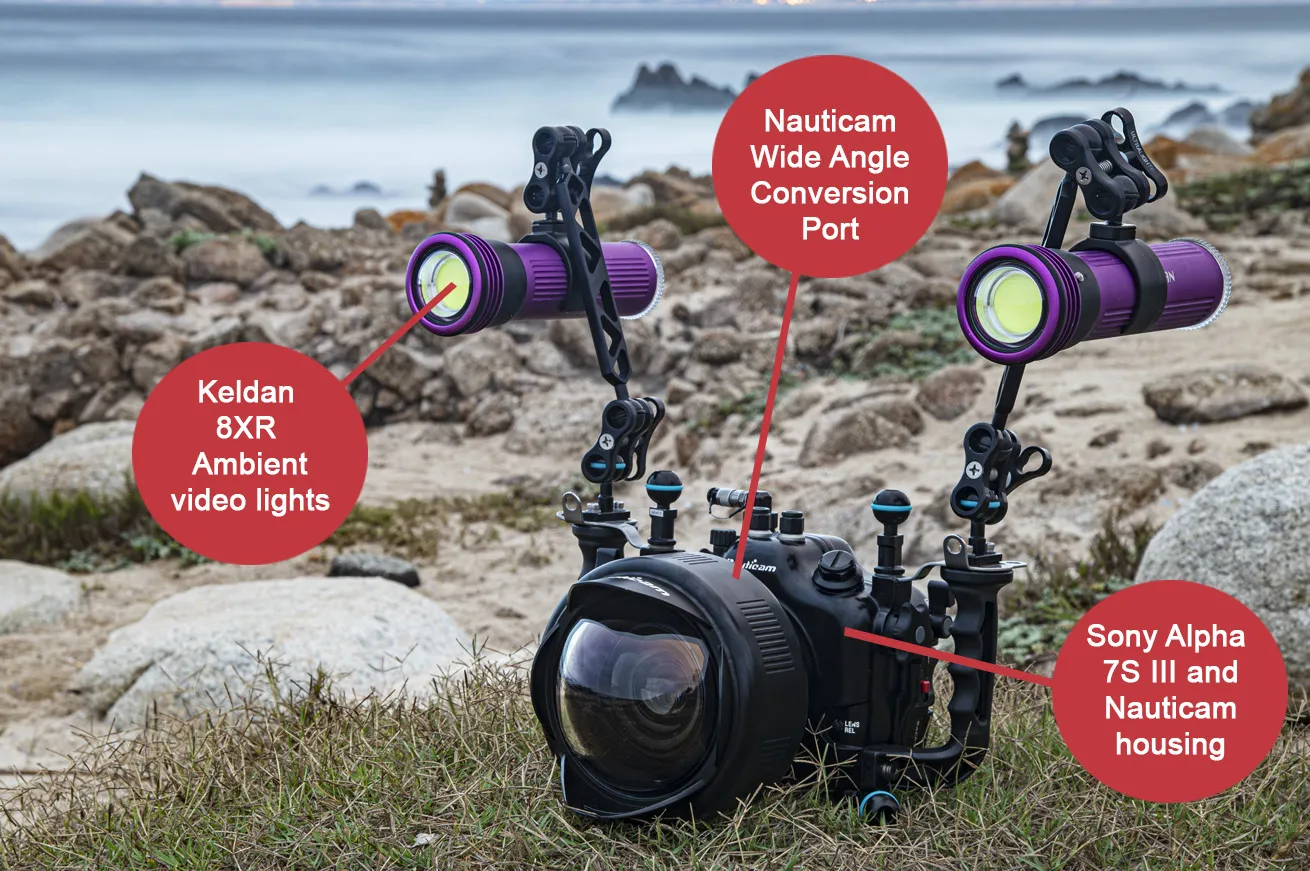
Most camera systems, from action cameras and compacts to full-frame mirrorless rigs, can capture compelling video. Cameras that capture good and accurate color underwater, such as most Canons and recent Sonys, are especially valuable for video. These cameras allow you to execute a custom white balance at nearly any depth, which restores natural-looking color underwater. Brands like Nikon and OM System will struggle with a custom WB, but this issue is easily remedied by using video lights. Just keep in mind that to pull off good color, you must be close enough to a subject to light it.
Lens choice is critical. A strong storytelling sequence relies on the “point-of-view trifecta”: wide establishing shots, midrange subject shots and close-ups. Wide-angle zoom lenses, like a 16– 35mm or 7–14mm are great choices, but wet wide lenses are among the best for video. These specialty water contact lenses transform cheaper kit lenses (like a 28–60mm or 14–42mm) into sharp, flexible wide-angle tools. This versatility makes them prized by video shooters. Fisheye lenses, though beloved by still photographers, should be avoided, since they will distort corners and lack an effective zoom range.
Lights are also great tools—and not just for cameras with poor white balance performance. Video lights are used when shooting deeper, in low light or for macro work. They also add a punchy, more saturated look to your footage.
Related Reading: 23 Underwater Cameras, Lights and Accessories for Divers
Settings for Telling a Story
Start by setting your resolution and frame rate. Resolution refers to the size and detail of the footage, with 4K being a popular choice. It’s detailed enough for intensive editing while keeping file sizes manageable. If your computer struggles with 4K, 1080p HD is a good option.
Frame rate determines how many frames are captured per second. Most underwater shooters record at 60 frames per second (fps) because it plays back normally or can be slowed down for smoother-looking motion. If your camera allows, 120 fps adds even more slow-motion capability, which is ideal for fast-moving subjects.
Once you pick a frame rate, set shutter speed to roughly double the frame rate for natural-looking playback. For example, 30 fps = 1/60, 60 fps = 1/125 or 120 fps = 1/250. Action cameras and compacts without manual control usually handle this automatically, but it doesn’t hurt to double-check your settings.
Aperture depends on your scene and subject, but f/8 or higher will keep corners sharp, especially with dome ports. For macro or close-up scenes needing more depth of field, go higher (f/16 to f/22). Higher apertures are also good for cutting down ambient light in bright environments.
Set ISO to auto with exposure compensation set to –0.7. This keeps highlights from overexposing and blowing out the clip.
Related Reading: Best Destinations for Underwater Photography
Video Technique for Capturing the Moment
To capture a strong story, start by planning the narrative. Is there an animal behavior you want to highlight, like a male cabezon guarding eggs or a rainbow nudibranch feeding on a tube anemone? Are you telling a human story, like a community underwater cleanup? Or do you want to go for a big-picture theme, such as how an entire ecosystem depends on keystone species like kelp or corals? Planning ahead gives you time to identify subjects, locations and the shots you’ll need.
With a shot list in mind, it’s time for the fun part: diving and capturing video! Begin with an establishing wide shot to set the scene. This will show the environment and where your subject fits in. Then move in closer with a medium shot to introduce your subject. Finally, capture tight close-ups that reveal key details to help viewers better connect with the subject.
Importantly, try to capture the subject entering and leaving the frame on its own. Clips like this make for natural-looking intros and outros.
Related Reading: Best New Dive Gear December 2025
Once your footage is shot, it’s time to start editing. This is where the story truly comes together. Arrange your clips so they flow naturally, even if it means cutting out amazing but unrelated footage. Add music to establish mood, choosing an arrangement that fits the tone of the story you’re trying to tell. Take your time with this one, as the right track can make all the difference. You can also add sound effects like water motion or reef ambiance for a nature-documentary feel. Regardless of the exact audio, always use royalty-free or licensed tracks to support other artists.
With the right planning, a few key settings and some thoughtful techniques, you can easily capture and share your own underwater tales. The ocean is full of stories waiting to be told, so plan, dive and edit your vision into reality.


