


Thomas Anderson
Social media is by far the most common platform for sharing photos and video, and let’s be honest, this is what most of us are shooting for. Instagram comes to mind first for sharing images and video clips, especially the latter as short-form Reels. Sharing a Reel of an epic, fast-moving underwater subject is an effective way to stop the scroll and engage users of all kinds.
The Gear
The exact equipment needed depends on your subject. First, use a camera capable of recording higher frame rates with 4K resolution—4K at 60 frames per second (fps) being optimal. Many high-end cameras are capable, but you don’t necessarily need the cutting edge in camera technology to capture speedy subjects. Action cameras, like GoPros, work very well, with most models able to shoot 4K at 60 fps.
When shooting bigger subjects, such as billfish, sharks and sea lions, you’ll need a wide-angle lens. Opt for a non-fisheye lens to minimize edge distortion in your video, such as a 16-35mm lens, a wet wide lens or a wide-angle conversion port. These will produce a sharp, non-distorted video. These lenses also allow for zoom flexibility to capture different perspectives. If you’re shooting small critters and need to anticipate sudden bursts of movement, you’ll want a macro lens to focus close and a tripod to keep things steady. Action cameras can also use wide-angle and macro lenses, giving you flexibility on subjects.
Video lights are helpful for darker, deeper environments, or if your camera doesn’t get great color underwater. Just remember, video lights are only helpful if you’re close, typically within arm’s length.
If you’re shooting a macro subject, video lights are required for good color and proper exposure.
Related Reading: How to Photograph Tide Pool Split-Shots
The Settings
Now that we’re geared up, let’s dive into settings. First, pick 4K for resolution and 60 fps for frame rate. 4K will provide plenty of resolution for editing while 60 fps allows for both normal and slowed down playback of your footage. Playing back a quick subject at normal speed will accurately display its speed; while slowing it down introduces a cinematic look. The more frames captured, the more the footage can be slowed down. If your camera can shoot 4K at 120 fps, you can get a super slo-mo effect.
Cameras with manual control can use these basic jump settings for quick and easy video. Your aperture will be set based on what you’re shooting and your background.
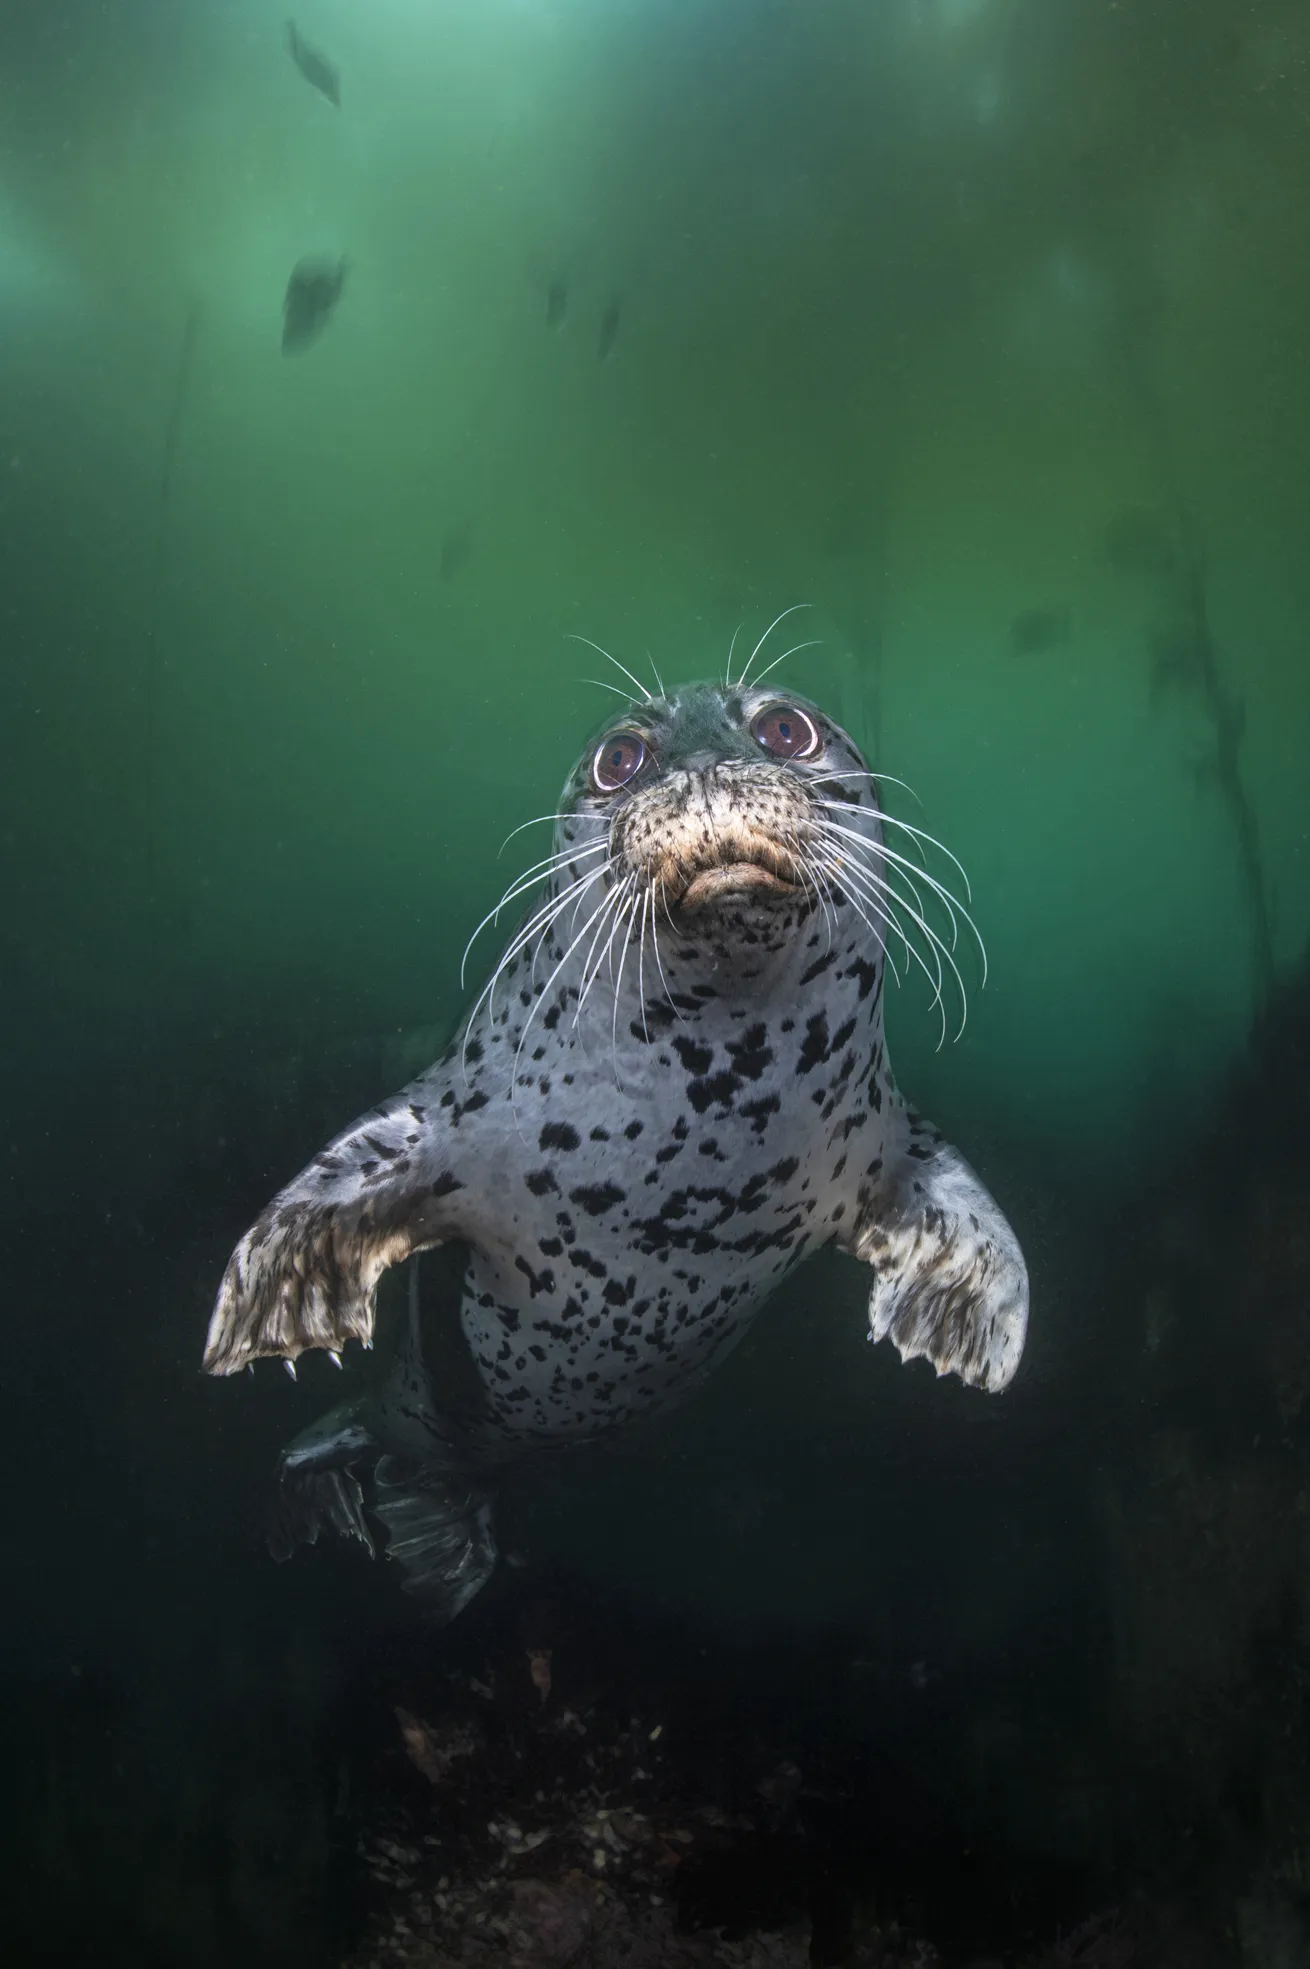
Thomas AndersonInteractions with subjects like harbor seals can be fast and fleeting, making them fun and charismatic subjects to capture for a Reel. Remember to capture vertical video in camera.
A good basic rule is to set it at f/8 to f/16 and shoot with the sun at your back. For macro, higher apertures like f/16 to f/22 ensure you have a generous depth of field to keep your clip in focus. A general rule for shutter speed is to set it at twice your frame rate. For example, set your shutter speed to 1/125 when shooting at 60 fps and 1/250 at 120 fps. This will keep your footage smooth. Use auto ISO and set exposure compensation to -0.7. This will provide a good exposure and keep the highlights from being overexposed.
If you’re shooting an action camera, set frame rate and resolution to 4K at 60 fps and bring your exposure compensation down to -0.5 to minimize overexposure.
When it comes to color, use 10-bit to get the most vibrant results. Take advantage of on-camera image stabilization to maximize the steadiness of your video. For good color, use a custom white balance to reintroduce reds, yellows and oranges lost at depth. Execute this with the camera pointed at a neutrally toned object, like your palm, sand or bare rock. Set a new white balance every 10 feet to ensure accurate color. When using lights, make sure they’re on and fully illuminating the subject you’re white-balancing against.
Related Reading: How to Use Snoots to Light Your Macro Photography
The Technique
Now let’s talk about how to capture this type of Instagram Reel. One major point to keep in mind is that Reels are designed for vertical viewing. It is easiest to capture vertical video in-camera, rather than cropping horizontal video. Your shot will look more natural if you orient your camera vertically.
If you’re using an action camera, shoot in bright conditions. These cameras tend to struggle in low light, and bright conditions will yield the best footage.
When shooting video, it pays to be steady and smooth. This is when good buoyancy skills pay off; think of yourself as an underwater gimbal, capturing smooth, fluid video. Shoot a variety of different shots, including wide, medium and tight framing, and make sure to get close to your subject. Allowing your subject to leave your frame naturally can make a satisfying conclusion to your Reel.
Remember, Reels are relatively short-form and are between 90 seconds and three minutes. For showing off key moments, keep it brief, so the Reel is short and punchy.
Now you’re ready to capture some fast-moving subjects for your next Reel. Remember to shoot plenty of footage and record longer than you think you need. Even though a Reel is short, spend a few dives shooting to really nail it and have a ton of fun in the process!


