

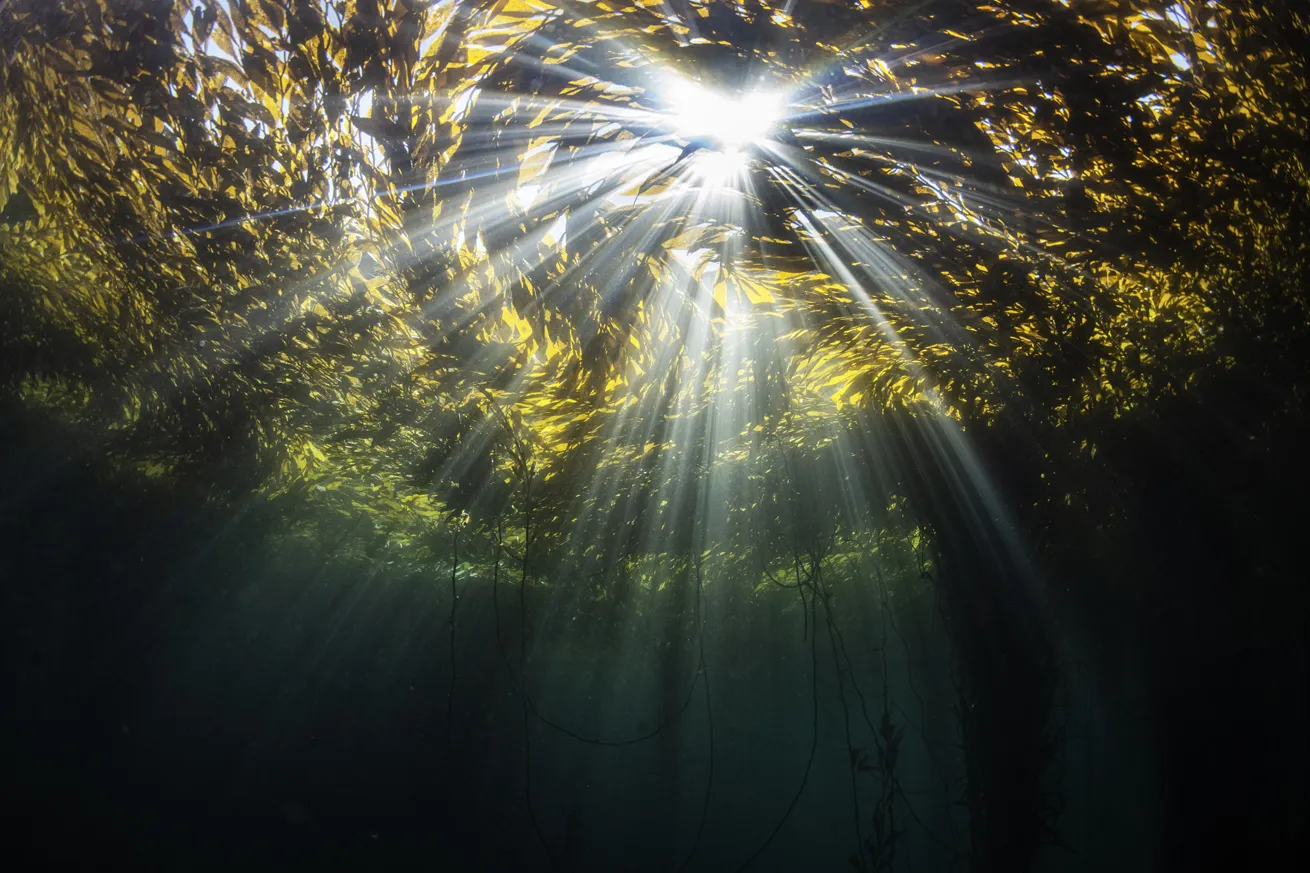
Thomas AndersonWhen filming with natural light, you can add depth to your footage by playing with shadows and silhouettes.
Capturing video using natural light is a great way to tell a story or create captivating clips. With natural light, we can record softer-looking shadows, film much larger scenes and subjects than with video lights alone, and achieve an overall more organic look compared to artificially lit video. Read on to pick up a few tricks and techniques that will inspire you to create your next natural-light reel.
The Gear
Shooting video with natural light doesn’t require much equipment. All you need to get started is a camera and housing.
Camera choice matters more in this case than other shooting scenarios. Not all cameras can capture good underwater color without artificial lighting.
Each camera brand handles underwater white balance differently. Sony and Canon currently lead the pack with cameras capable of balancing at almost any practical depth to recreate pleasing, accurate color. Nikon, Olympus/OM System and older Sony models often have difficulty producing a reliable custom white balance deeper than about 30 to 60 feet, depending on the camera model.
If your camera struggles with white balance, you have a few options. The first is staying shallow. This isn’t a bad plan, as you’ll have more ambient light and can achieve better exposures. If you’re snorkeling or filming pelagics near the surface, white balance is less important.
Another option is to use color-correction filters. These work especially well on action cameras like GoPros but can be used on advanced systems as well. The tradeoff is that filters reduce the amount of light reaching the camera’s sensor, which can result in grainier footage.
Related Reading: Hermit-Crabbing Your Underwater Camera Setup

If all else fails, video lights may be the answer. However, keep in mind that they’re only effective within arm’s reach of what you’re lighting and can’t illuminate bigger scenes and subjects.
For lenses, a wide-angle zoom lens works best for video because it allows different perspectives while telling a story. A 16–35mm (or equivalent) behind a dome port is a great option, though I prefer wet wide lenses and conversion ports. These optics are wider, allow greater zoom ranges, and are smaller and sharper. The downside is they tend to be heavier than traditional dome ports.
If your rig is negatively buoyant, you can add floats. Configuring a float bar across the top of the housing is a good way to keep a system neutral while remaining compact.
As much as I love fisheyes, I generally avoid them for video, as they create a lot of distracting distortion.
Finally, external monitors are incredibly helpful. They make it much easier to see what you’re shooting and include exposure and focus tools. Once you use one, it’s hard to go back to your camera’s tiny screen.
Related Reading: Best Dive Lights for Every Diver: A Complete Buyer’s Guide
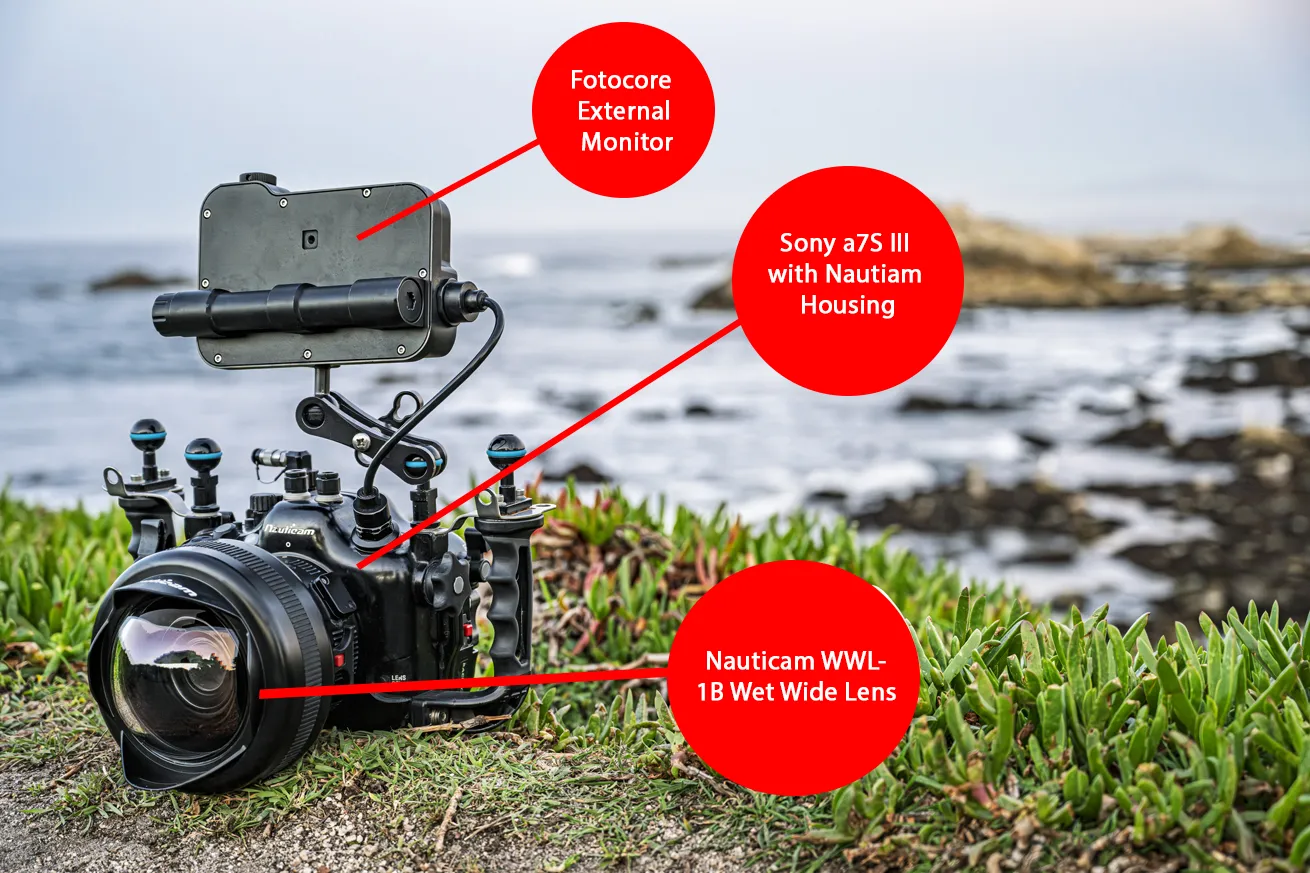
Thomas Anderson
- Fotocore External Monitor
- Sony a7S III with Nautiam Housing
- Nauticam WWL-1B Wet Wide Lens
The Settings
Settings for natural-light video are fairly straightforward.
Start by selecting your resolution and frame rate. Currently, 4K at 60p offers the best balance of high resolution for editing and enough frames to either play footage back at normal speed or slow it down for that dreamy underwater look. Higher resolutions usually aren’t worth it unless you have the computer power and storage to support them.
Next, set your shutter speed. Follow the 180-degree shutter rule, and set it to roughly double your frame rate (for example, 1/125 when shooting 60 fps or 1/60 when shooting 30 fps). This keeps motion looking natural. Shutter speed is typically something you can set and forget. There’s no need to change it unless you change your frame rate.
Then choose your aperture. When shooting wide angle with the sun at your back, f/8 to f/11 is a great starting point. If you’re filming into the sun, stopping down further, using f/16 to f/22, often produces better results.
Finally, for ISO, keep things simple and set it to auto. To prevent highlights from blowing out, set exposure compensation to around -0.5 to -0.7.
Related Reading: 23 Underwater Cameras, Lights and Accessories for Divers
Thomas Anderson
The Technique
With settings dialed in, let’s talk technique, starting with focus.
Modern cameras are getting better at continuous autofocus, but in video mode, they often hunt for focus on their own, which can be incredibly frustrating. To avoid this, lock your focus using either autofocus single (AF-S) or manual focus.
I usually set focus on my fin, then leave it alone. This ensures everything from fin-distance onward is sharp. For closeups, refocus on your subject. The closer you get, the more you’ll want to stop down your aperture to maintain a strong depth of field.
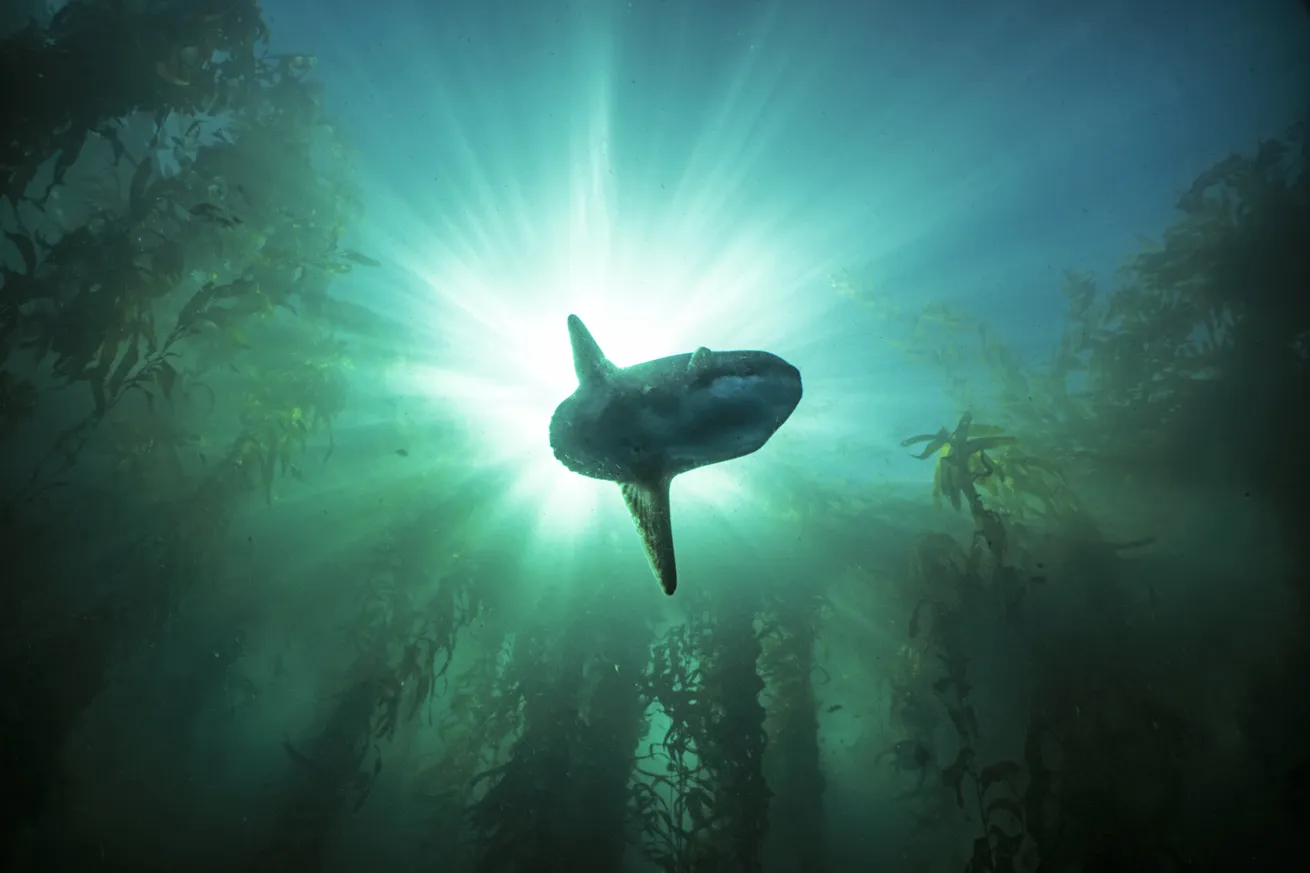
You can play with shadows and silhouettes if you want to add artistic flair, but otherwise, try to shoot with the sun at your back. This produces brighter, more vibrant images. Staying shallower also helps keep ISO from climbing, resulting in cleaner footage with less noise.
To maintain accurate color, capture a custom white balance roughly every 10 feet of depth. Always white balance off something neutrally toned, such as a gray card, a sandy patch, bare rock or a gray scuba cylinder.
When shooting, be sure to film multiple angles of your subject, and aim to get wide, medium and tight shots to tell the whole story.
Last but not least, buoyancy skills are critical when capturing underwater video. The better weighted and trimmed you are, the smoother your footage will be. Try to swim in a steady, methodical manner and pan smoothly, like you’re the camera’s gimbal. Keep fin strokes small and smooth to avoid any unnecessary shake.
With that, I hope you’re inspired to capture stunning natural-light video. Remember to shoot a lot, plan your dive around your shoot and, most importantly, have fun.


